この記事の要点
- 受注: Ragman
- クリア条件: Streets of Tarkov で clock dial painting #1 を入手(ほか23件)
- 主な報酬: 経験値 +25,700 / 1,000,000 ルーブル
1. タスク名とは?
「Out of Time」は、トレーダーのRagman(ラグマン)から受注するタスクです。
このタスクは、複数のマップに散らばっている「時計の文字盤の絵(clock dial painting)」をすべて探し出し、Ragmanに届けるという、いわゆる「探索型」のクエストです。
2. タスクの基本情報
- 受注トレーダー: Ragman(ラグマン)
- Kappa必須タスク: いいえ
- 報酬:
- 経験値(EXP)+25,700
- Ragmanの評判(Rep)+0.03
- 1,000,000 ルーブル(Intelligence Center レベル1で1,050,000、レベル2で1,150,000)
- FORT Defender-2 ボディアーマー ×3
- Ragman レベル3で「Tasmanian Tiger Trooper 35」バックパック(Khaki)の購入を解放
3. クリア条件
以下の条件をすべて満たすことでクリアとなります。
- Streets of Tarkov で clock dial painting #1 を入手
- Streets of Tarkov で clock dial painting #2 を入手
- Streets of Tarkov で clock dial painting #3 を入手
- Streets of Tarkov で clock dial painting #4 を入手
- Streets of Tarkov で clock dial painting #5 を入手
- Streets of Tarkov で clock dial painting #6 を入手
- Customs で clock dial painting #7 を入手
- The Lab で clock dial painting #8 を入手
- Reserve で clock dial painting #9 を入手
- Shoreline で clock dial painting #10 を入手
- Interchange で clock dial painting #11 を入手
- Lighthouse で clock dial painting #12 を入手
- Ragman に clock dial painting #1 を渡す
- Ragman に clock dial painting #2 を渡す
- Ragman に clock dial painting #3 を渡す
- Ragman に clock dial painting #4 を渡す
- Ragman に clock dial painting #5 を渡す
- Ragman に clock dial painting #6 を渡す
- Ragman に clock dial painting #7 を渡す
- Ragman に clock dial pendant #8 を渡す
- Ragman に clock dial painting #9 を渡す
- Ragman に clock dial painting #10 を渡す
- Ragman に clock dial painting #11 を渡す
- Ragman に clock dial painting #12 を渡す
4. 攻略手順
このタスクは、全7つのマップを巡る大規模な探索が必要です。効率的に進めるために、マップごとにエリアを分けて攻略することをお勧めします。
Streets of Tarkov(ストリーツ・オブ・タルコフ)
このマップでは、絵画 #1 〜 #6 をすべて入手します。
- #1, #2, #5, #6: 特定のキーなしでも探索可能なエリアに配置されています。
- #3: 「Car dealership」エリア。特定のキー(Car dealership closed section keyなど)を持つことで、より確実に位置を特定できます。
- #4: 「Concordia apartment 34」内にあります。
他のマップでの探索
- Customs(カスタムズ): #7 を探し出します。
- The Lab(ザ・ラボ): #8 を探し出します。
- Reserve(リザーブ): #9 を探し出します。
- Shoreline(ショアライン): #10 を探し出します。
- Interchange(インターチェンジ): #11 を探し出します。
- Lighthouse(ライトハウス): #12 を探し出します。
【重要】
各絵画(#1〜#12)は、それぞれ3つの異なる場所のいずれかに出現します。
また、これらのアイテムは「クエストアイテム」として扱われます。拾い上げた時点でプレイヤーのクエスト用インベントリに移動するため、脱出(Extract)に失敗した場合はアイテムを失うため注意してください。
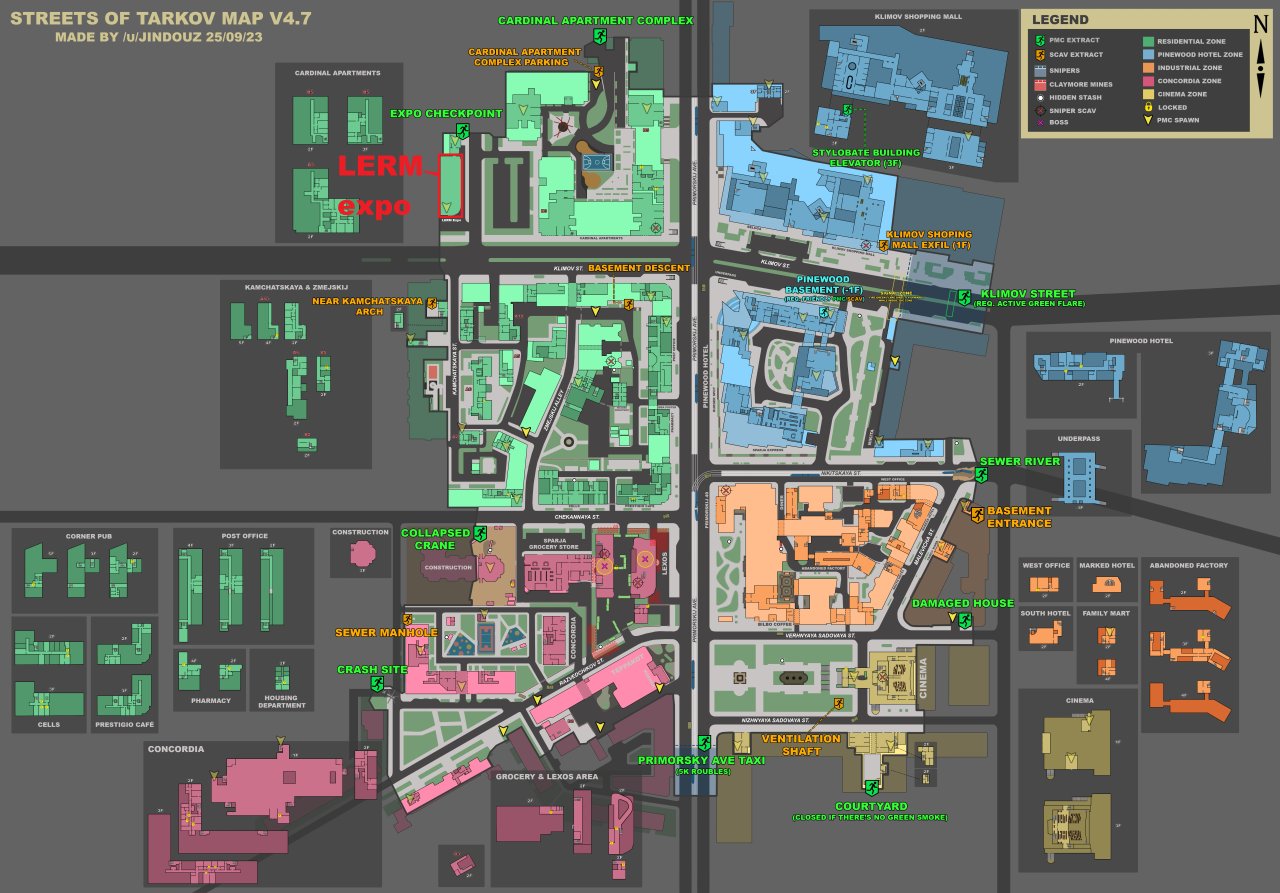
LERM expo hall marked on a map.
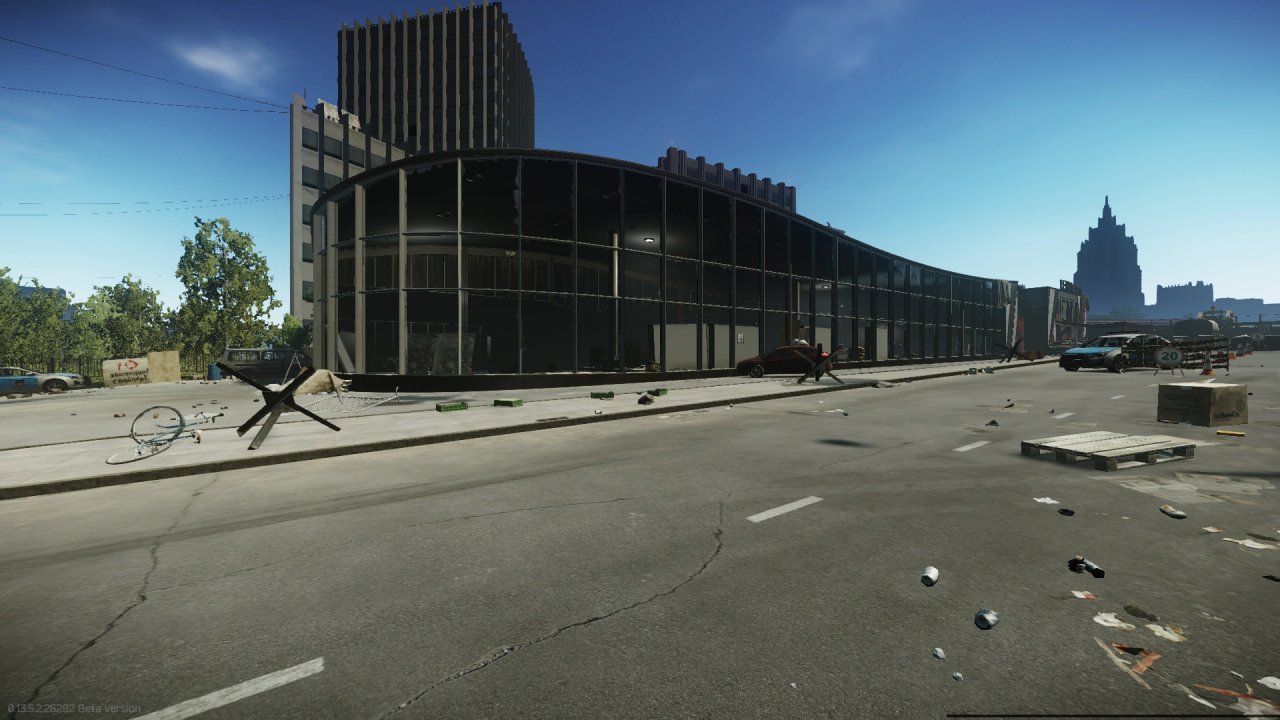
The LERM expo hall.
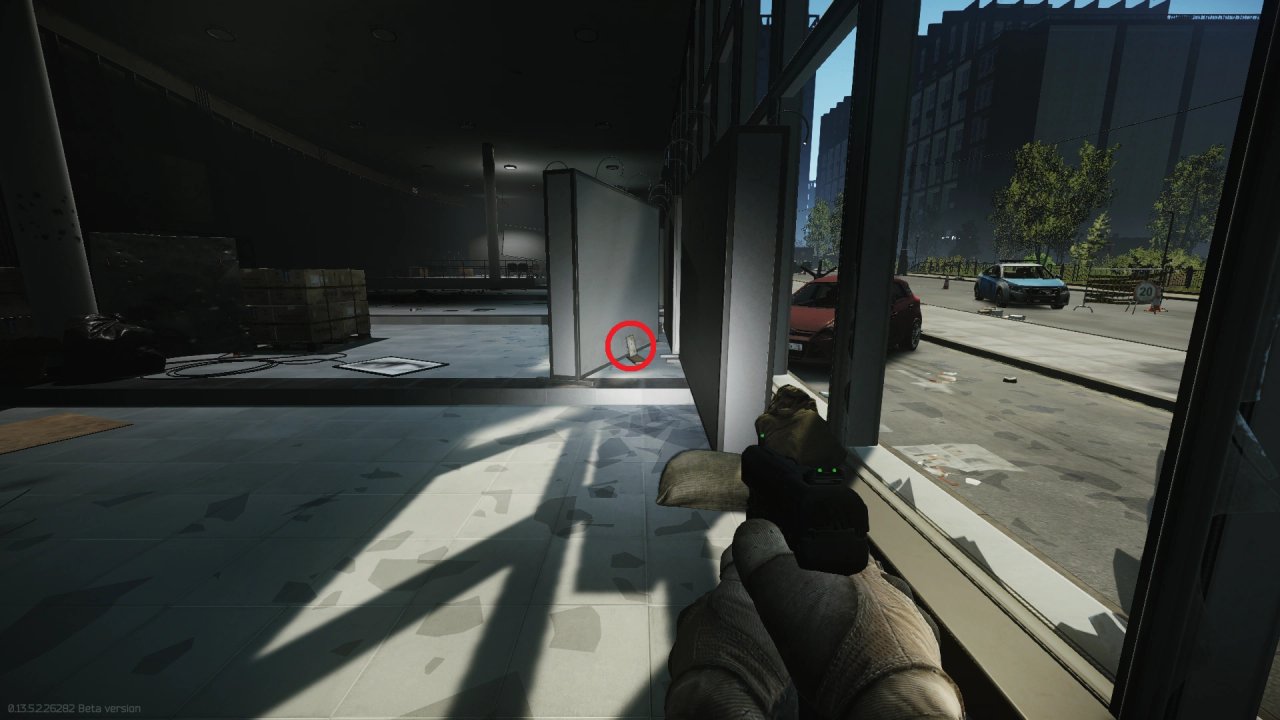
1.Between the moveable walls.
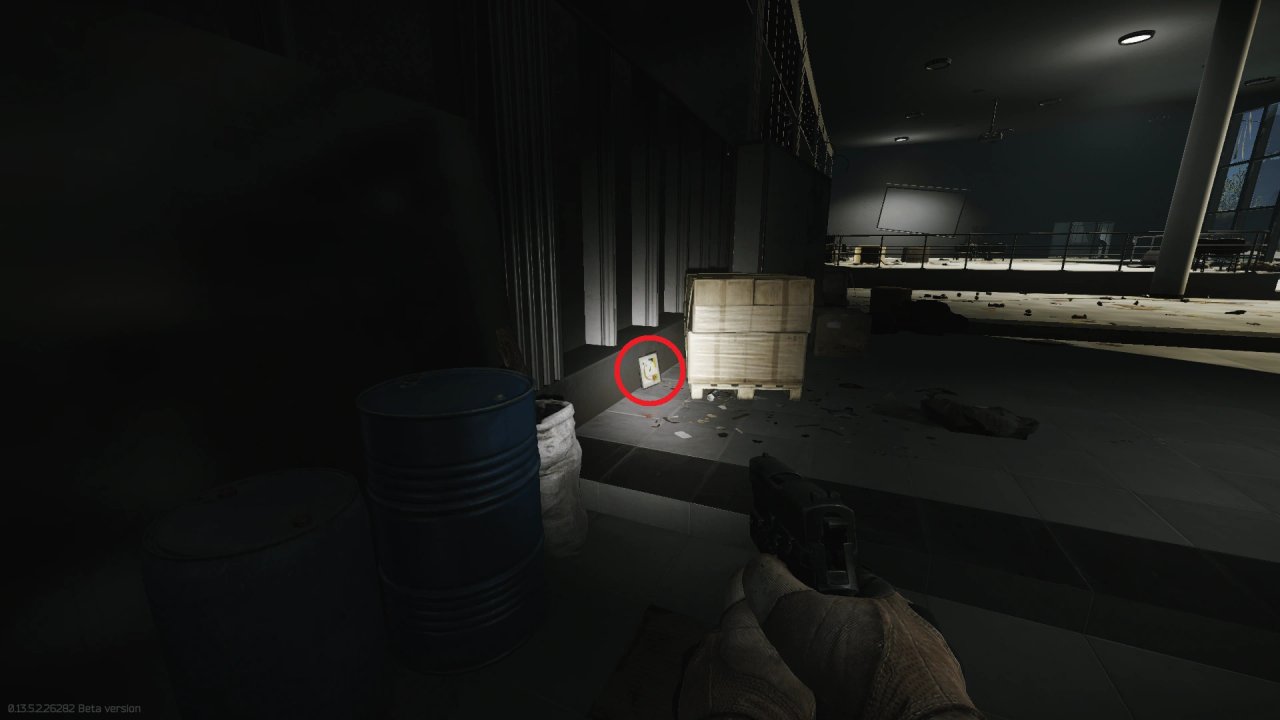
2.Hidden behind a pallet of cardboard boxes in the back of the hall.
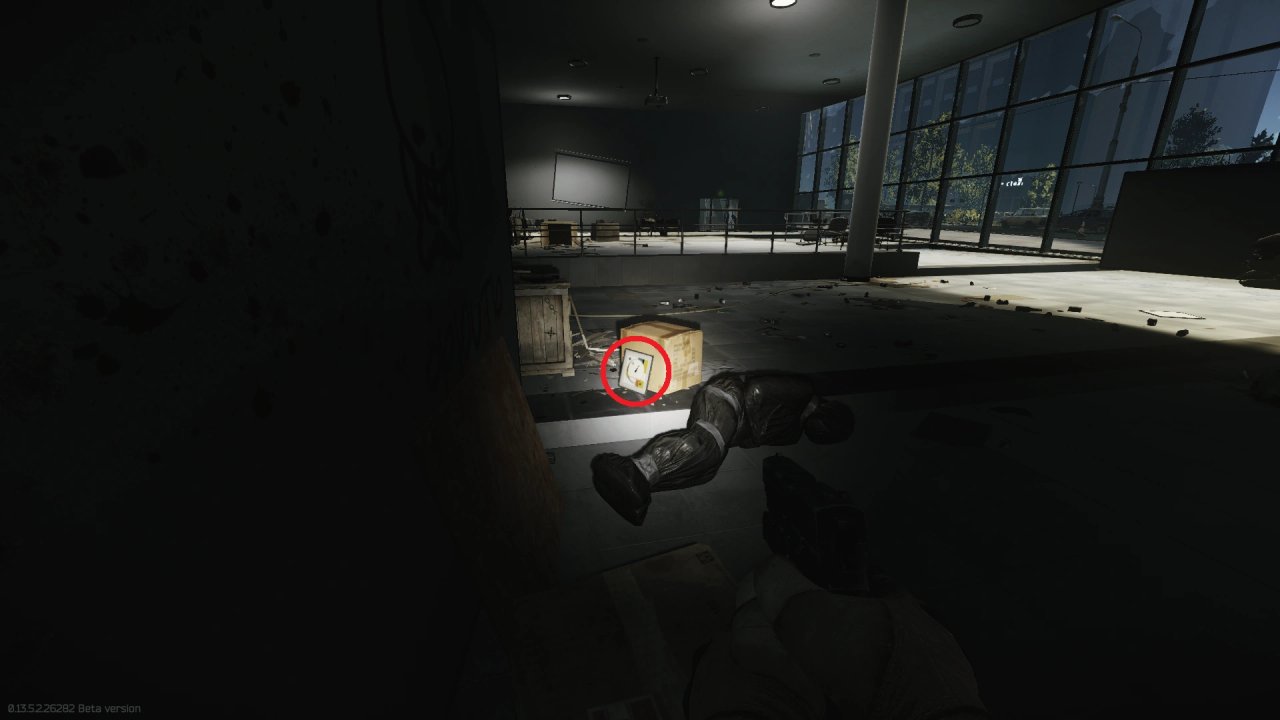
3.Leaned against a cardboard box next to the tied up corpse.
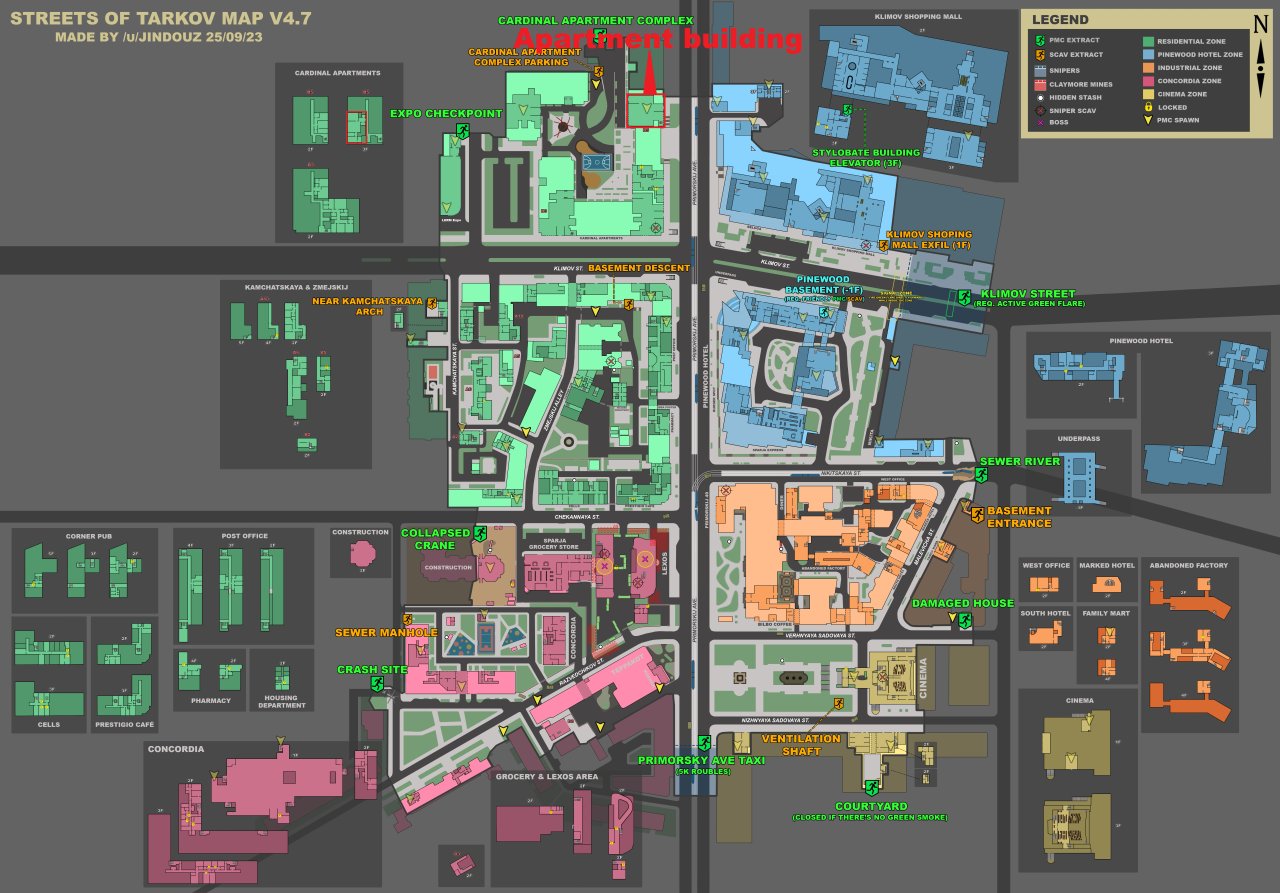
Building marked on a map.
The building.
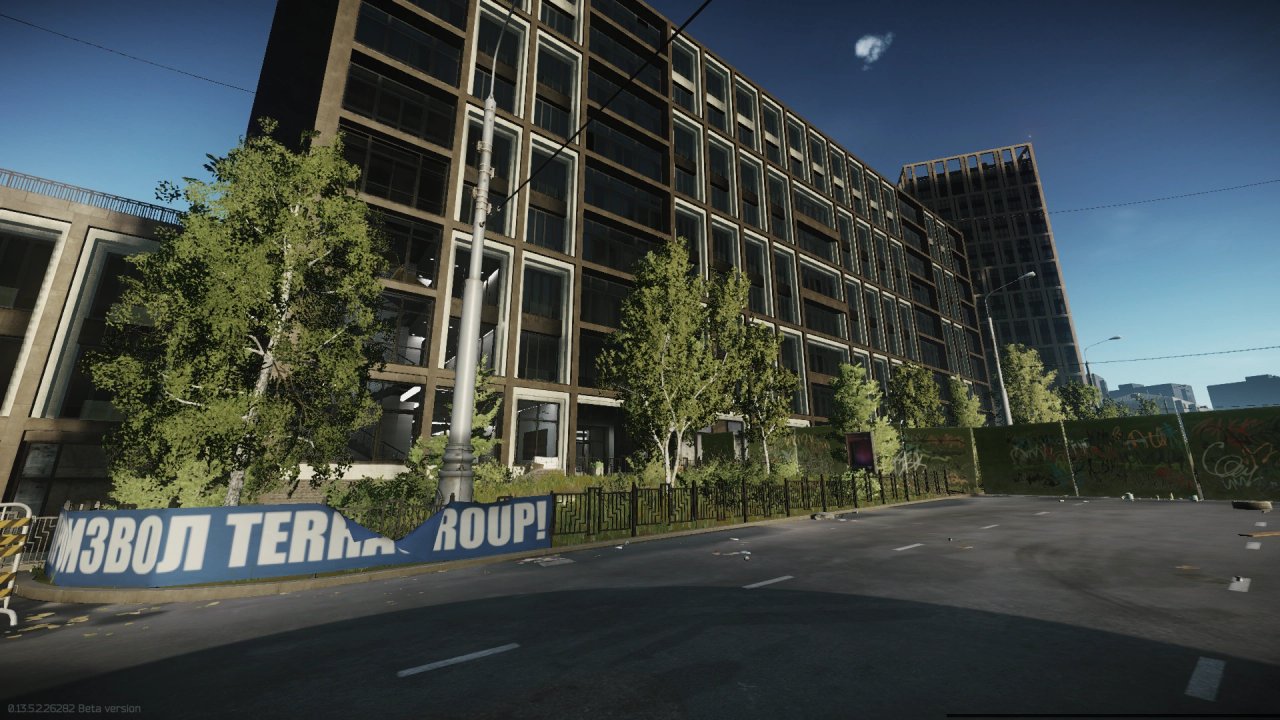
Door to the apartment on the third floor.
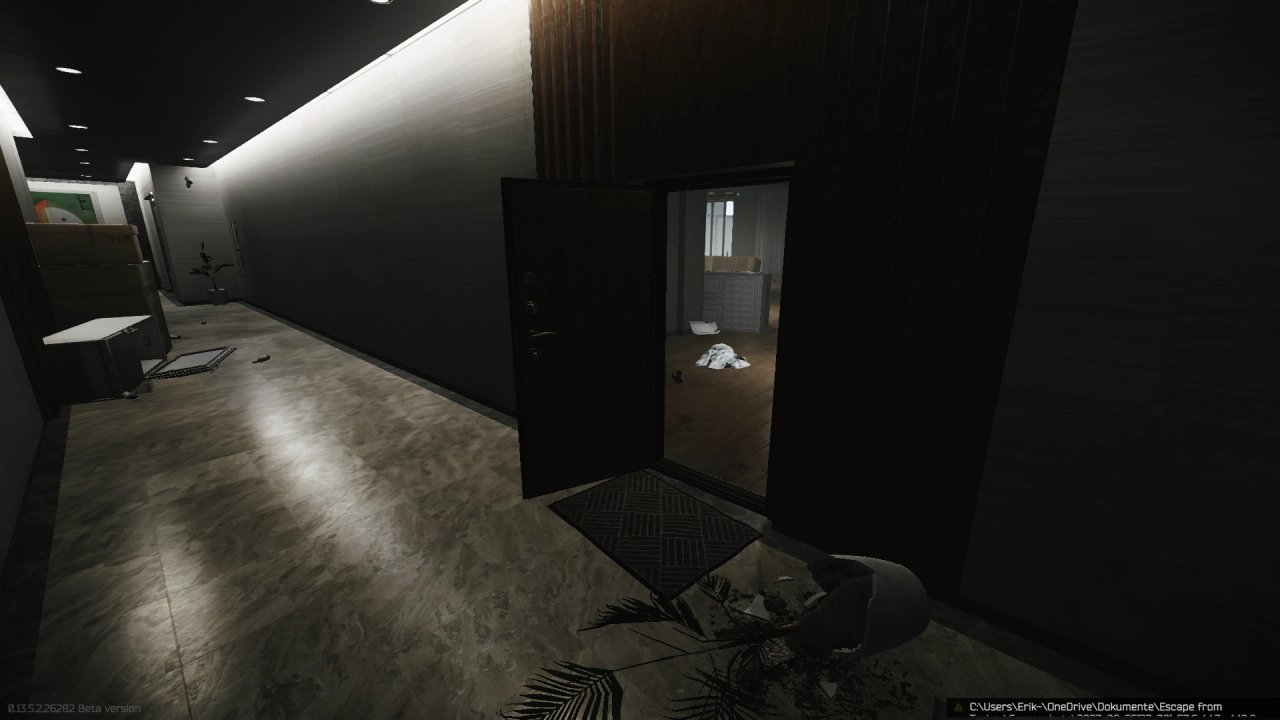
1.On the wall to the left after entering.
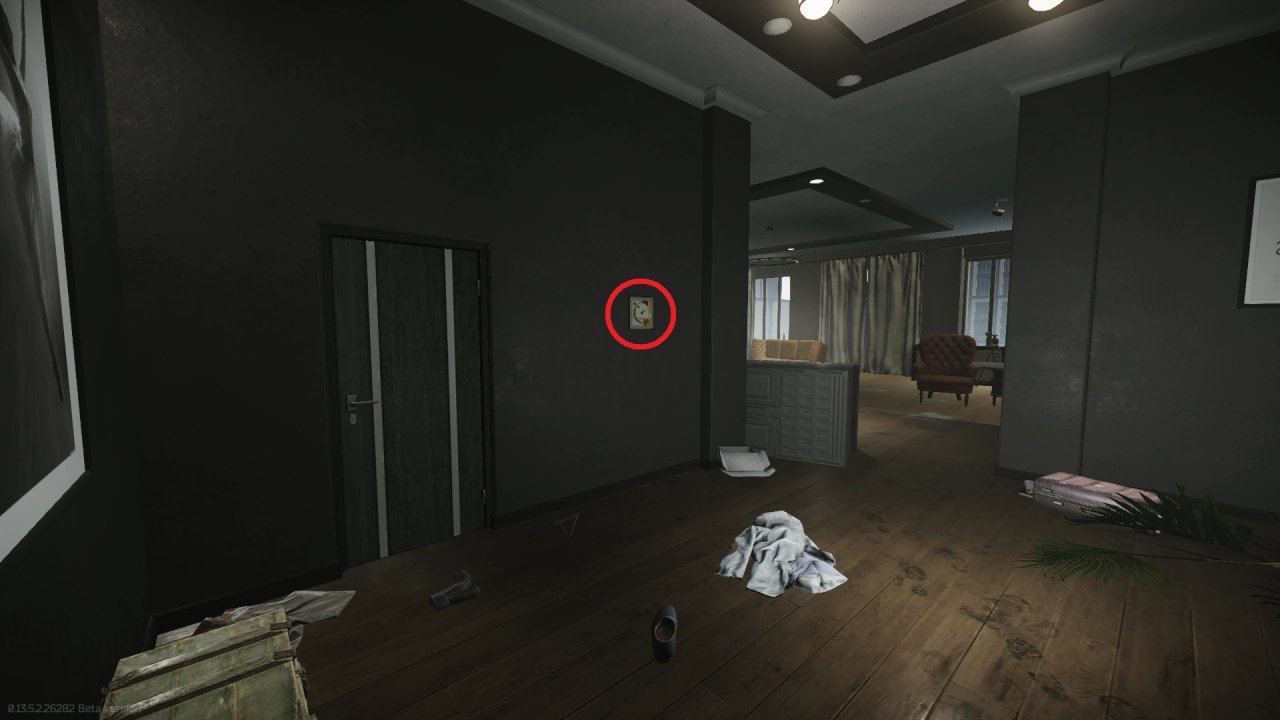
2.In the bedroom on the floor next to the open suitcase.
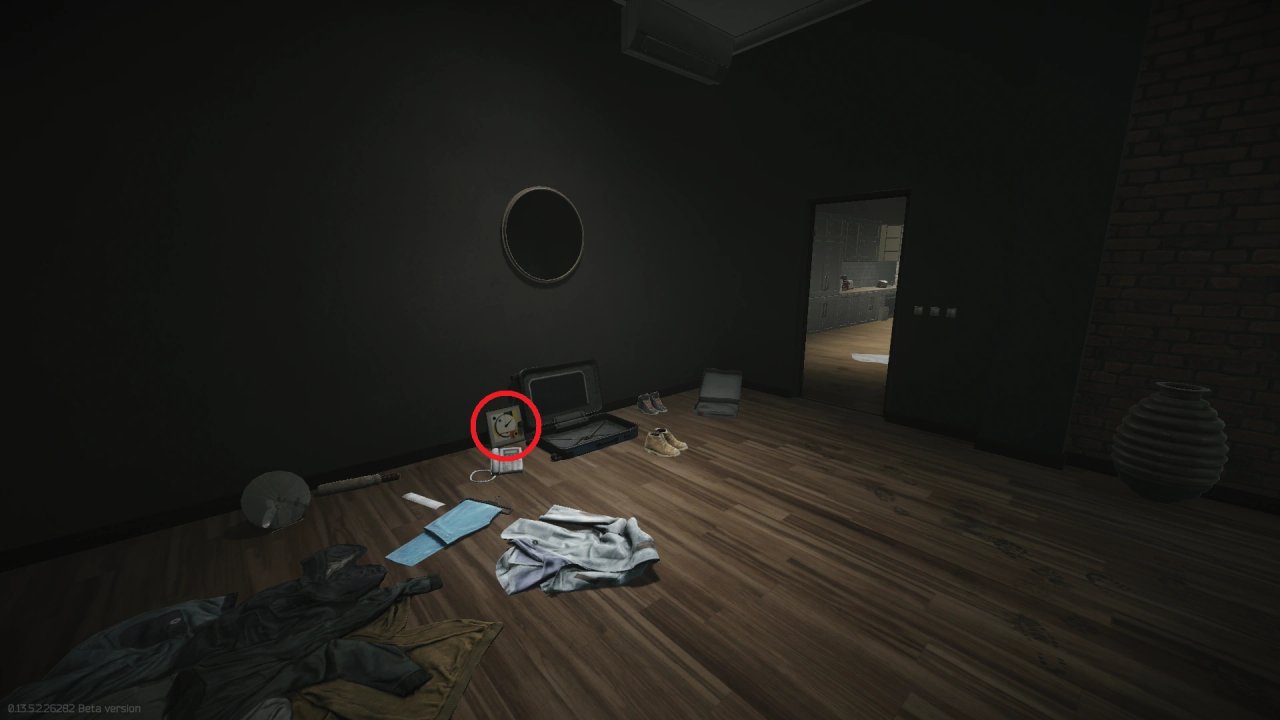
3.In the backmost room, next to the sideboard.
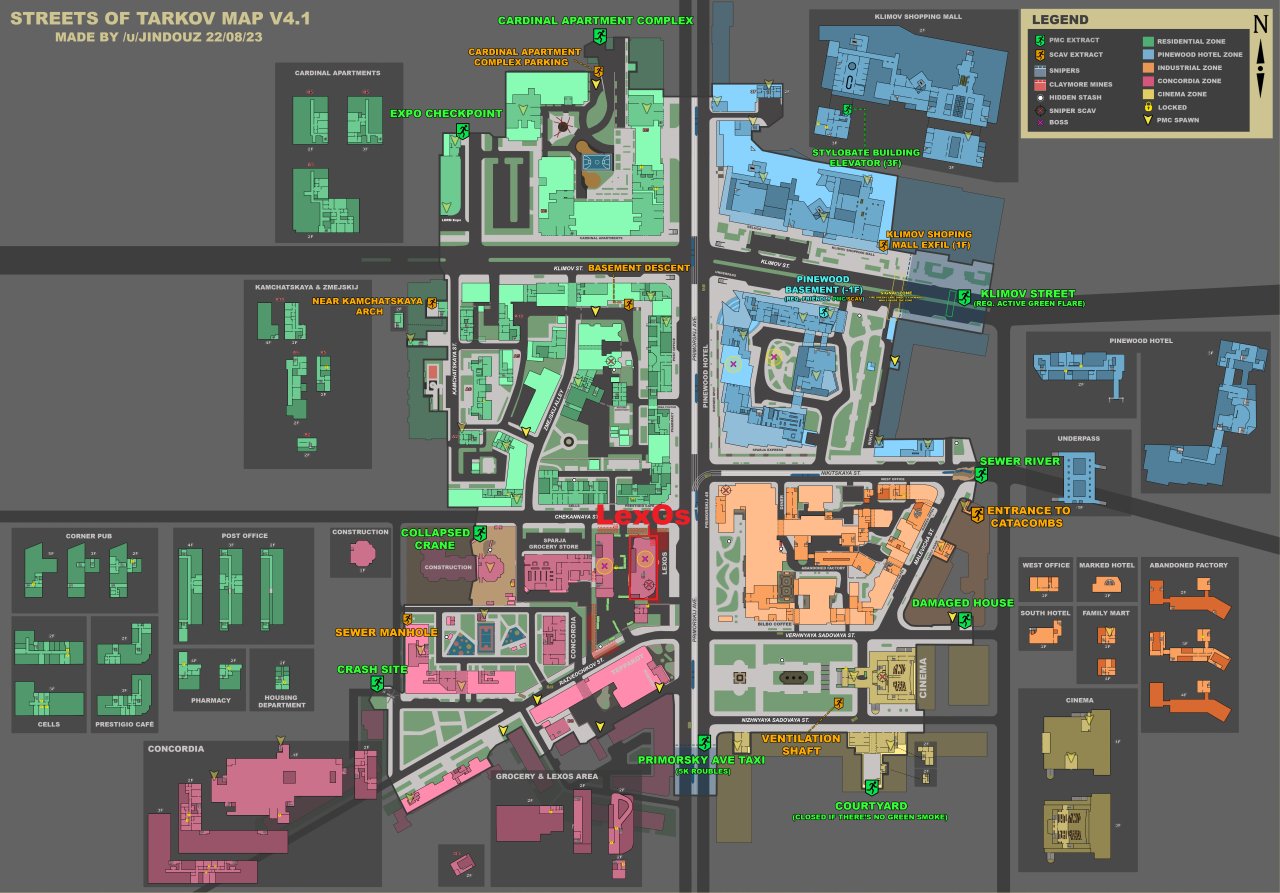
LexOs car dealership marked on a map.
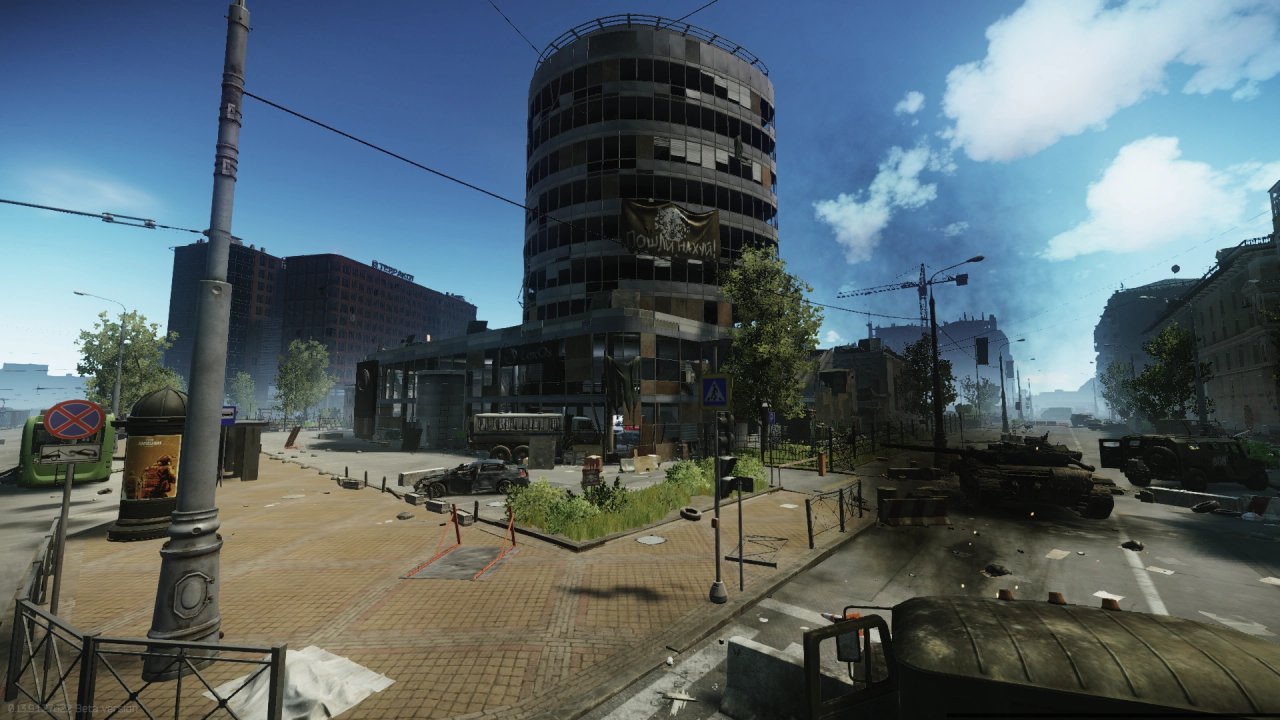
The car dealership.
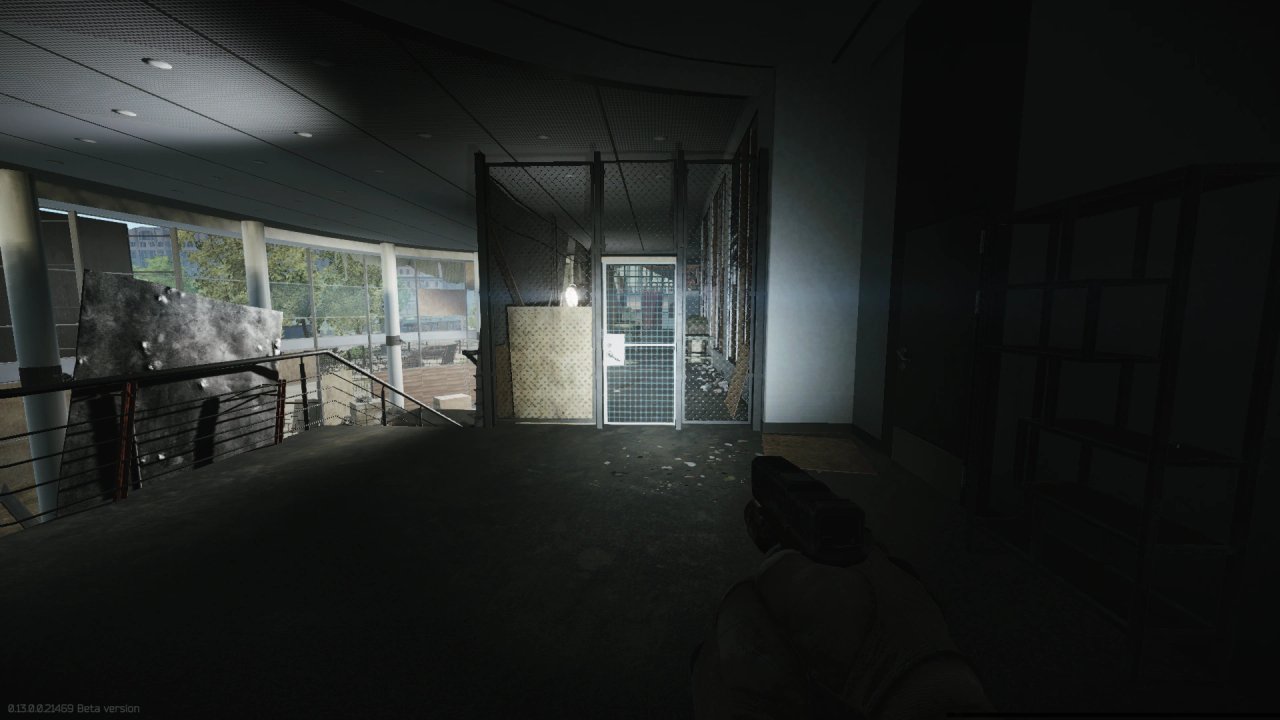
Door to the closed section on the second floor.
Door to the director’s office.
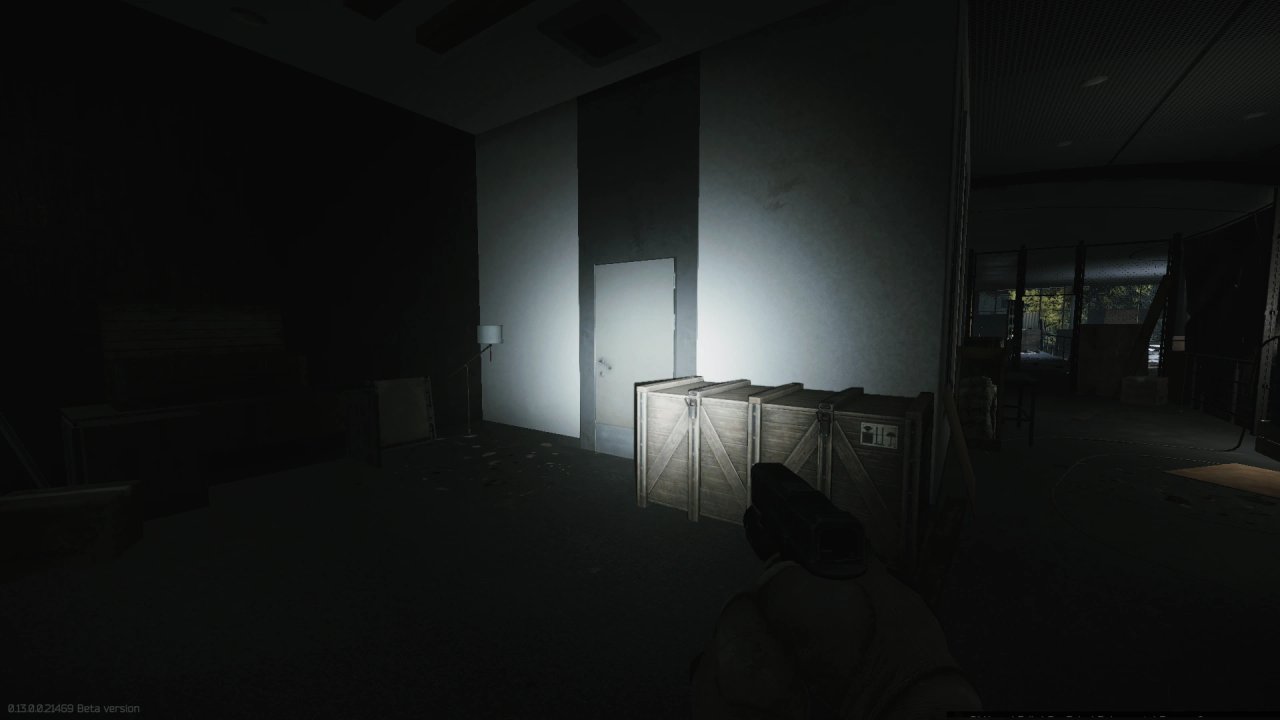
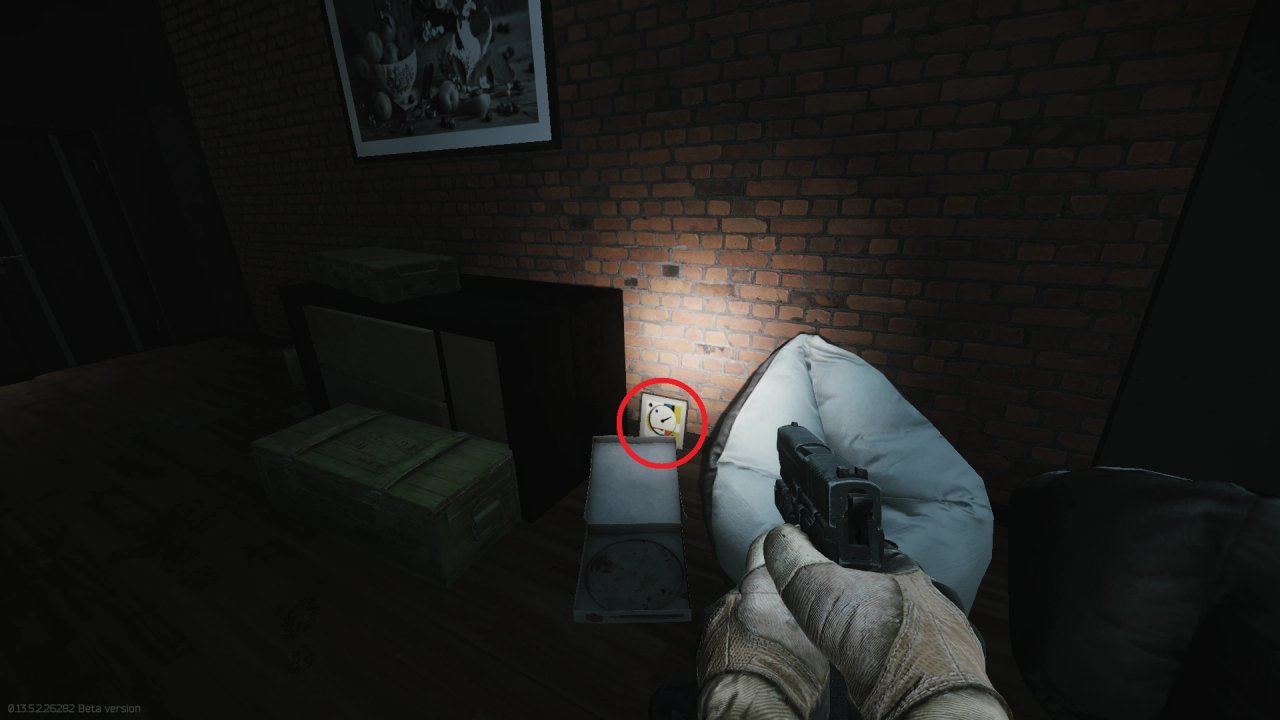
1.On top of the stacked wooden crates directly left after entering.
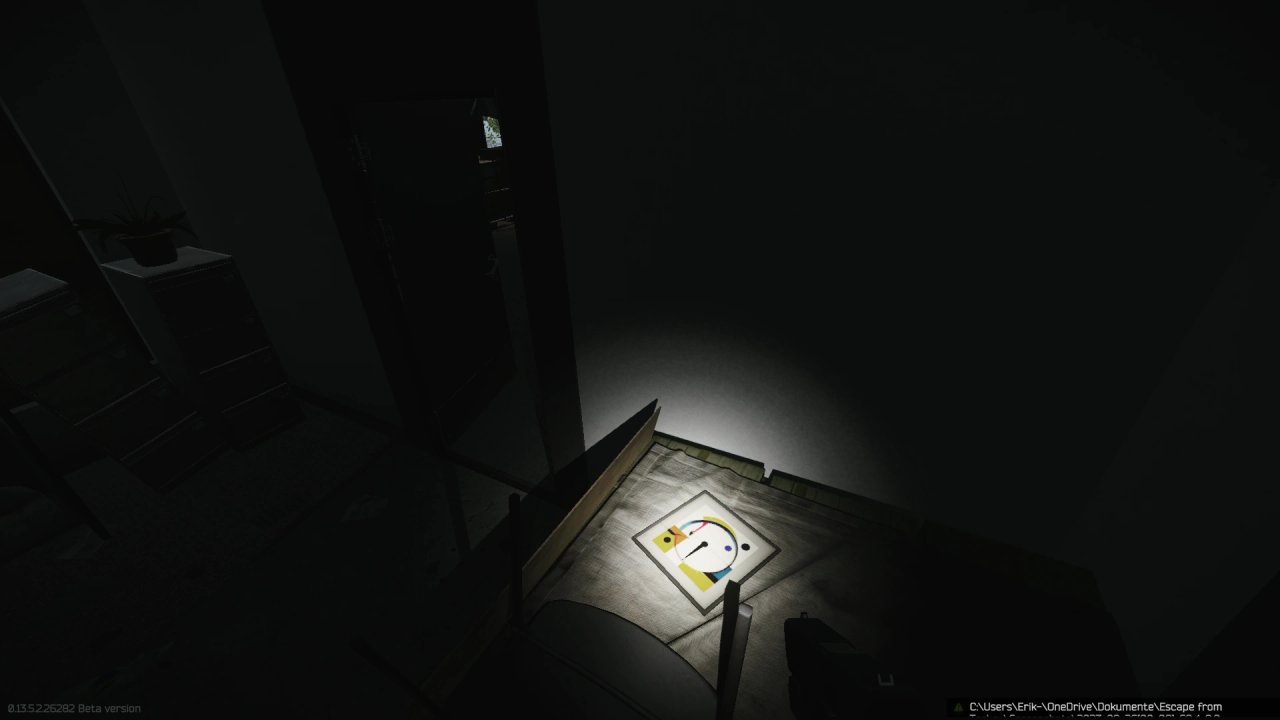
2.On the left side wall.
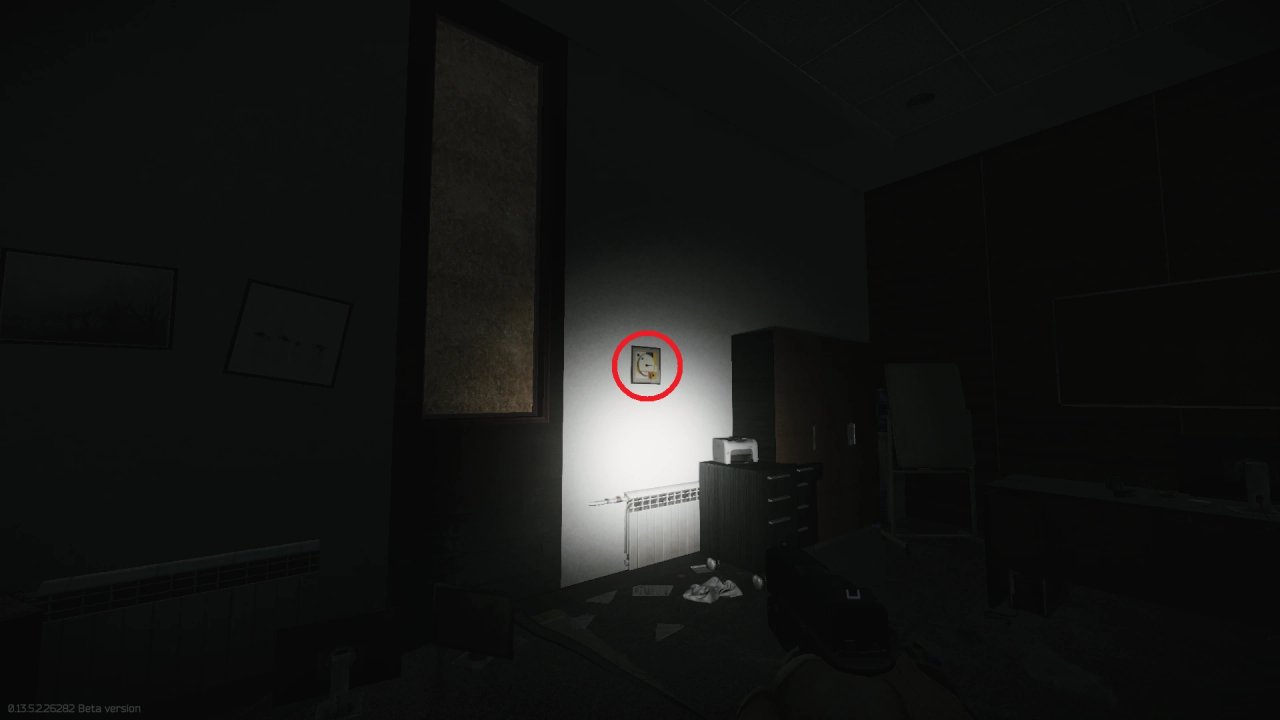
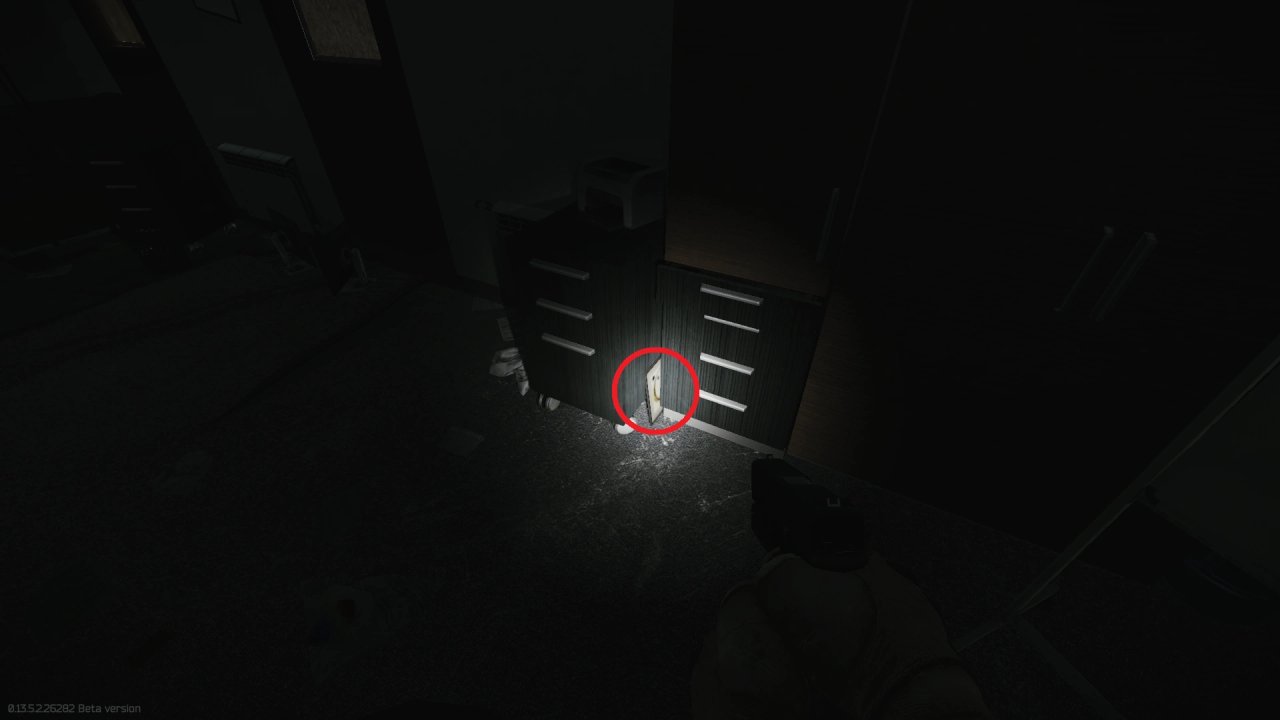
3.Between the mobile pedestal and the cabinet.
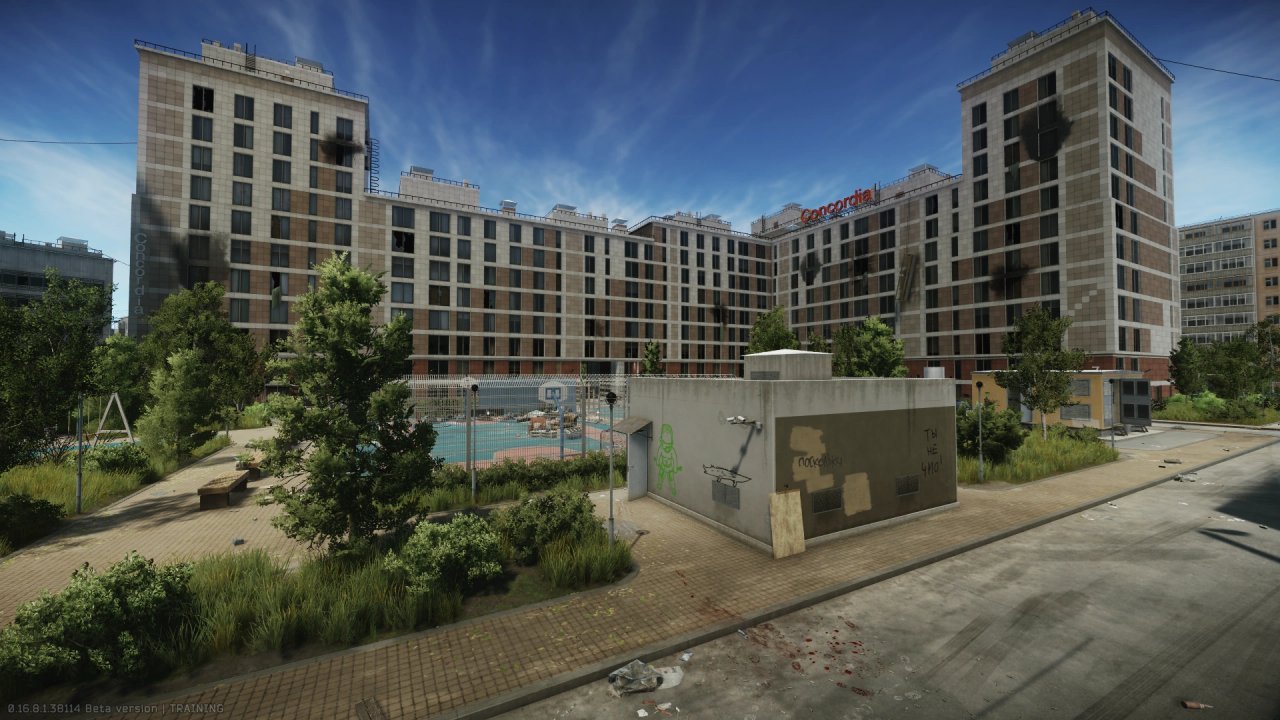
Apartment 34 location marked on a map.
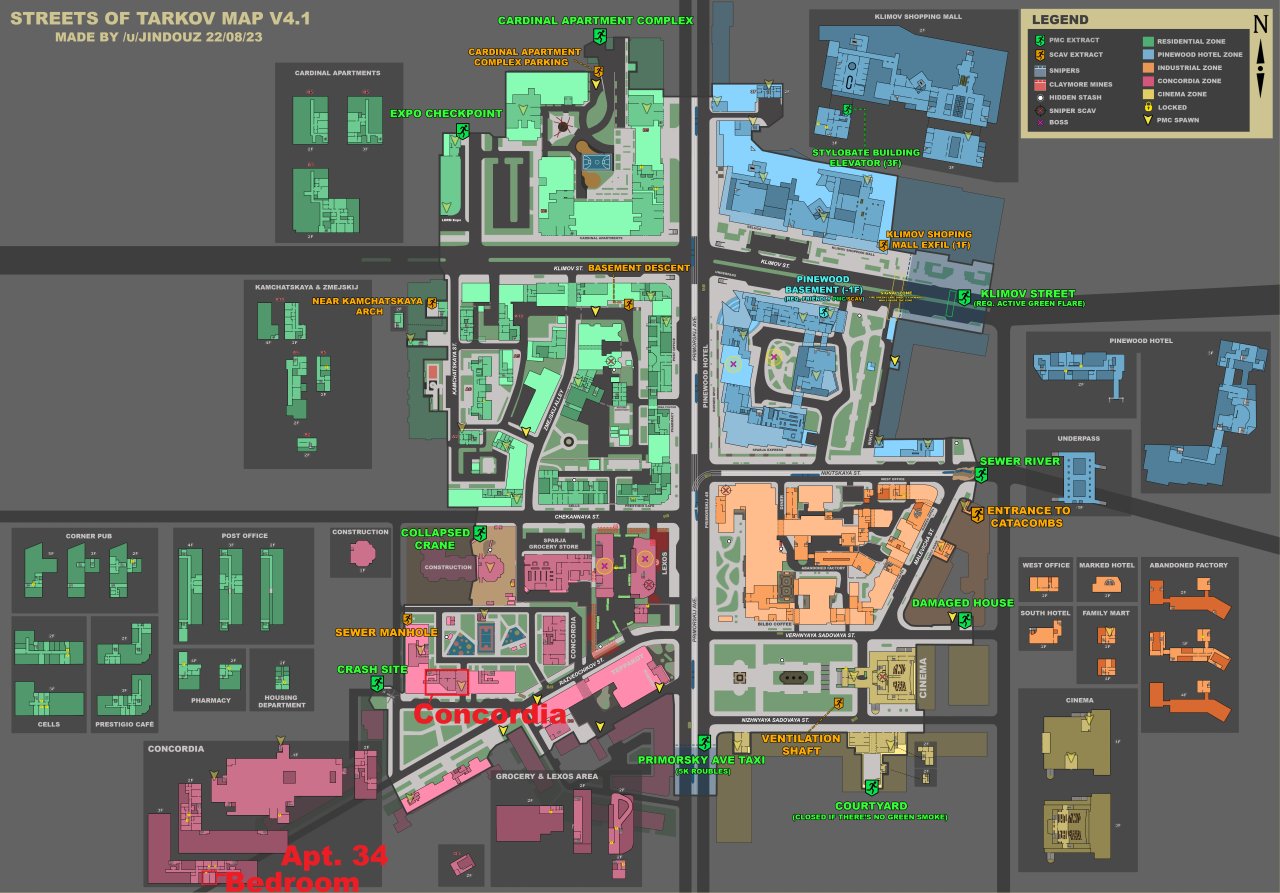
The Concordia building.
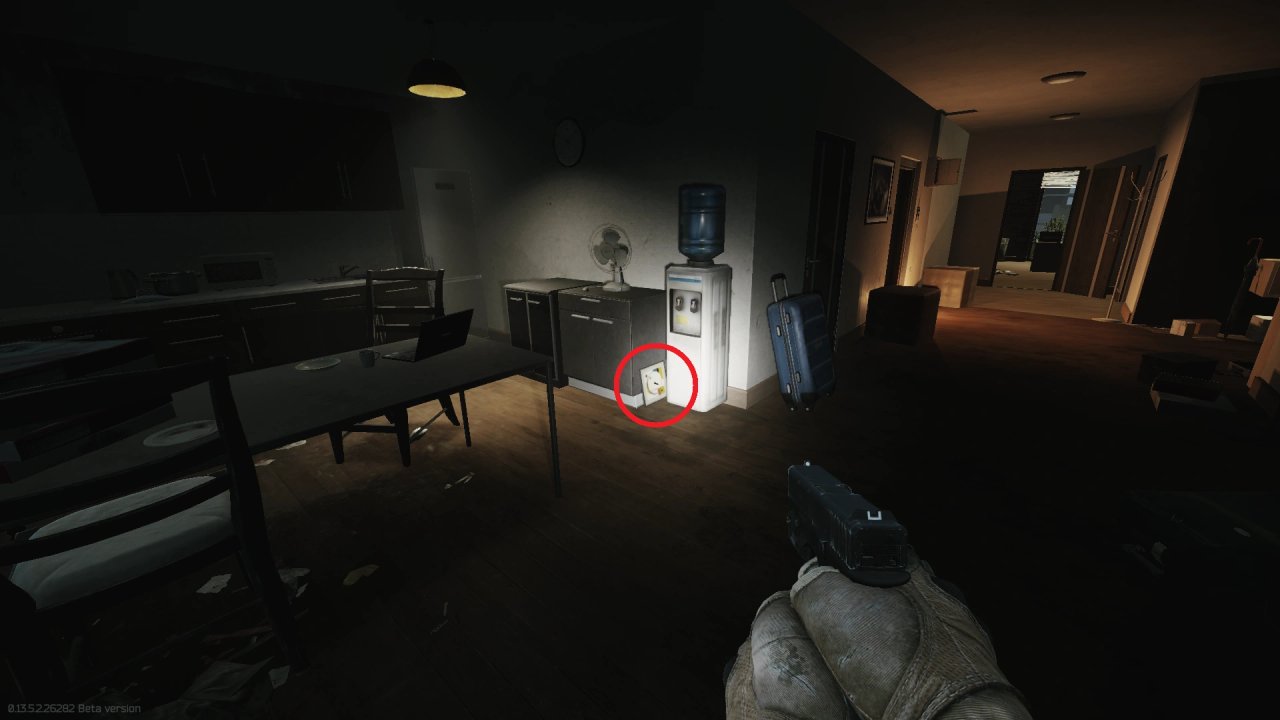
1.On the floor next to the water dispenser in the kitchen area.
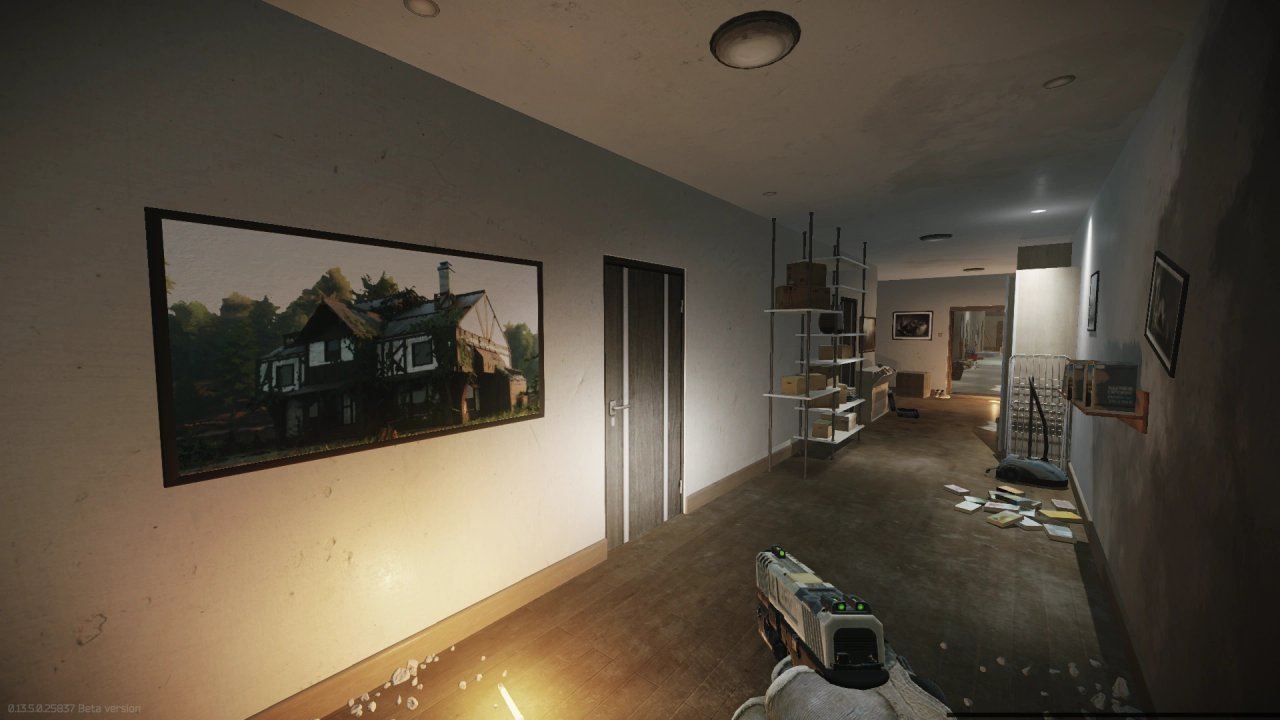
Hallway with bedroom door marked.
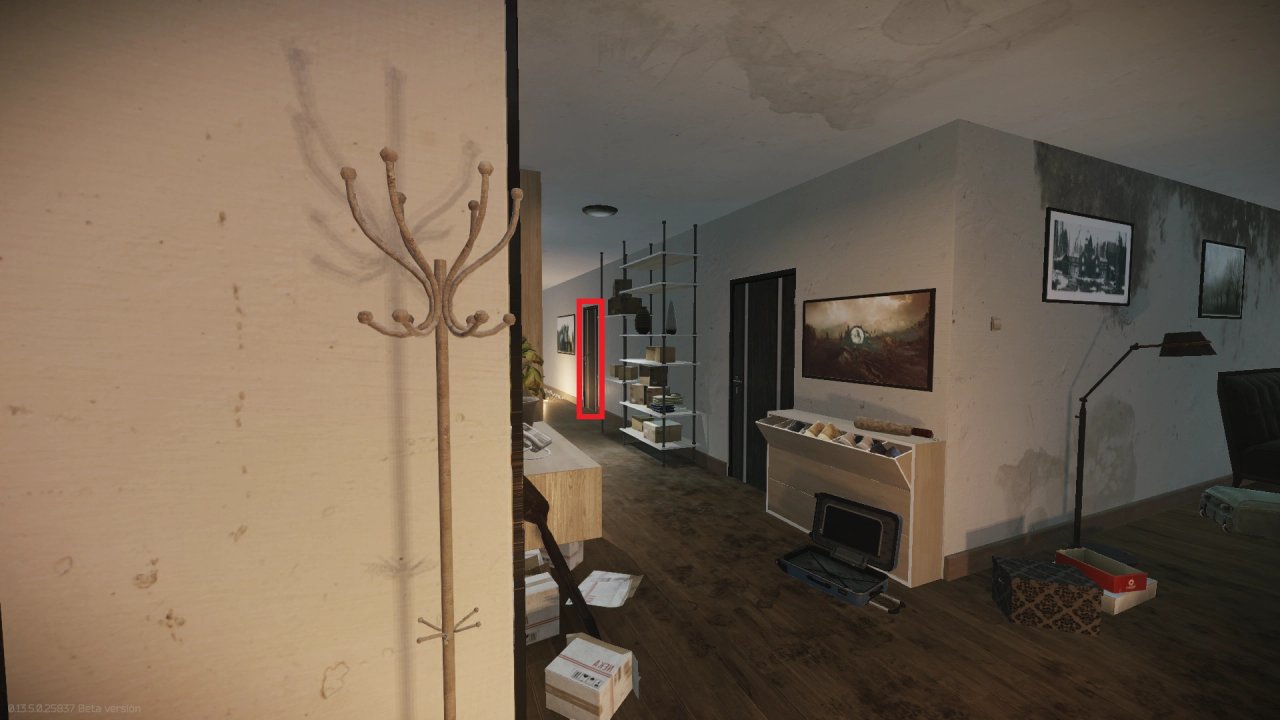
Door to the bedroom.
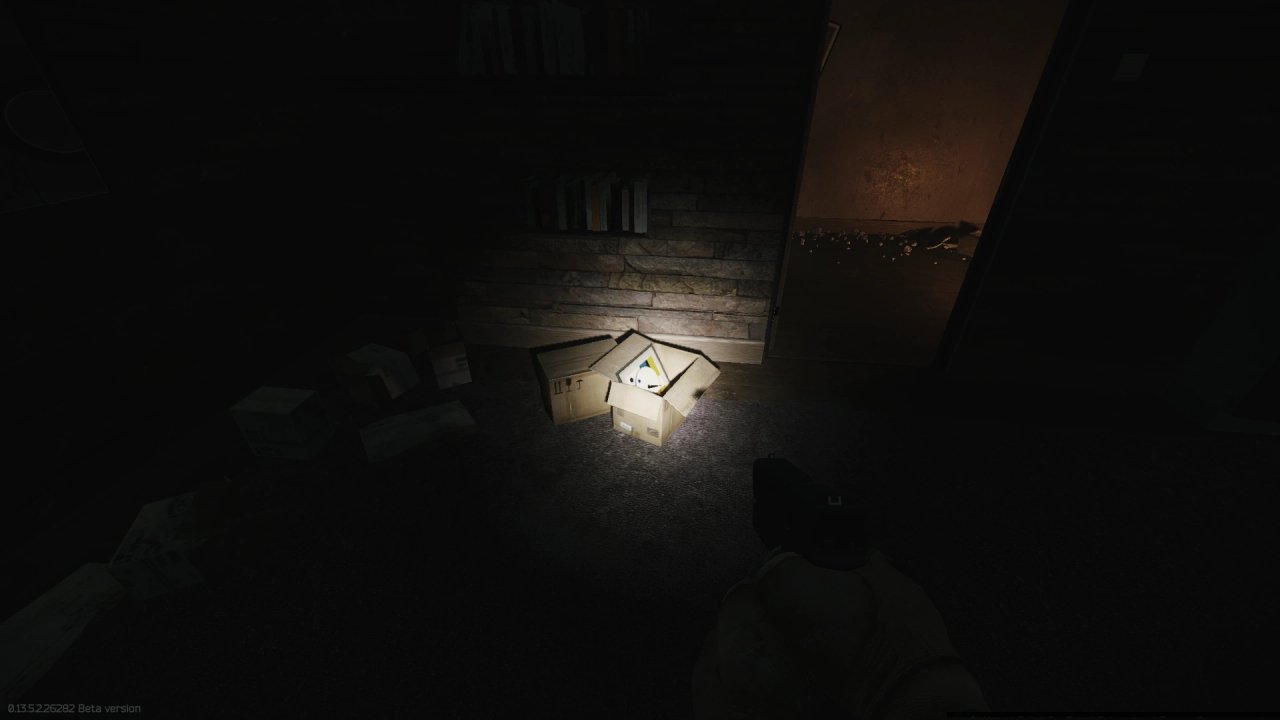
2.In the cardboard box on the floor directly right after entering.
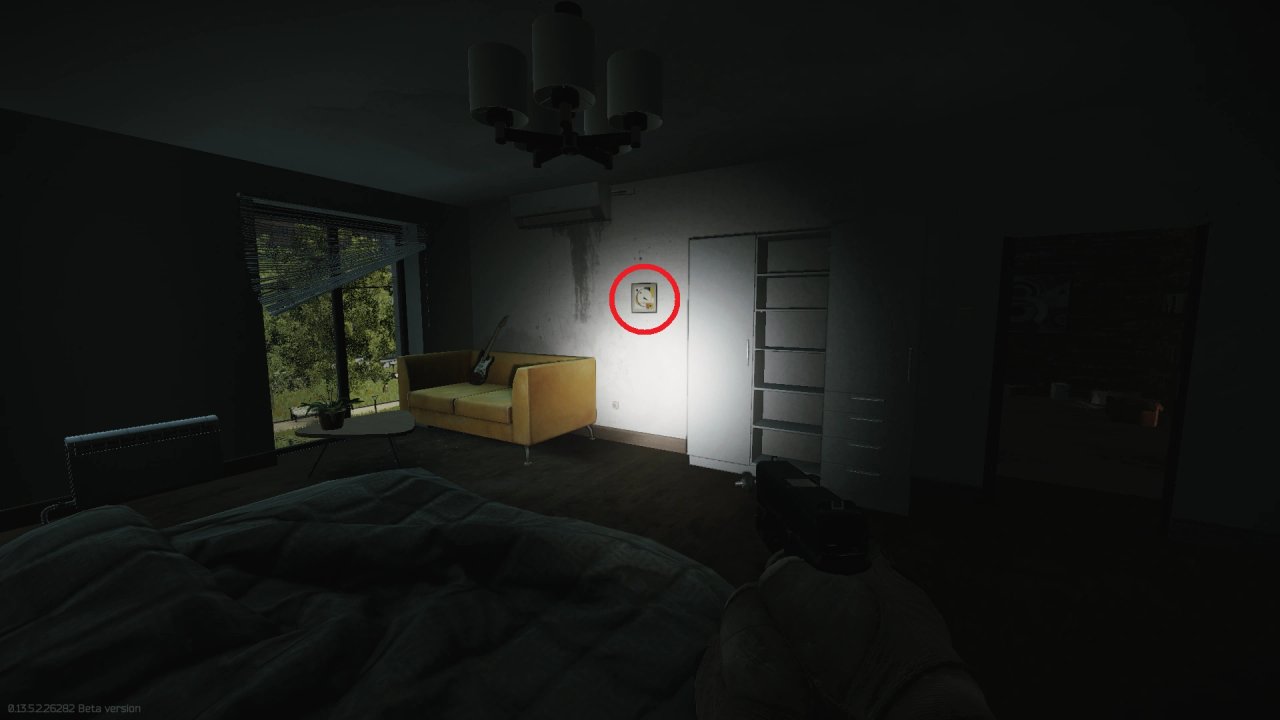
3.On the wall in the second room.
School marked on a map.
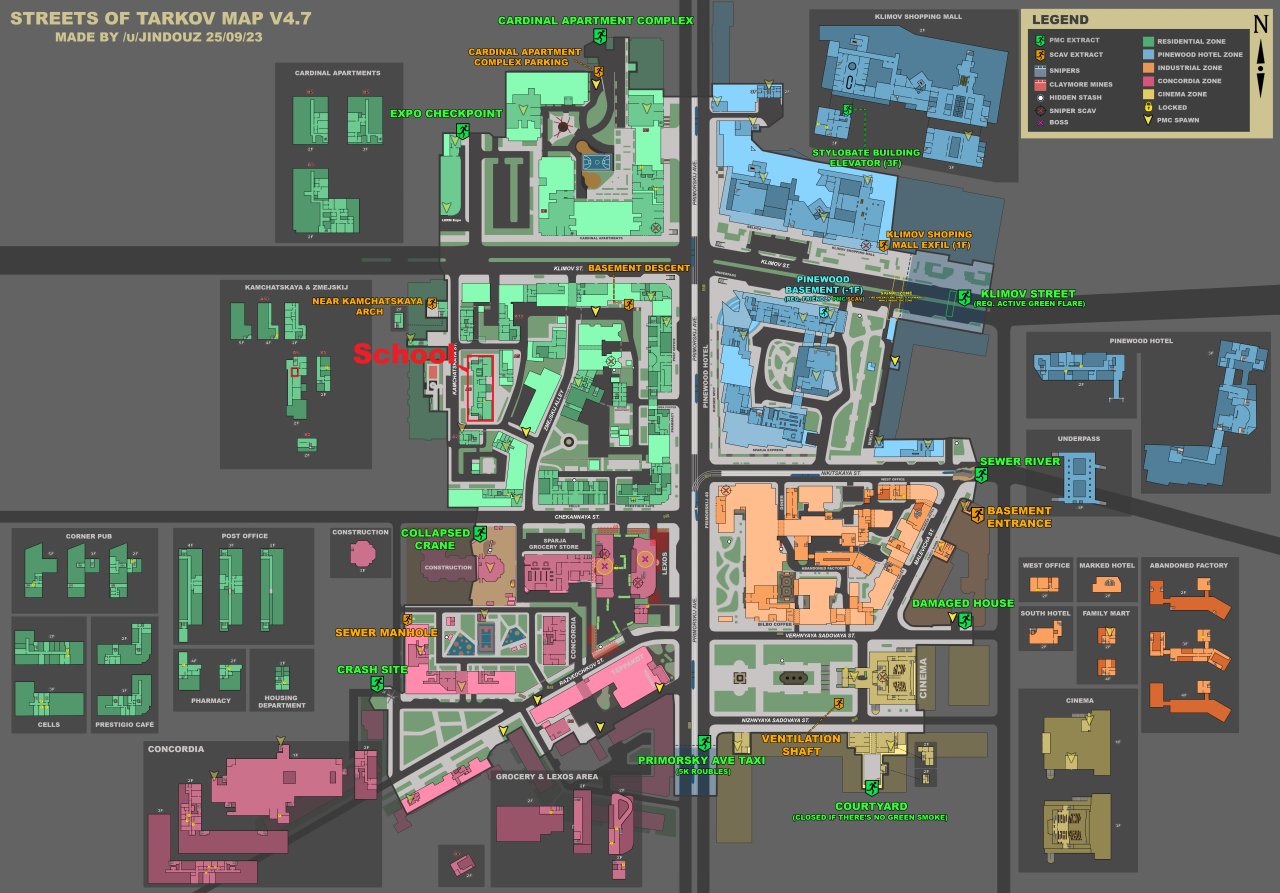
The school.
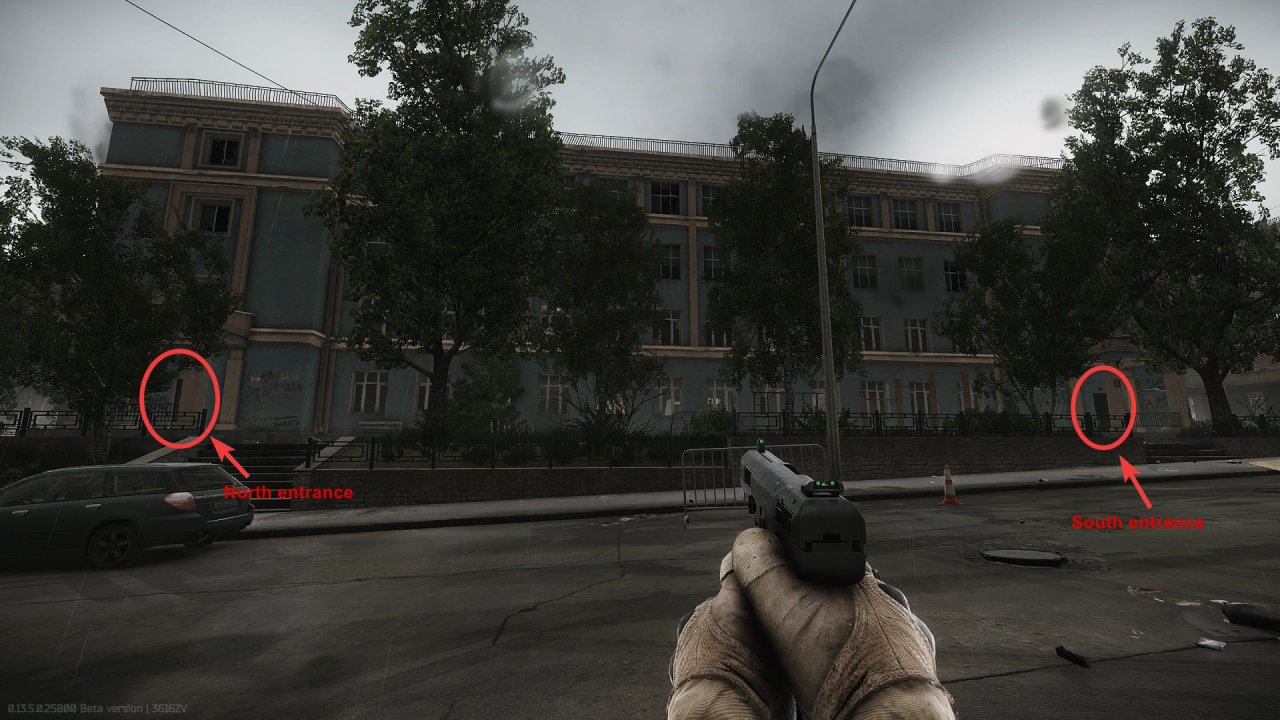
Entrance to the hidden room.
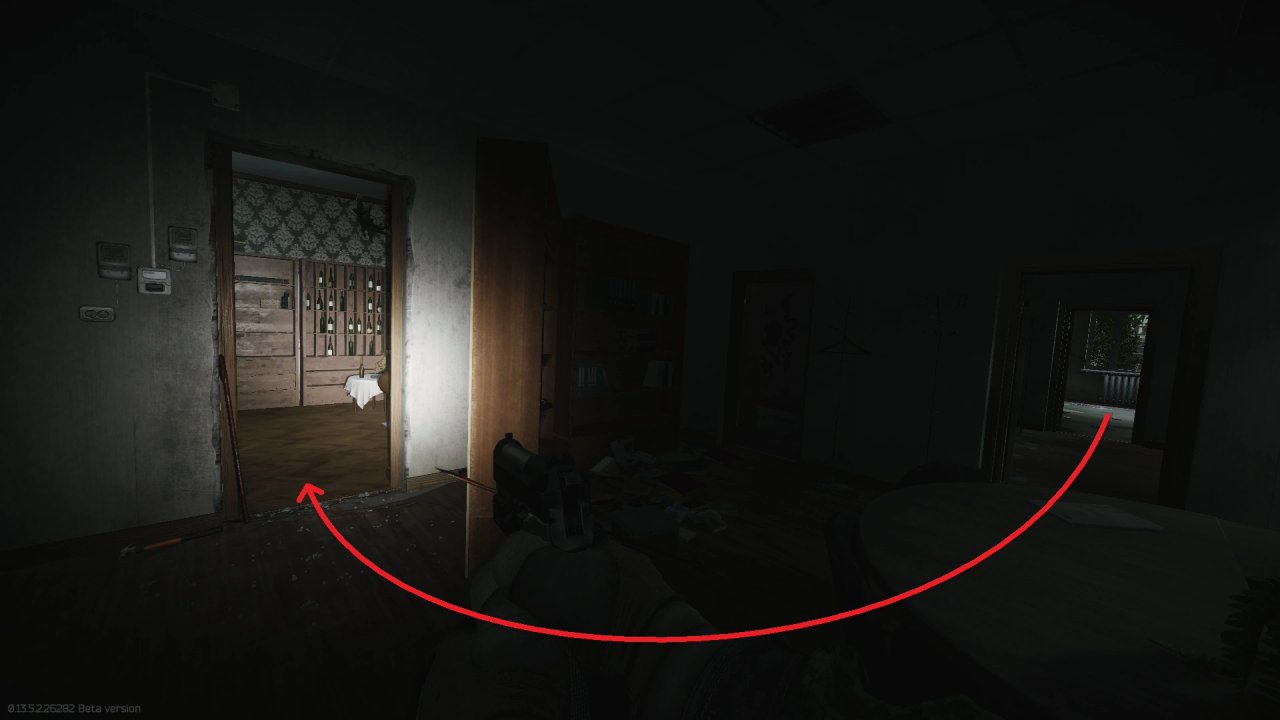
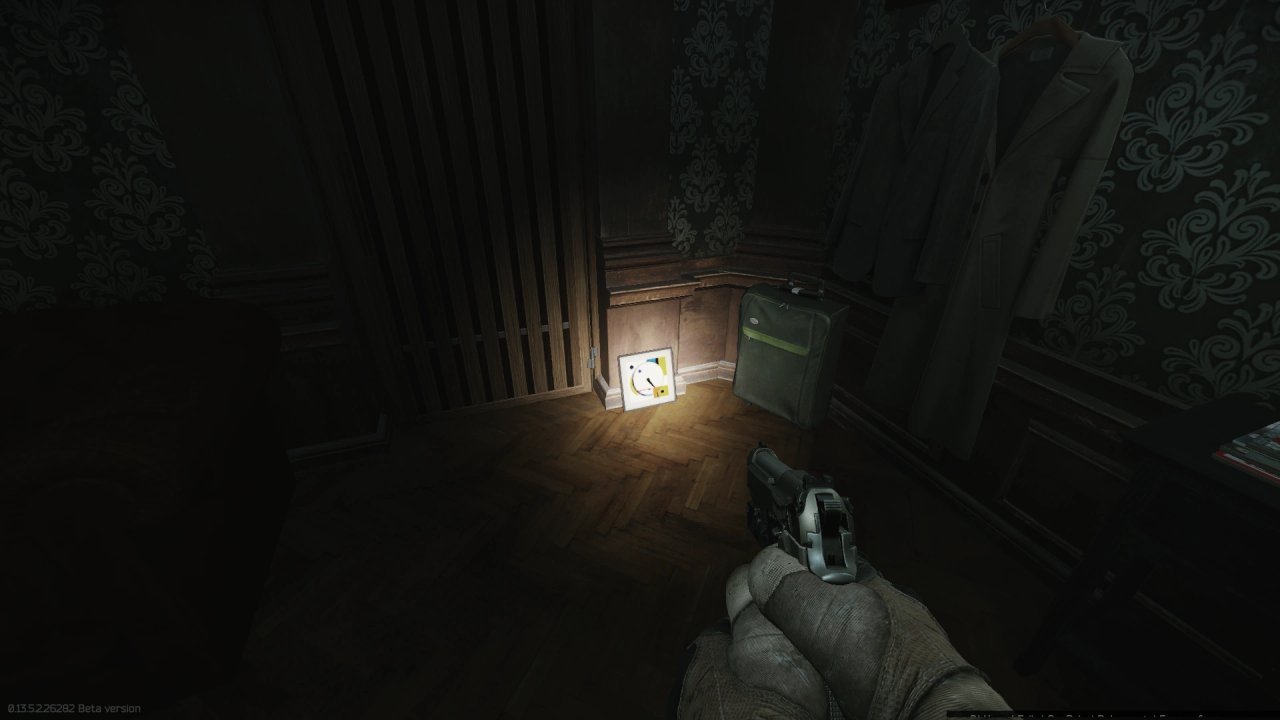
1.On the floor next to the suitcase directly left after entering.
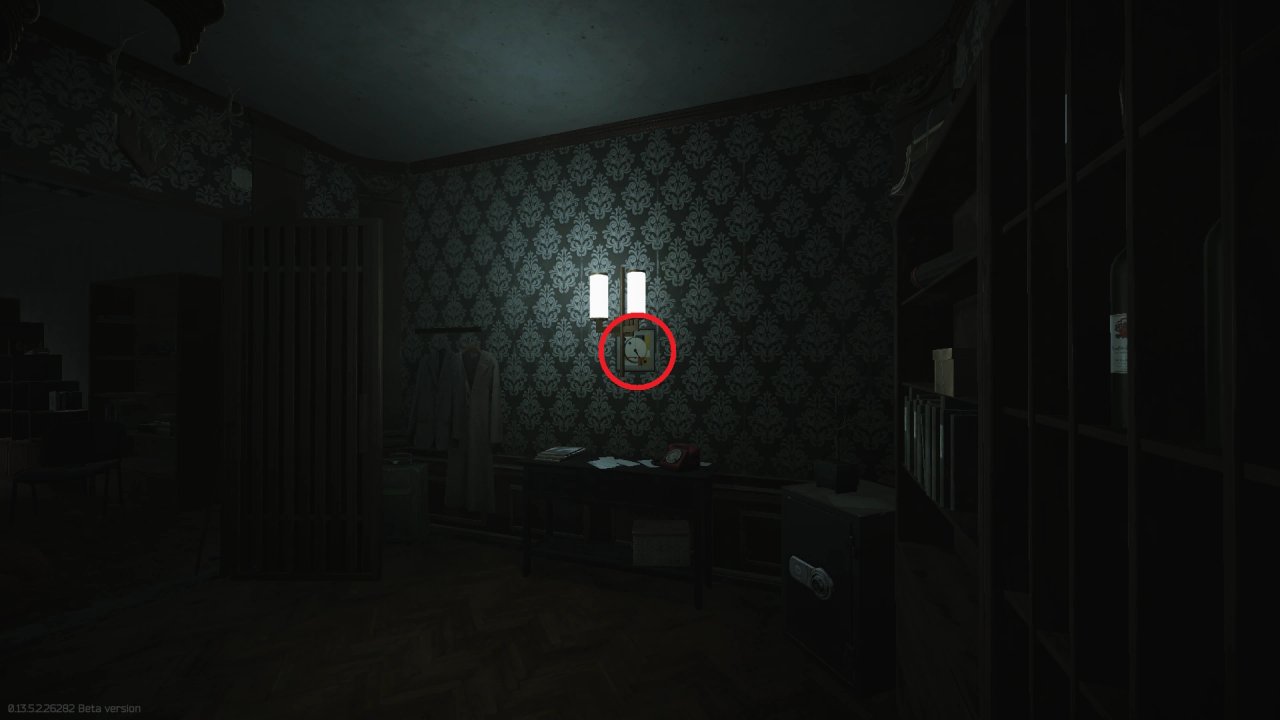
2.On the left wall behind the lamp.
3.Leaned on the wall next to the shelf in the back right.
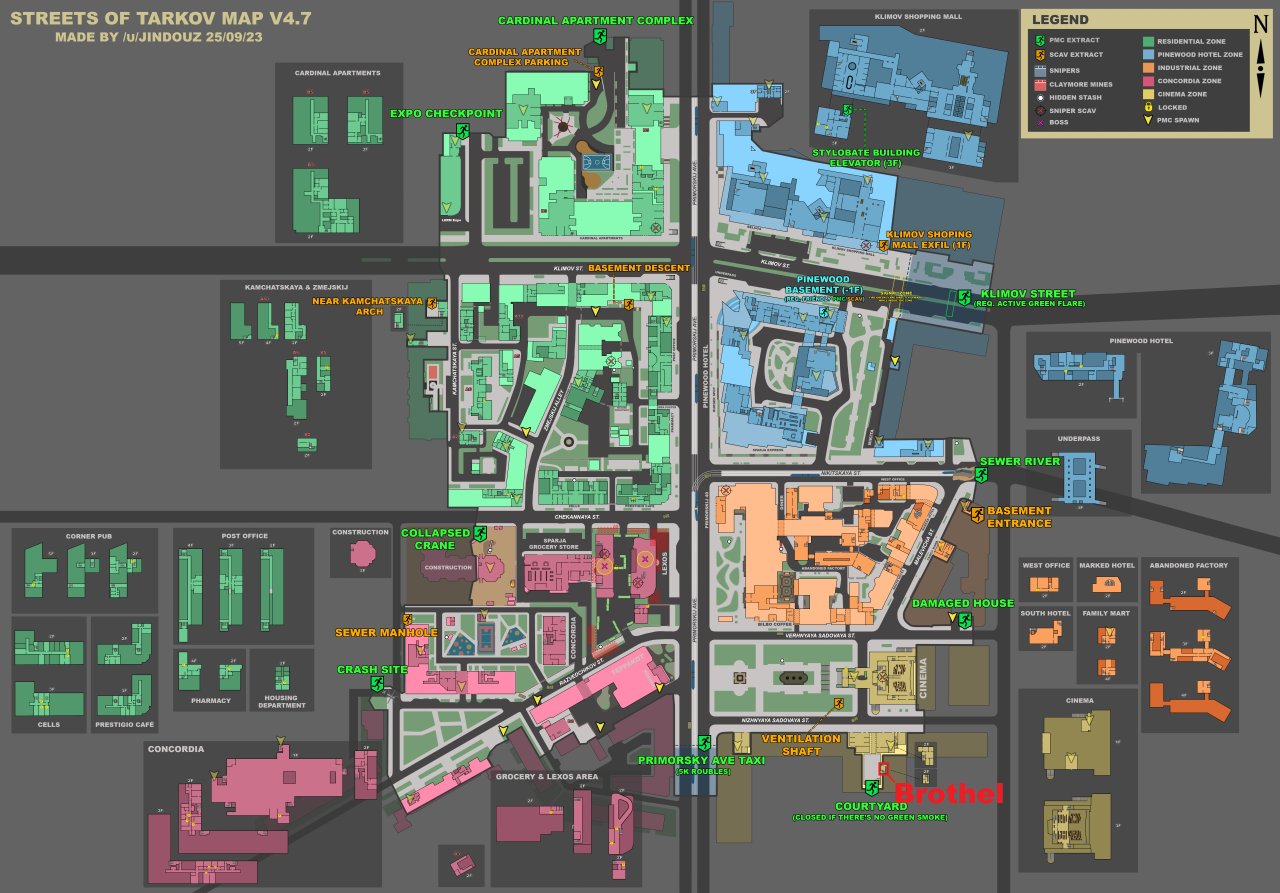
Camelot building marked on a map.
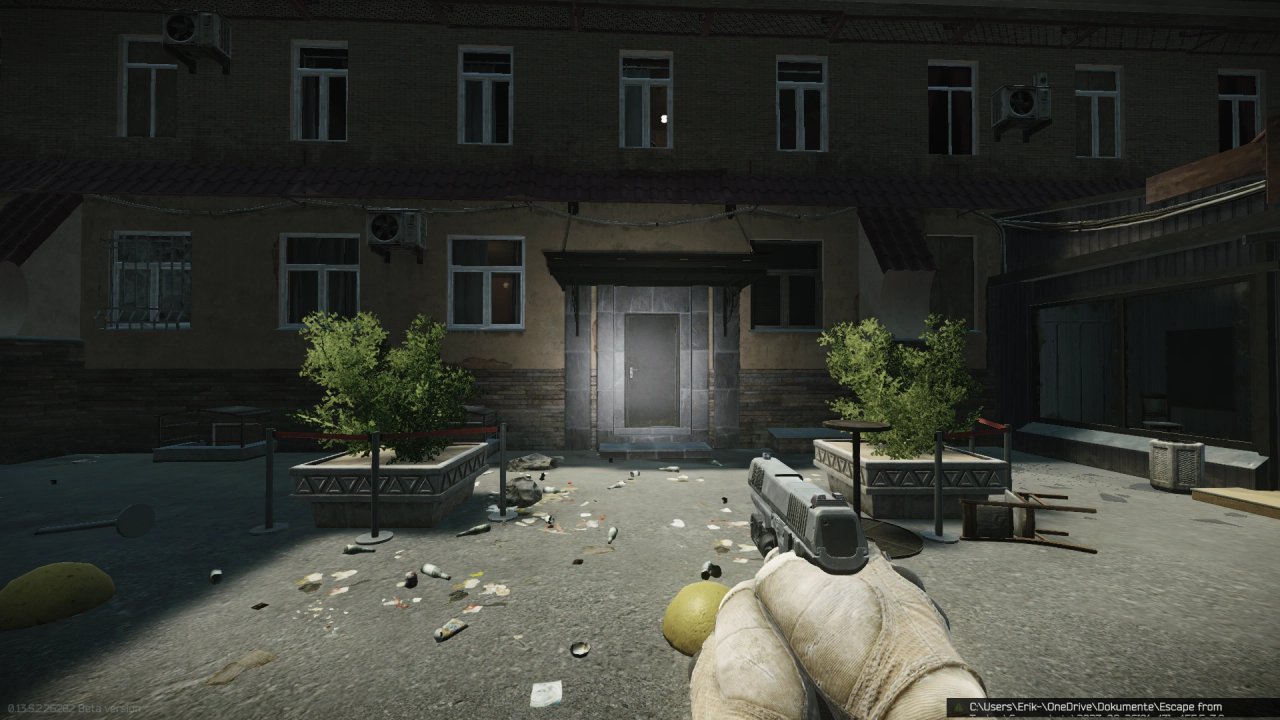
Entrance to the building.
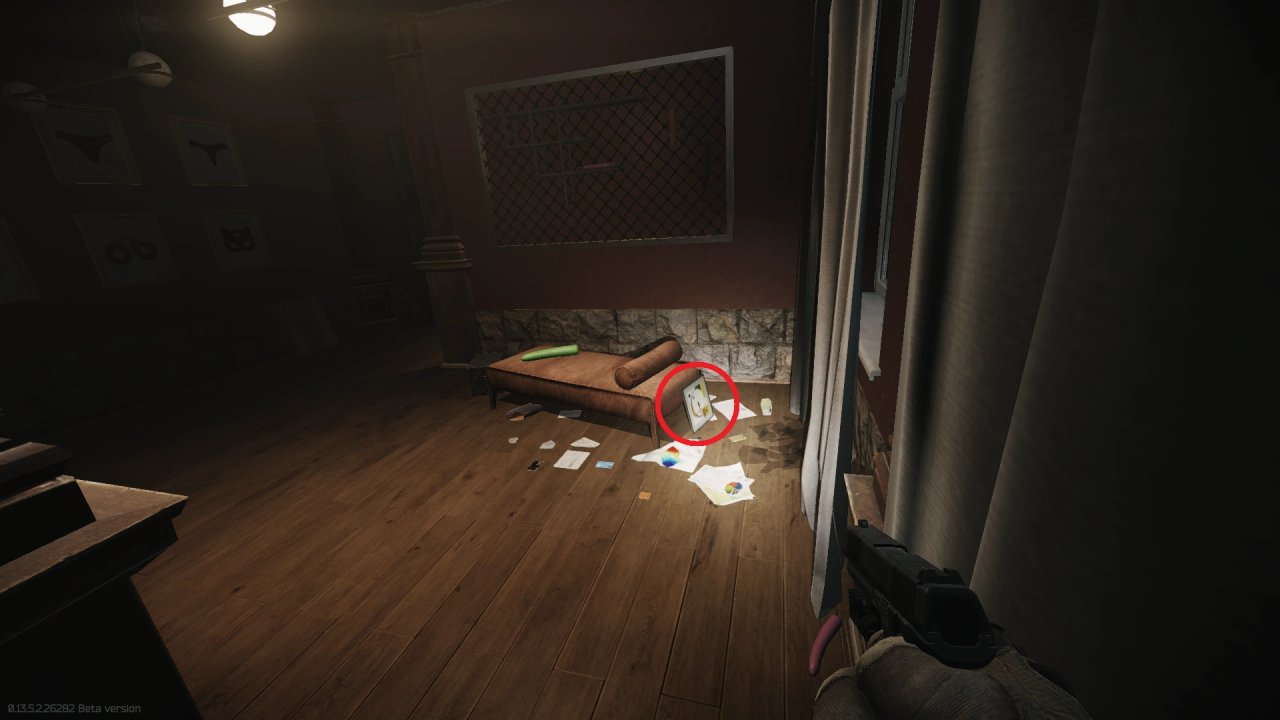
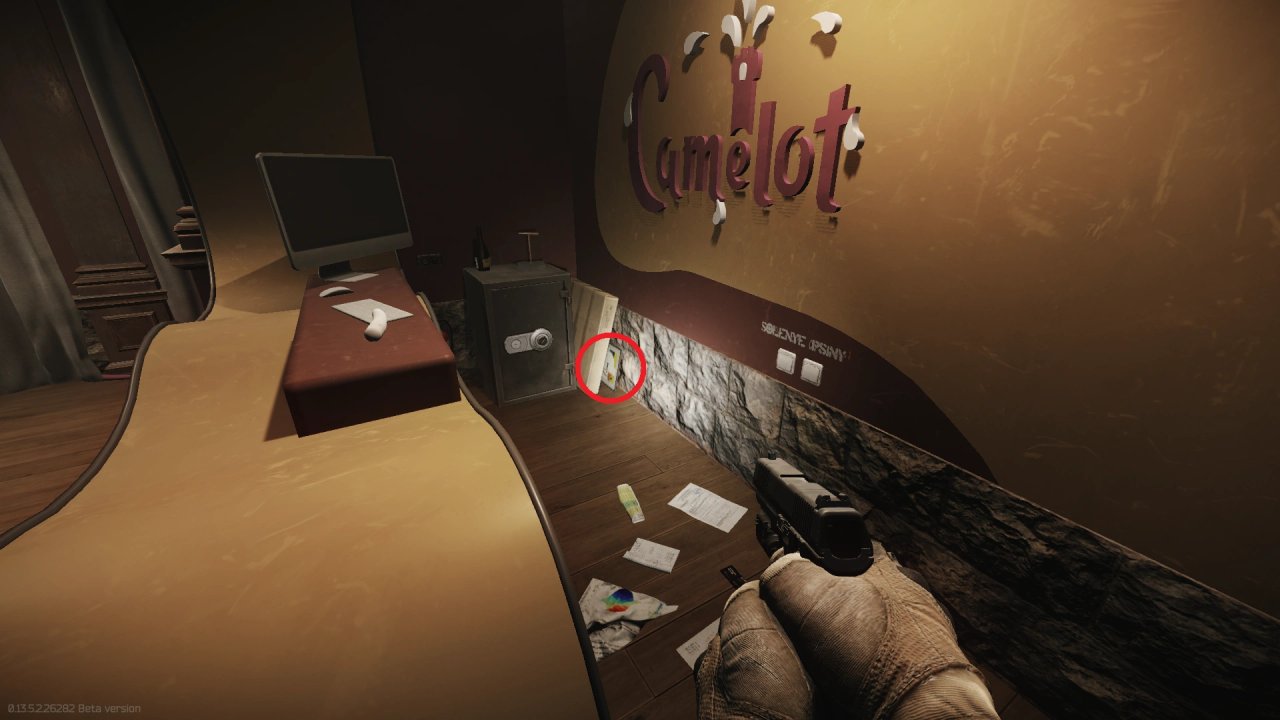
1.Leaned against the chaiselounge on the first floor.
2.Hidden next to the safe behind the counter on the first floor.
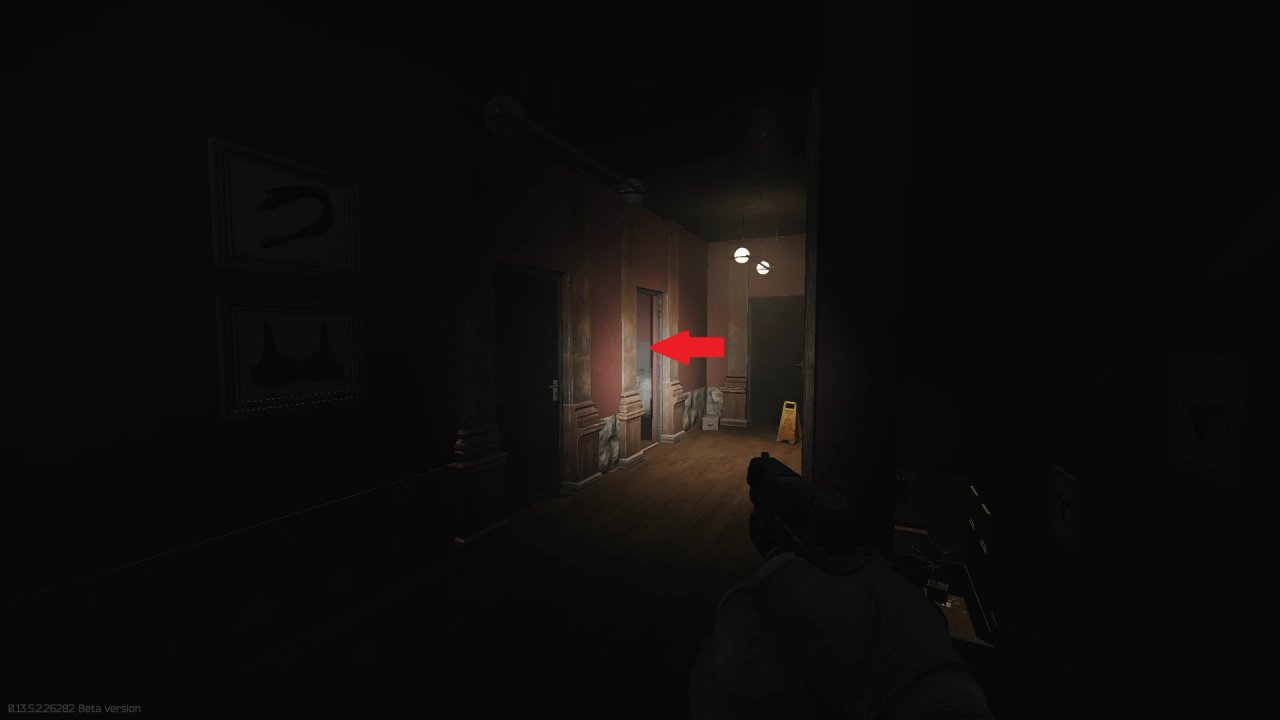
Second floor hallway with third spawn room marked.
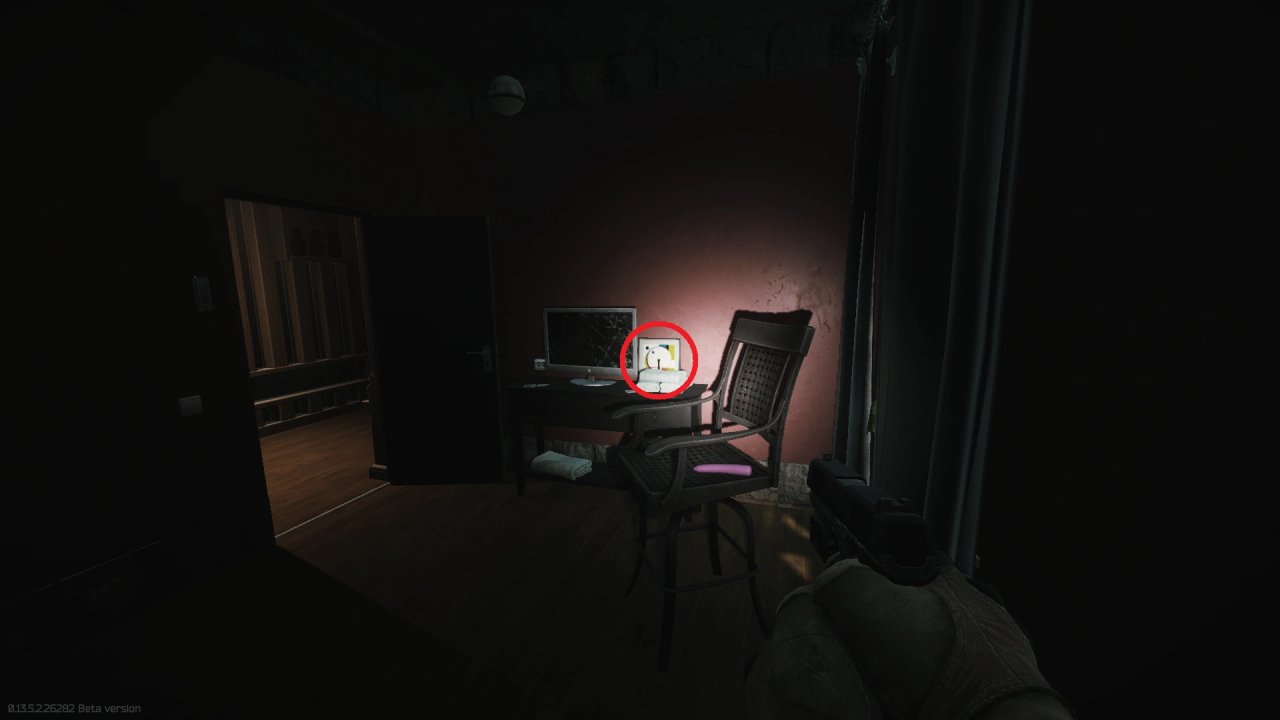
3.Behind the monitor on the desk.
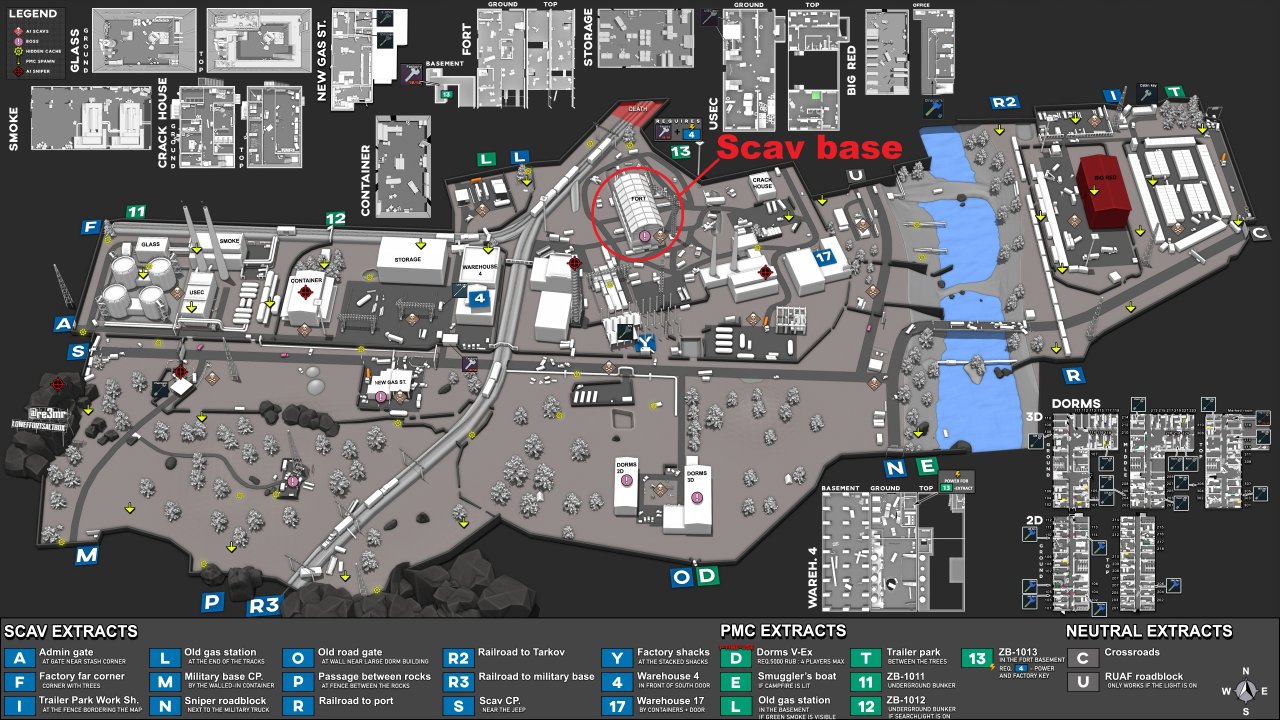
Scav base marked on a map.
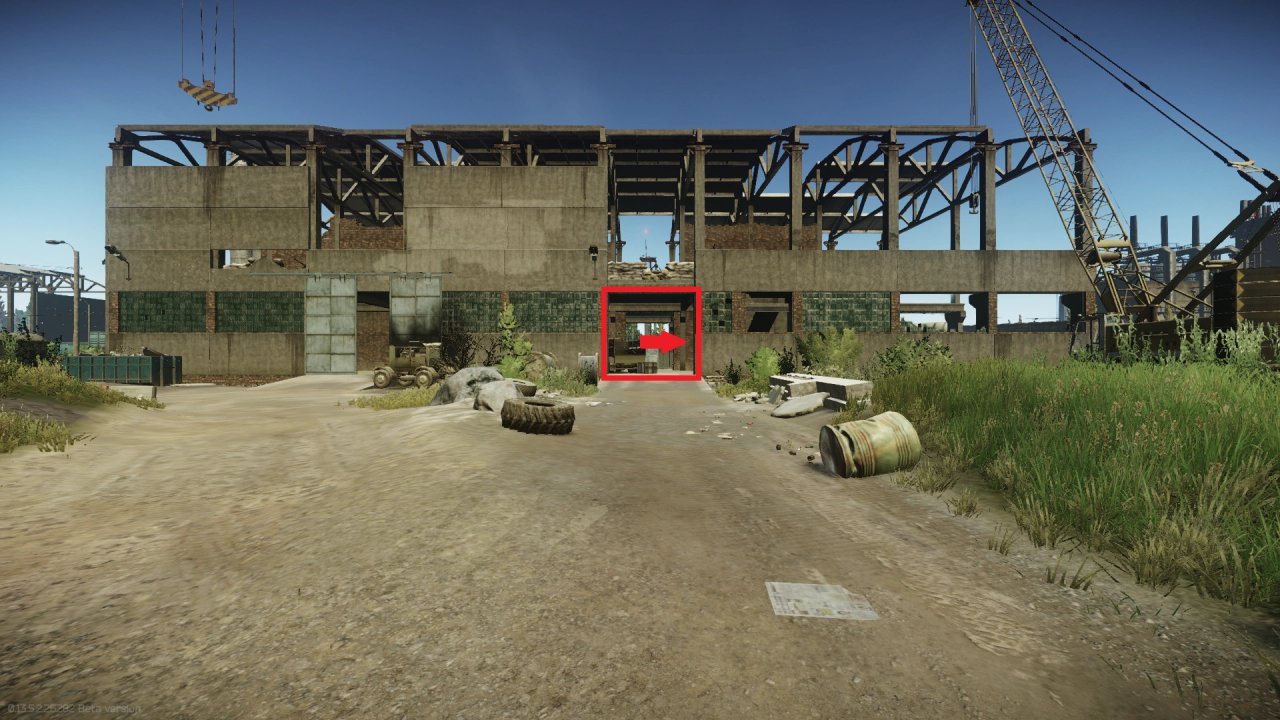
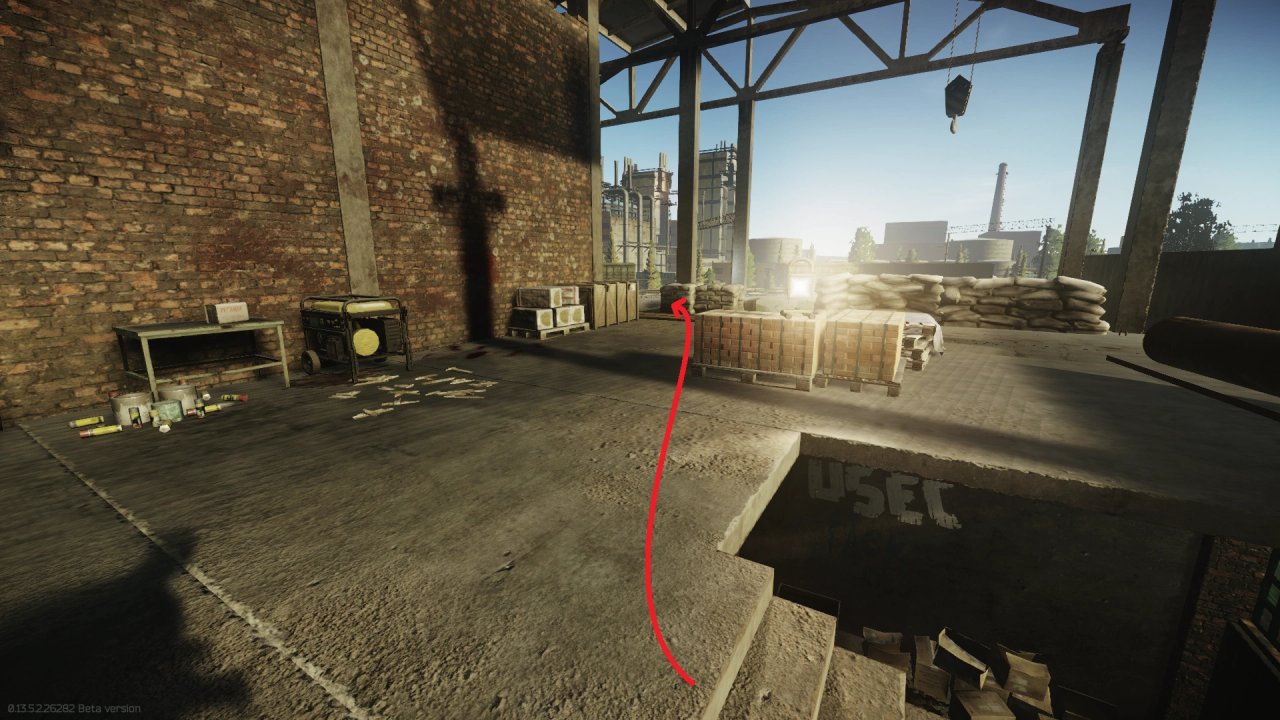
Entering from the shown entrance, turn right.
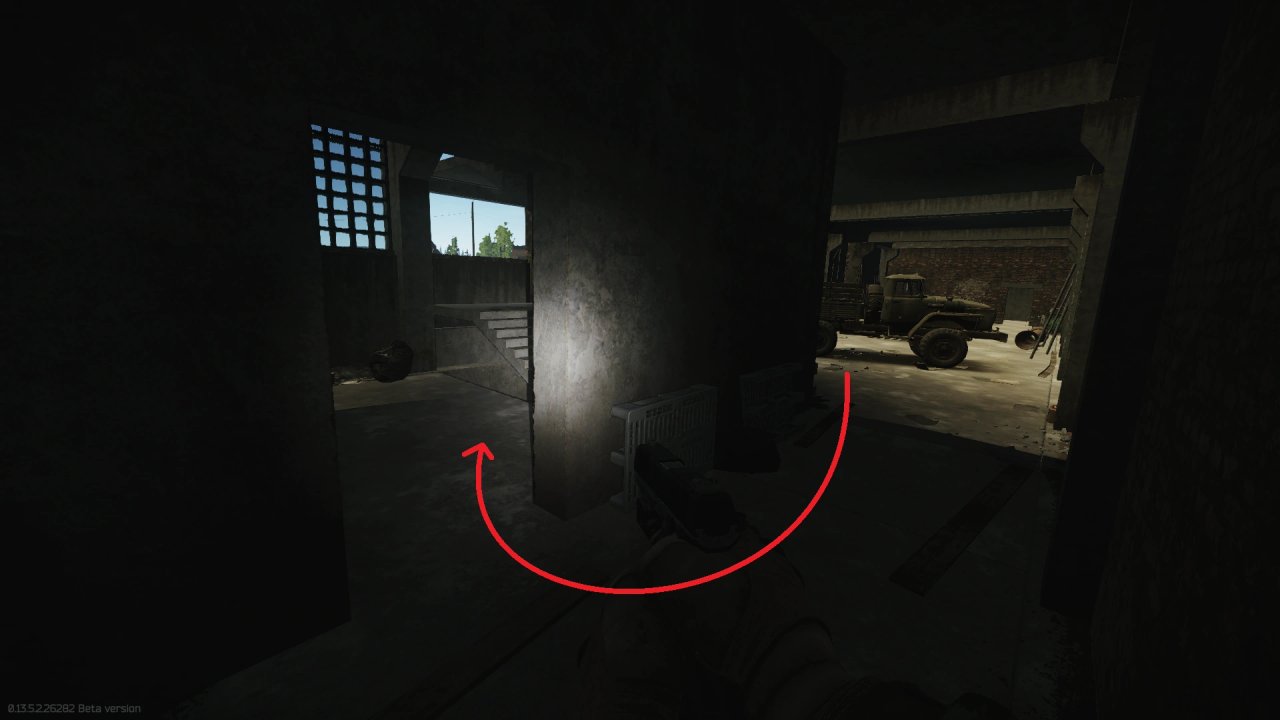
Take the opening on the right and head up the stairs.
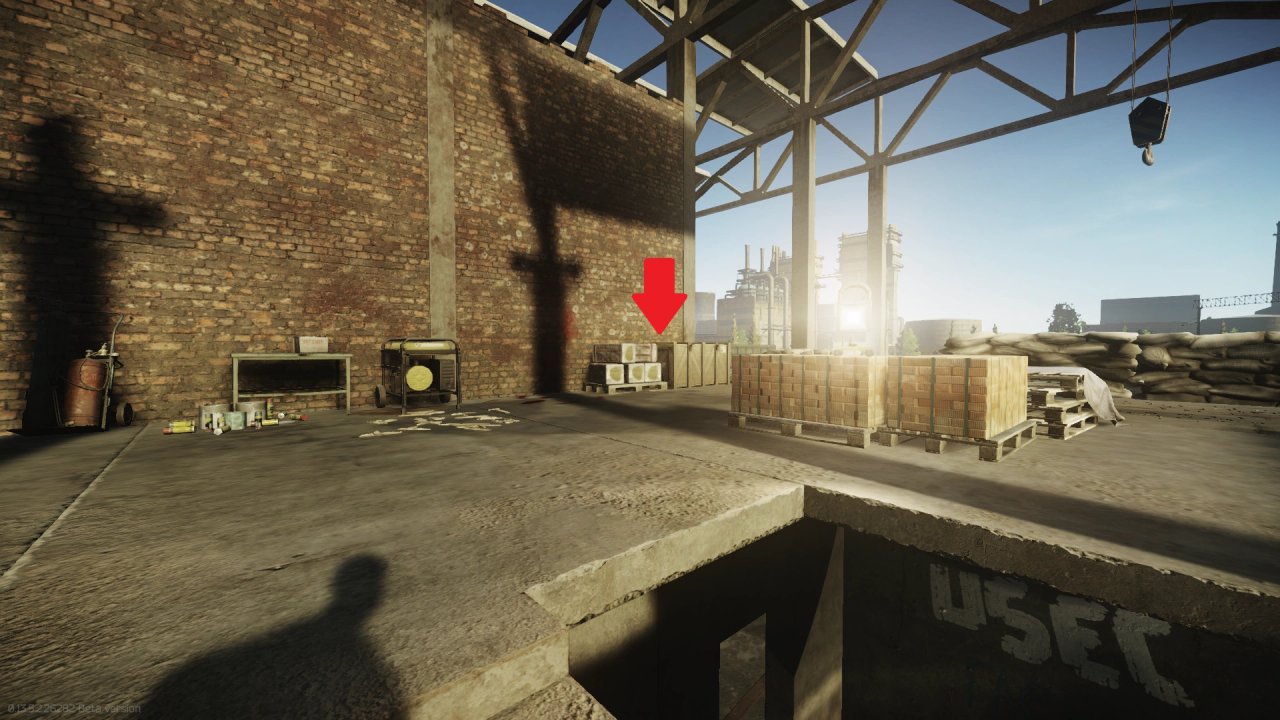
At the top of the stairs, immediately on your front right, move to the Medical supply crate.
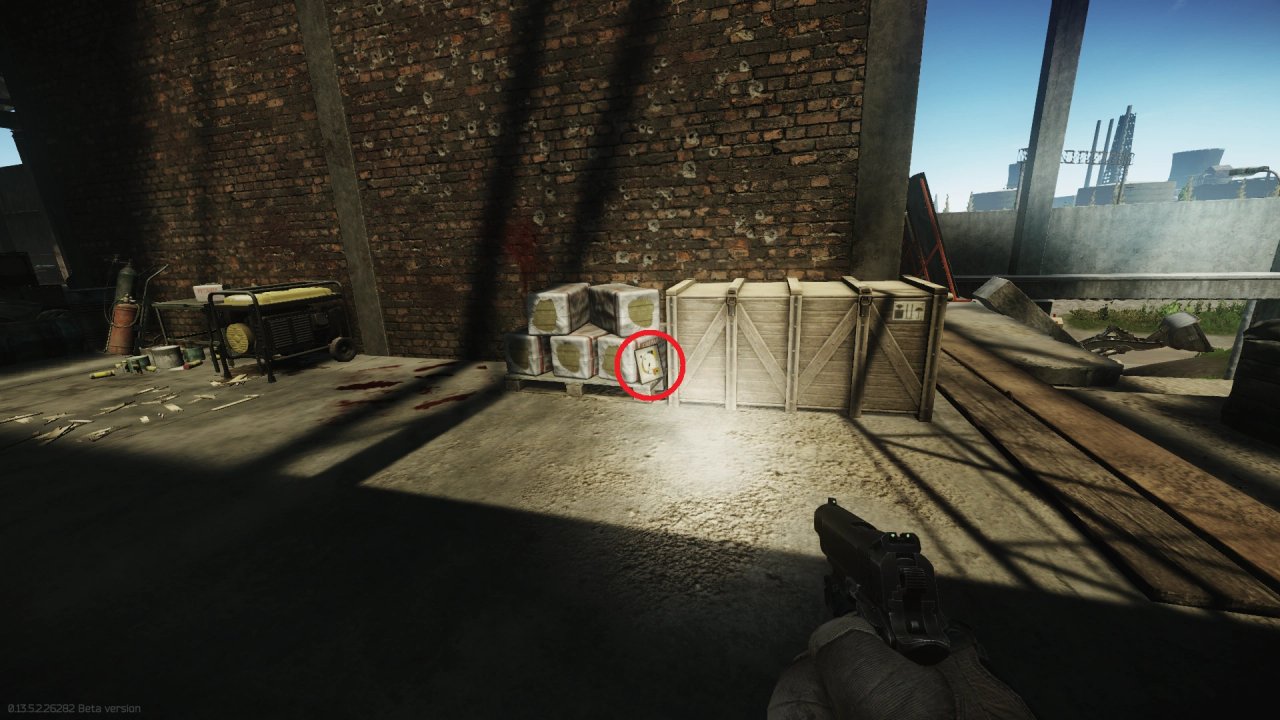
The painting can be located between the Medical supply crate and some building materials.
From the stairs, move around the Medical supply crate to the right.
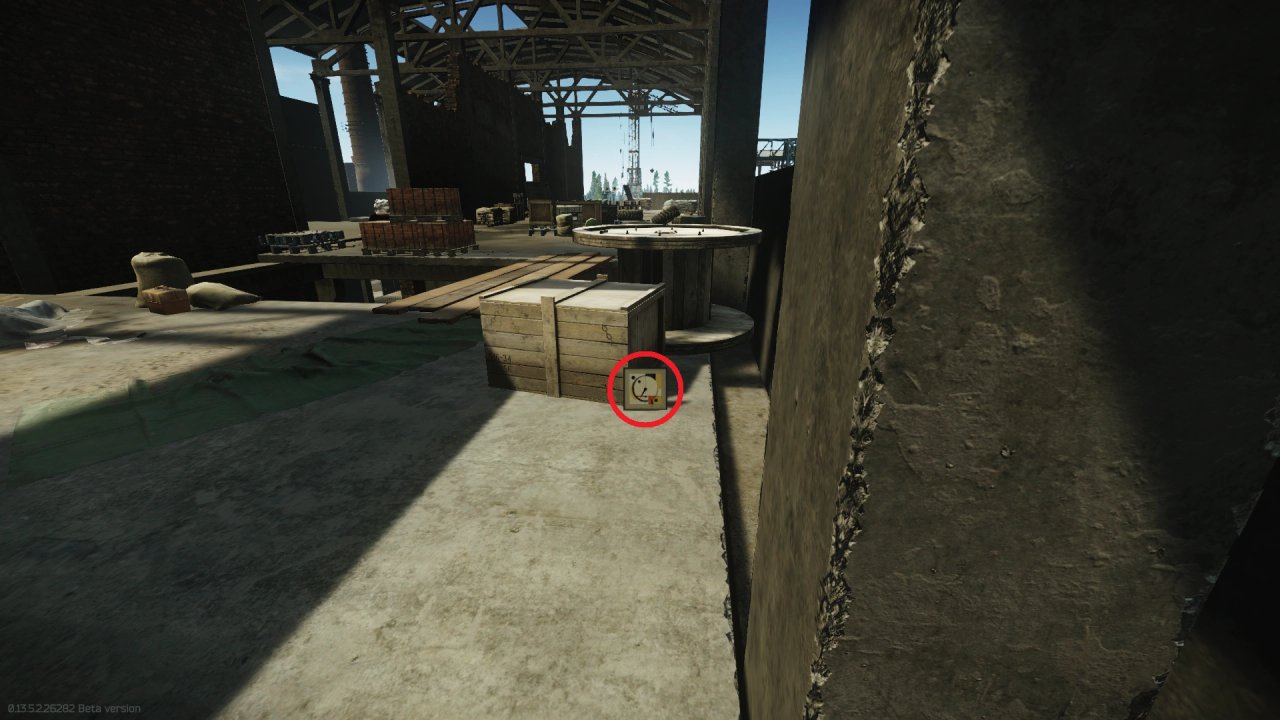
Pass by the crate and directly infront of you, there is a cable reel and a crate, where the painting is located.
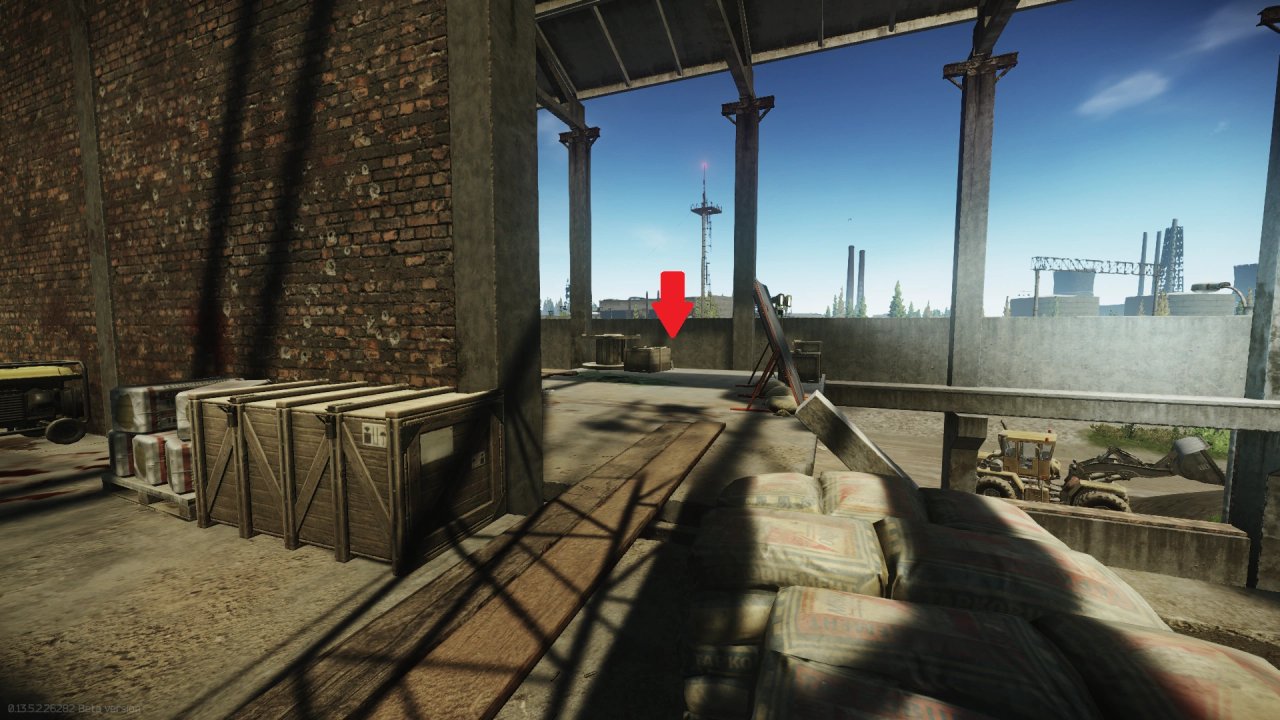
The painting leaned against the crate.
From the stairs, cross to the other side of the building via the path front and left.
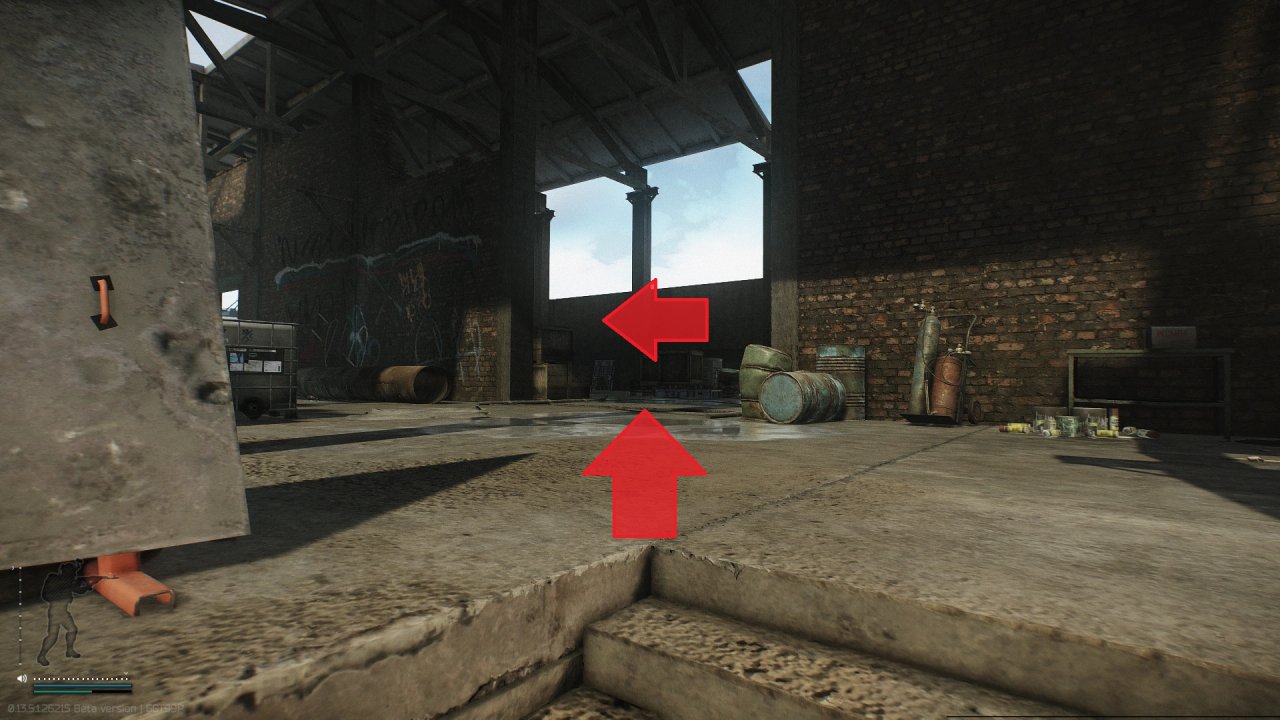
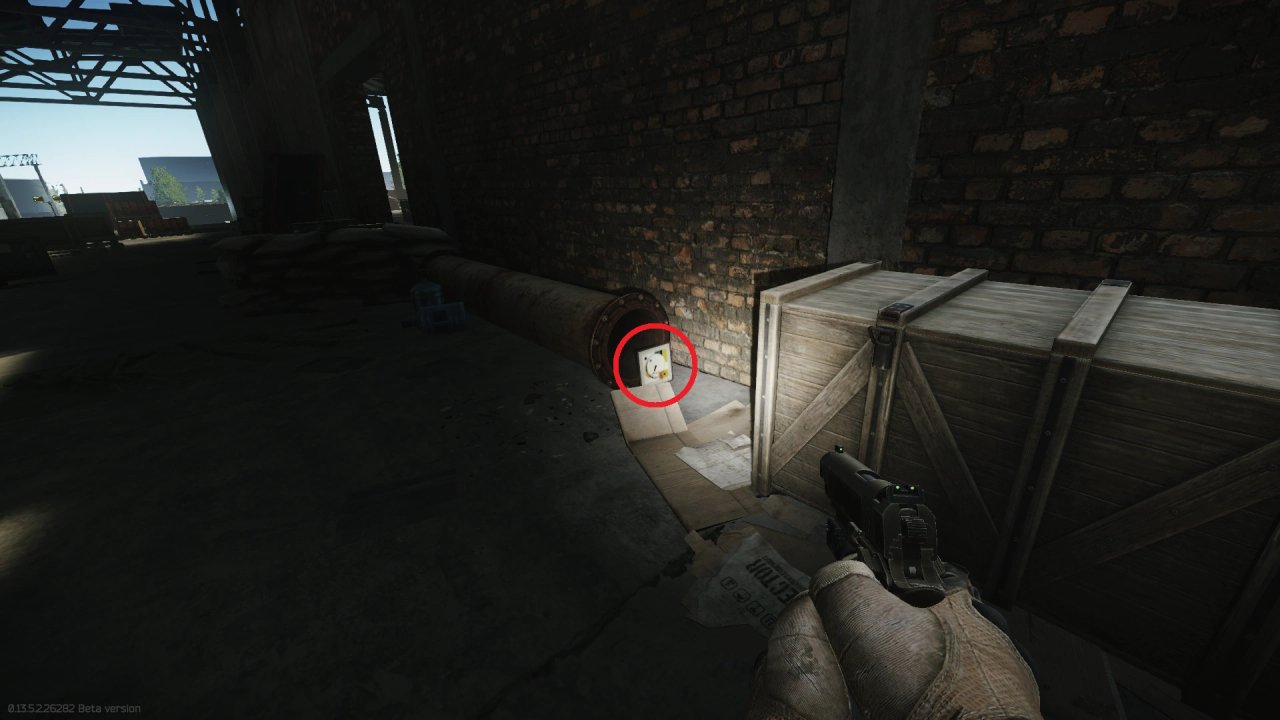
Travel all the way to the other set of stairs and look at the pipe and Ration supply crate on your left.
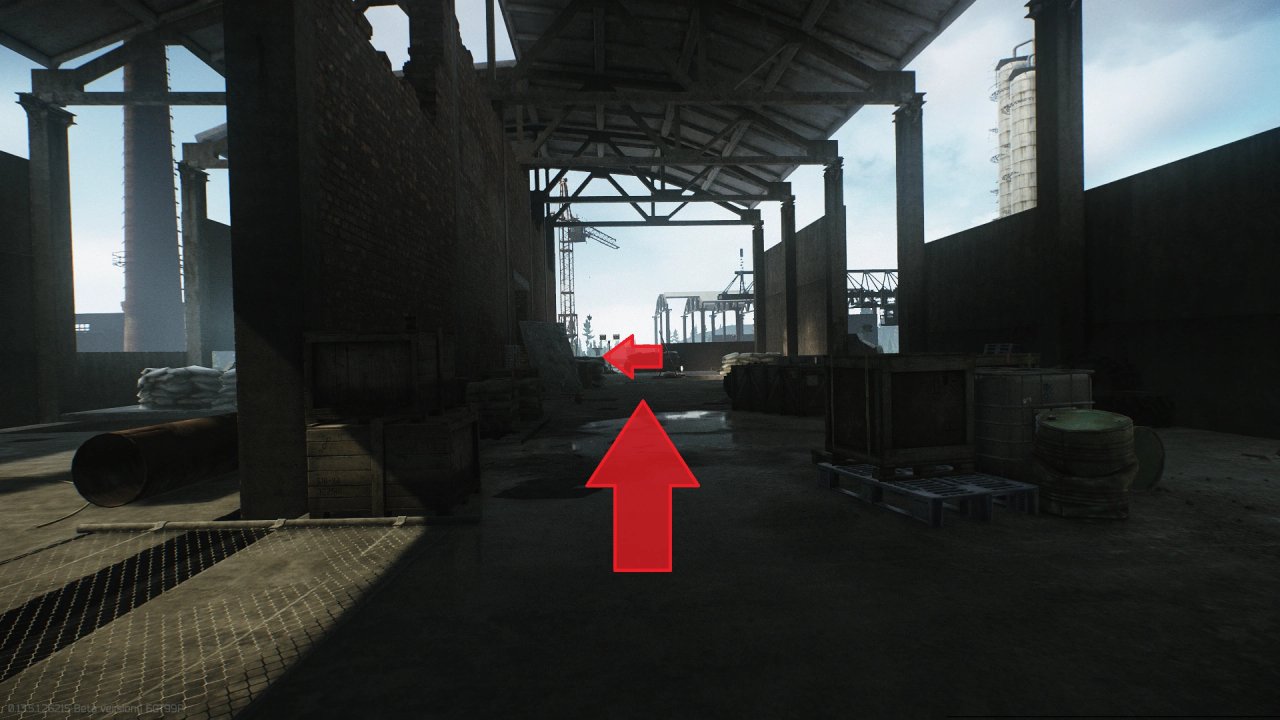
The painting can be found leaned agaist the end of pipe.
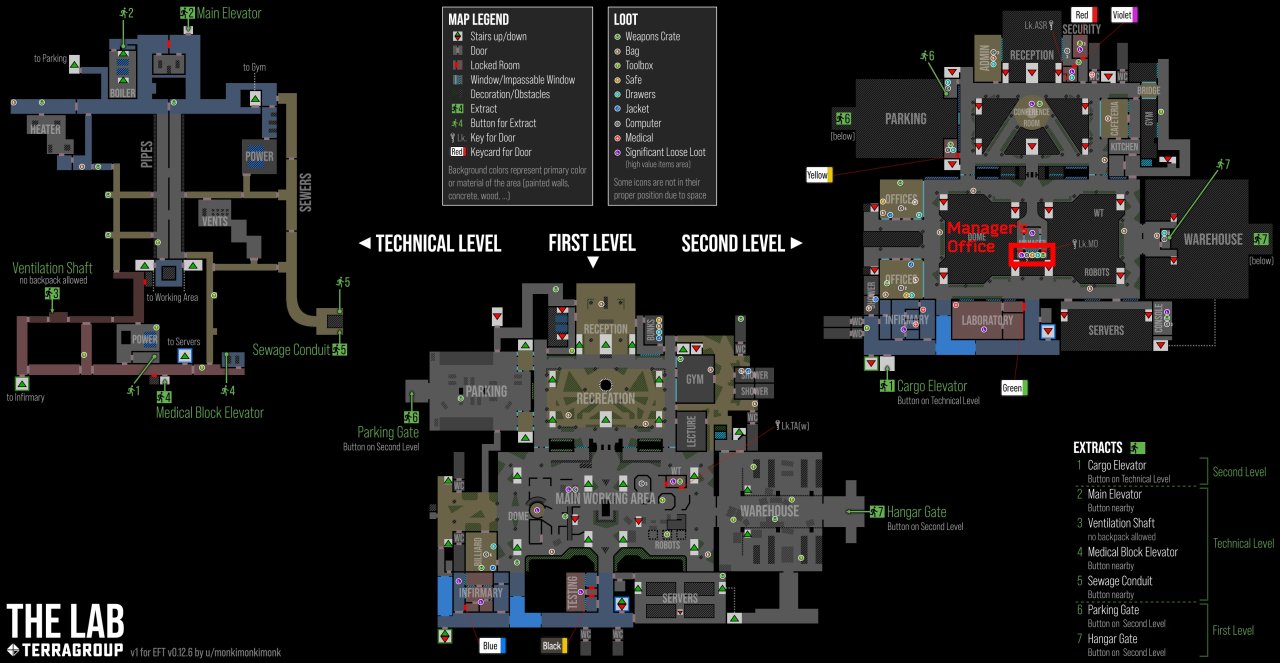
Manager’s office marked on a map.
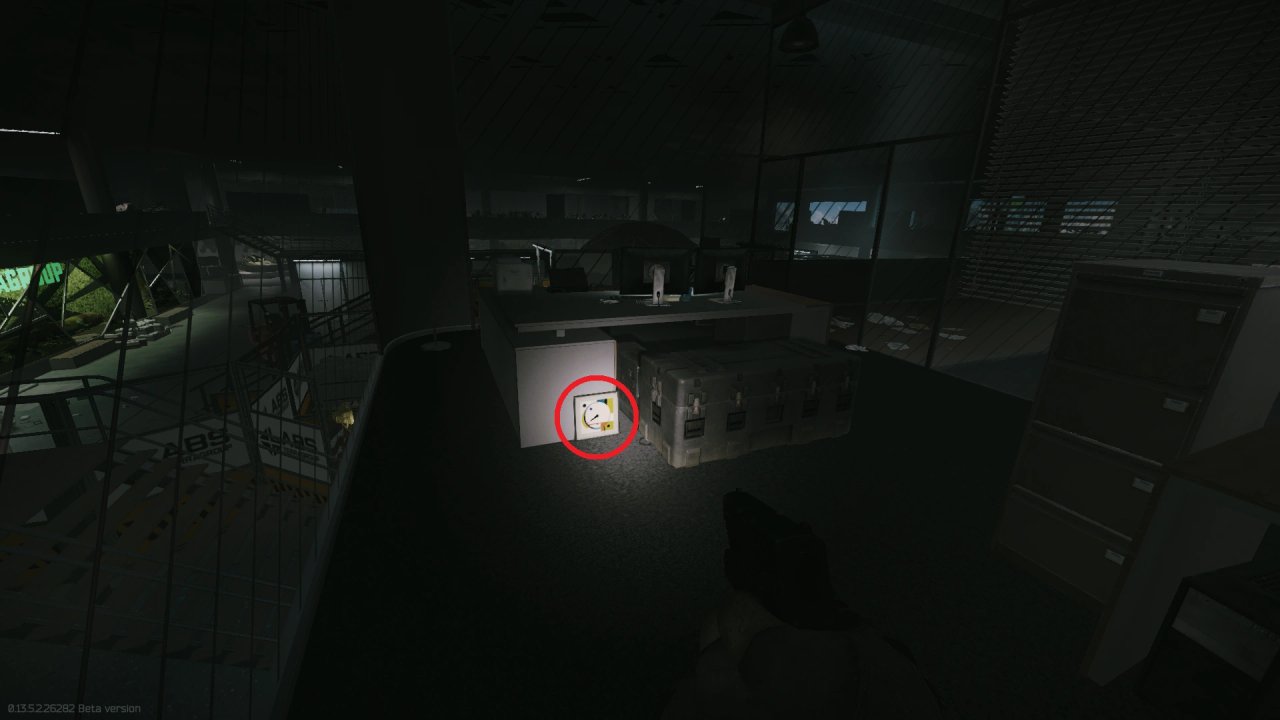
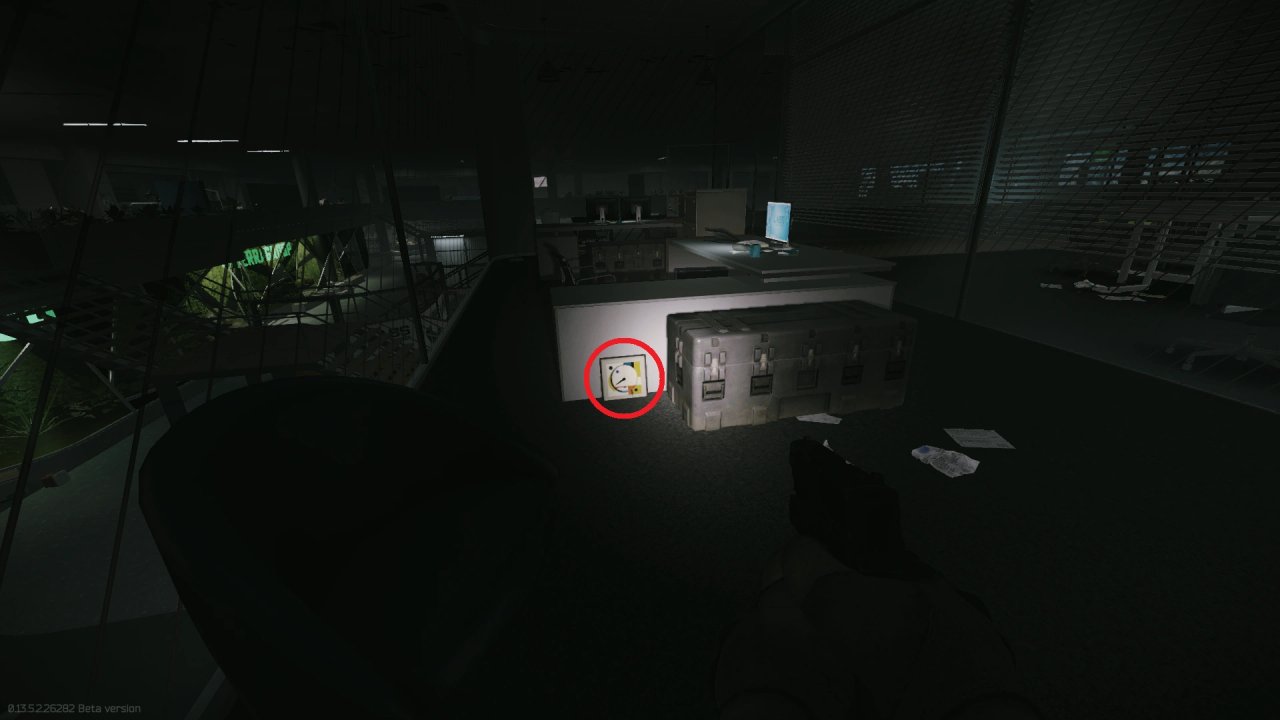
1.Leaned against the desk with the two screens.
2.Leaned against the filing cabinet
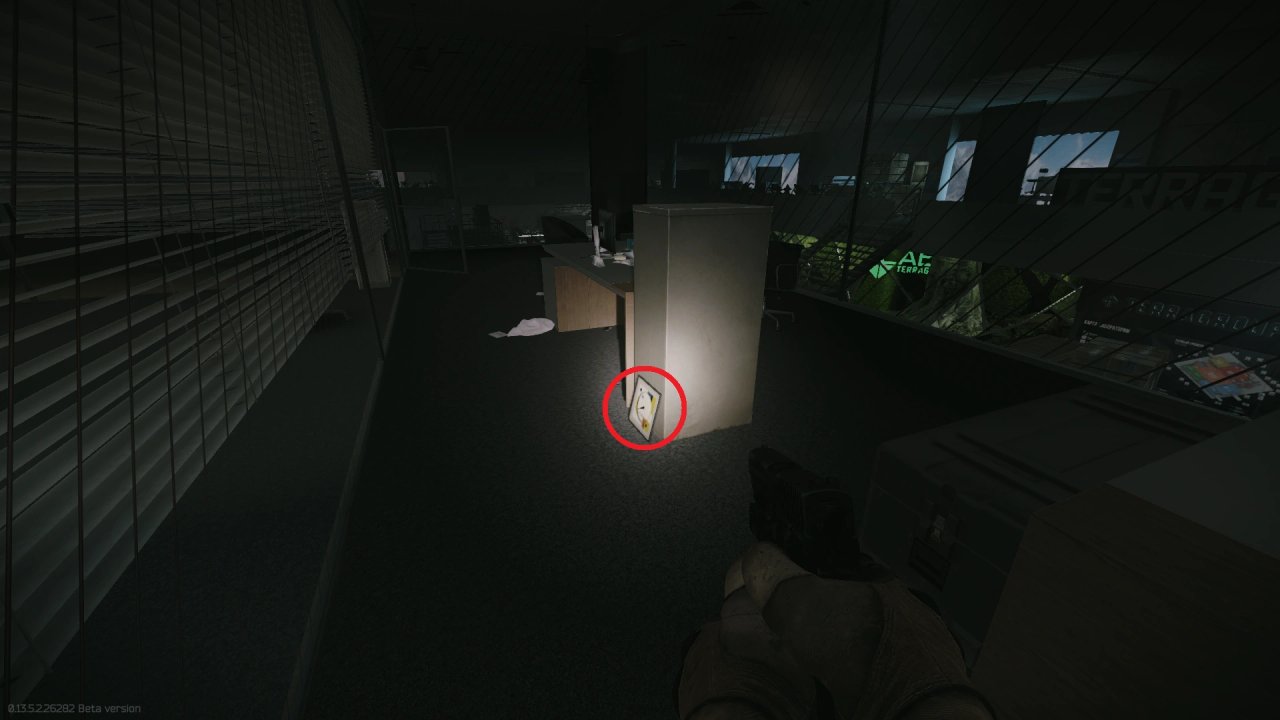
3.Leaned against the desk with one screen.
Building marked on a map.
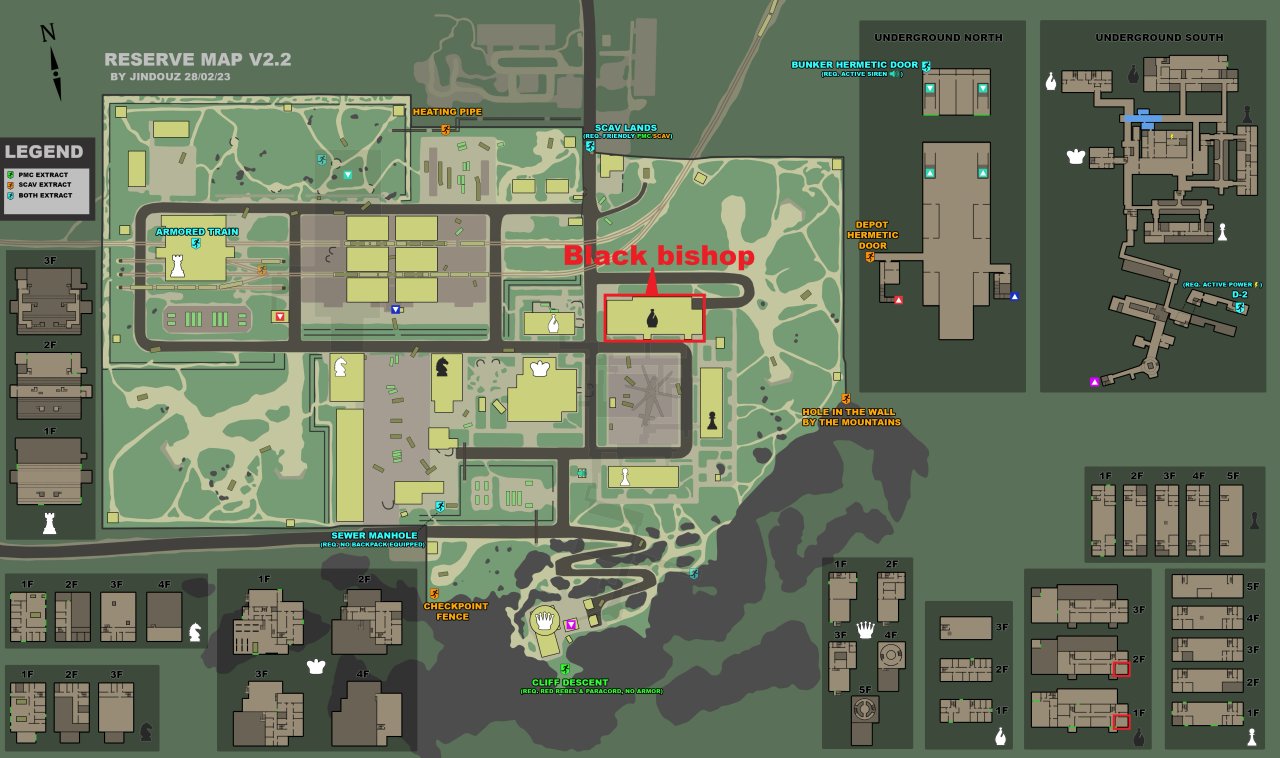
Way to the first floor room from the eastern entrance.
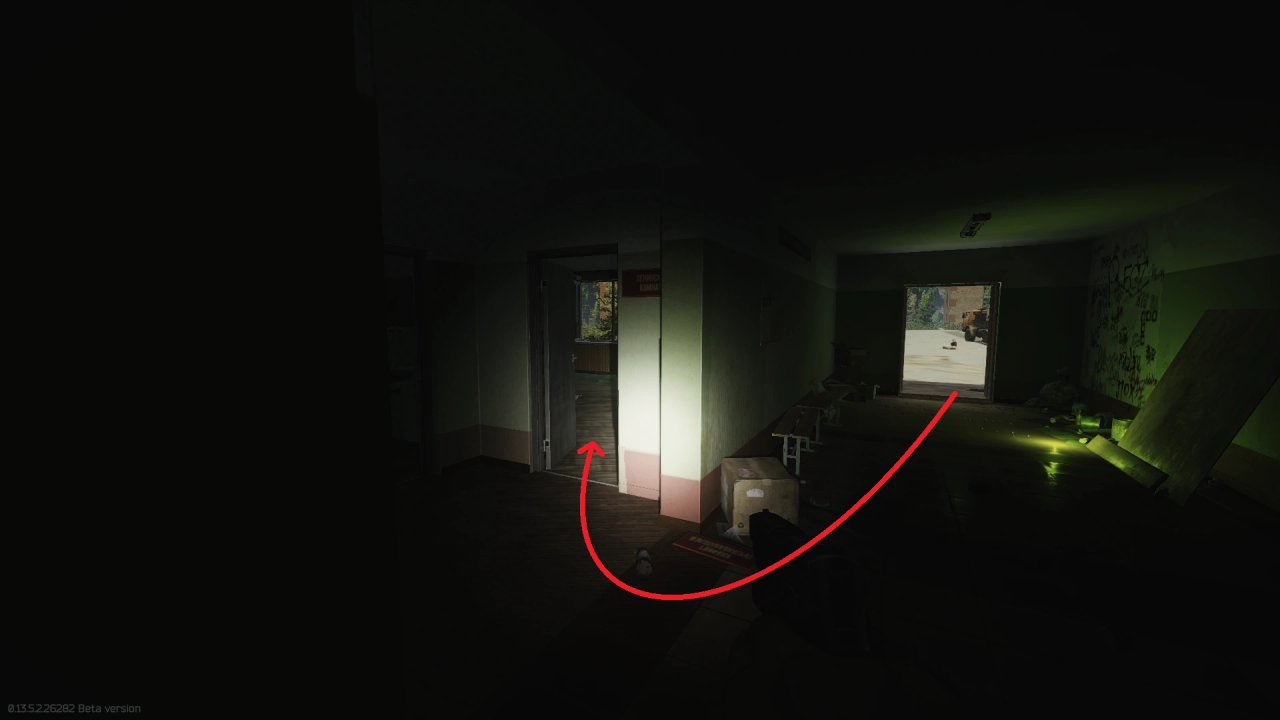
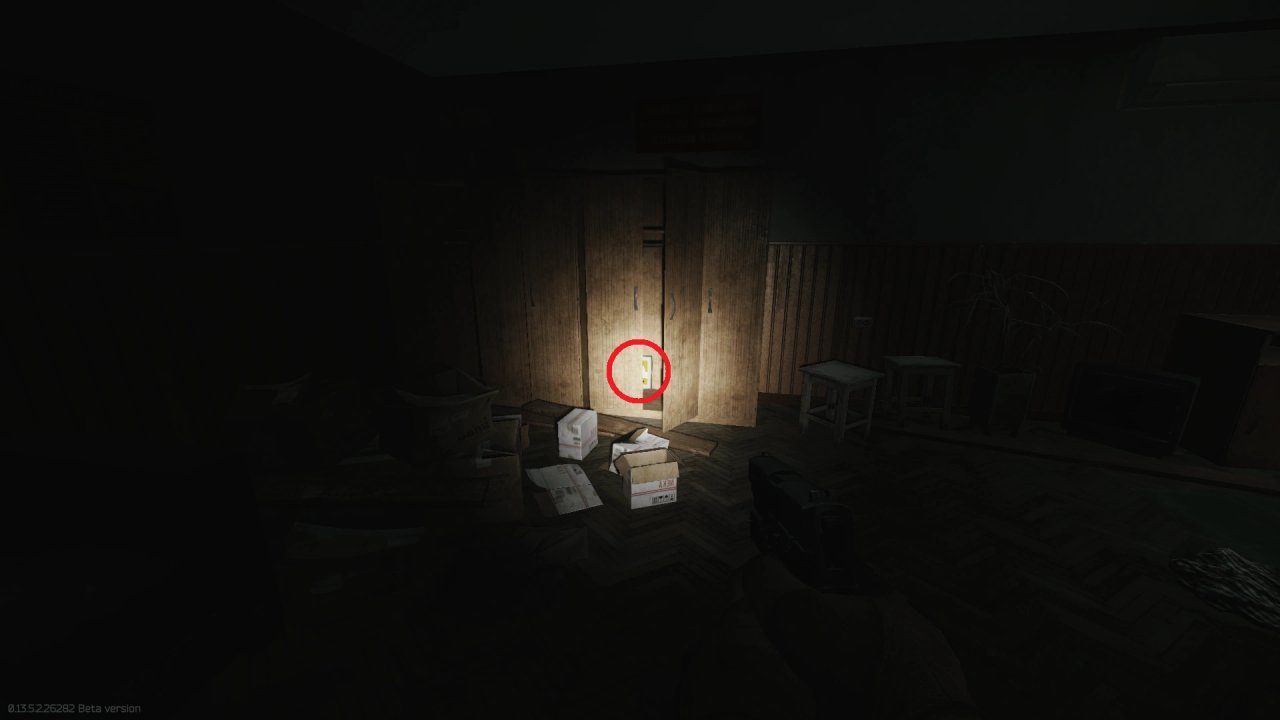
1.Hidden inside the wardrobe.
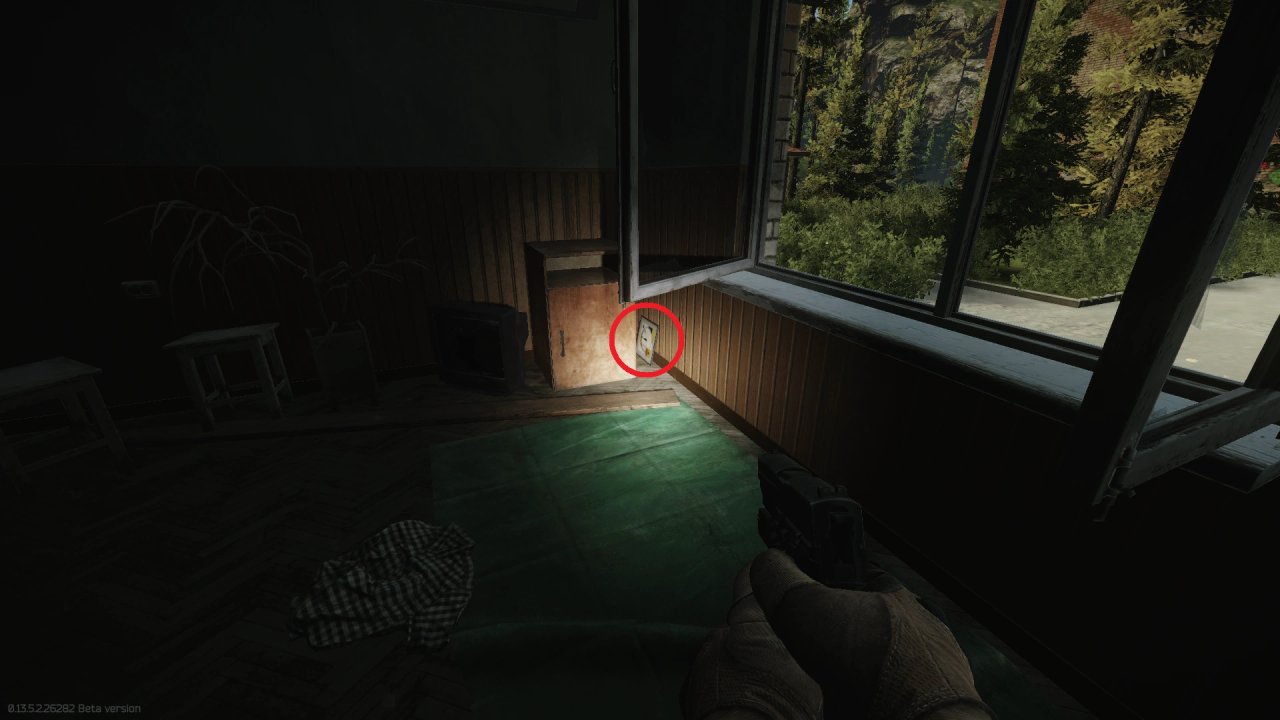
2.Between the wall and the nightstand.
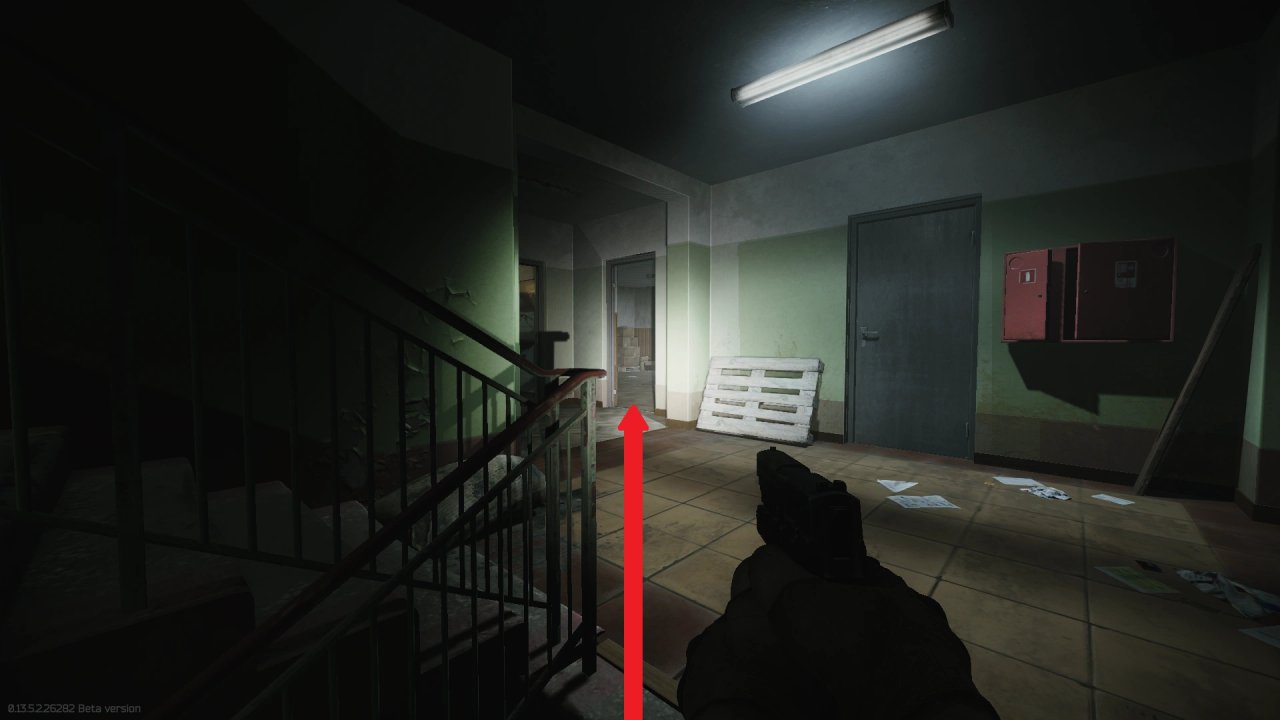
Way to the second floor room from the eastern staircase.
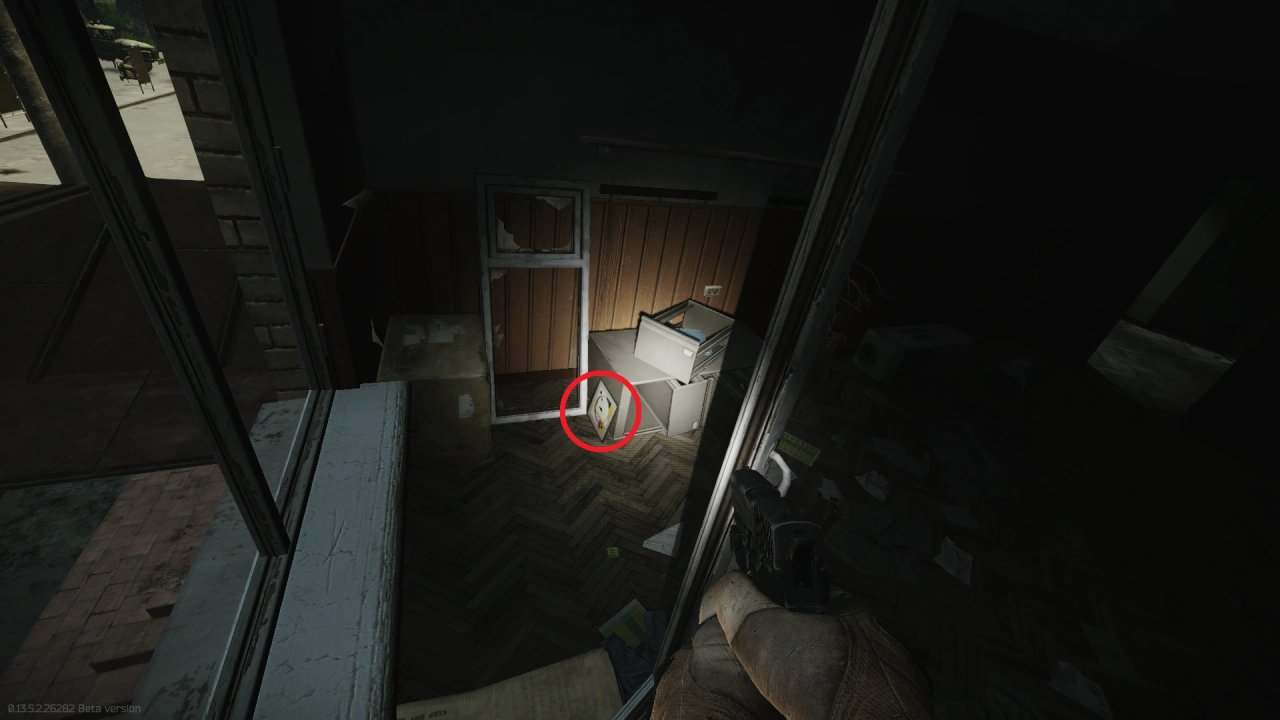
3.Next to the fallen over filing cabinet.
Power station marked on a map
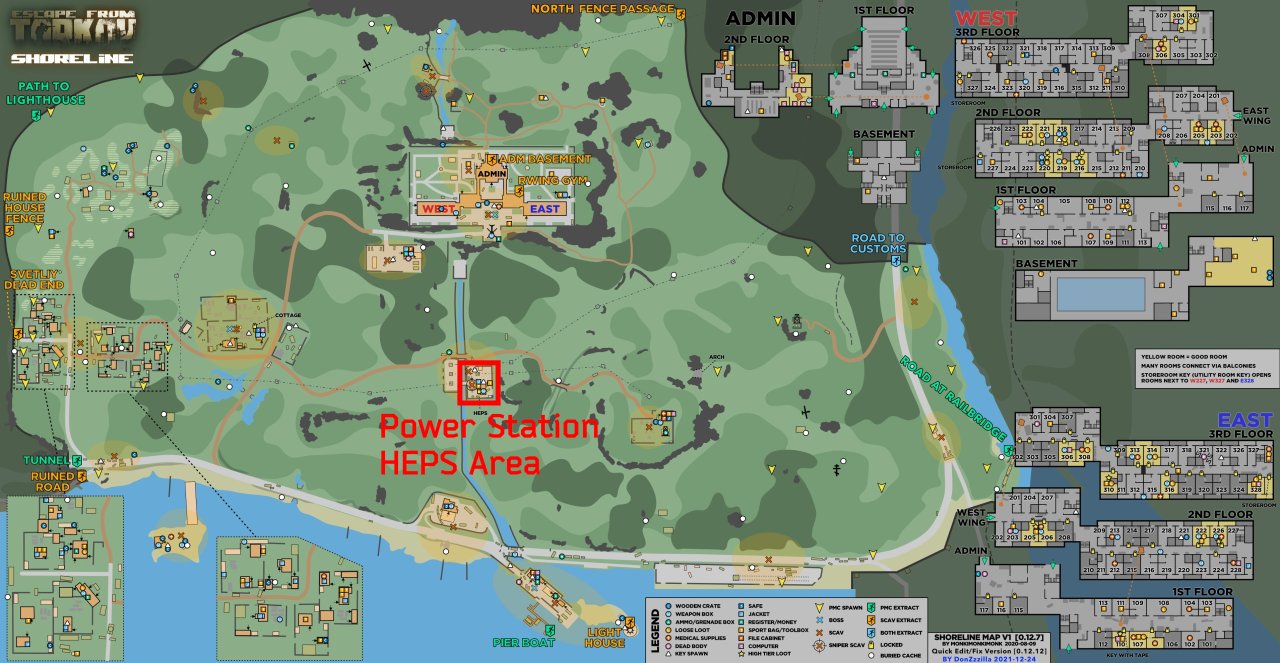
The powerstation showing the main entrance. Go in and turn left.
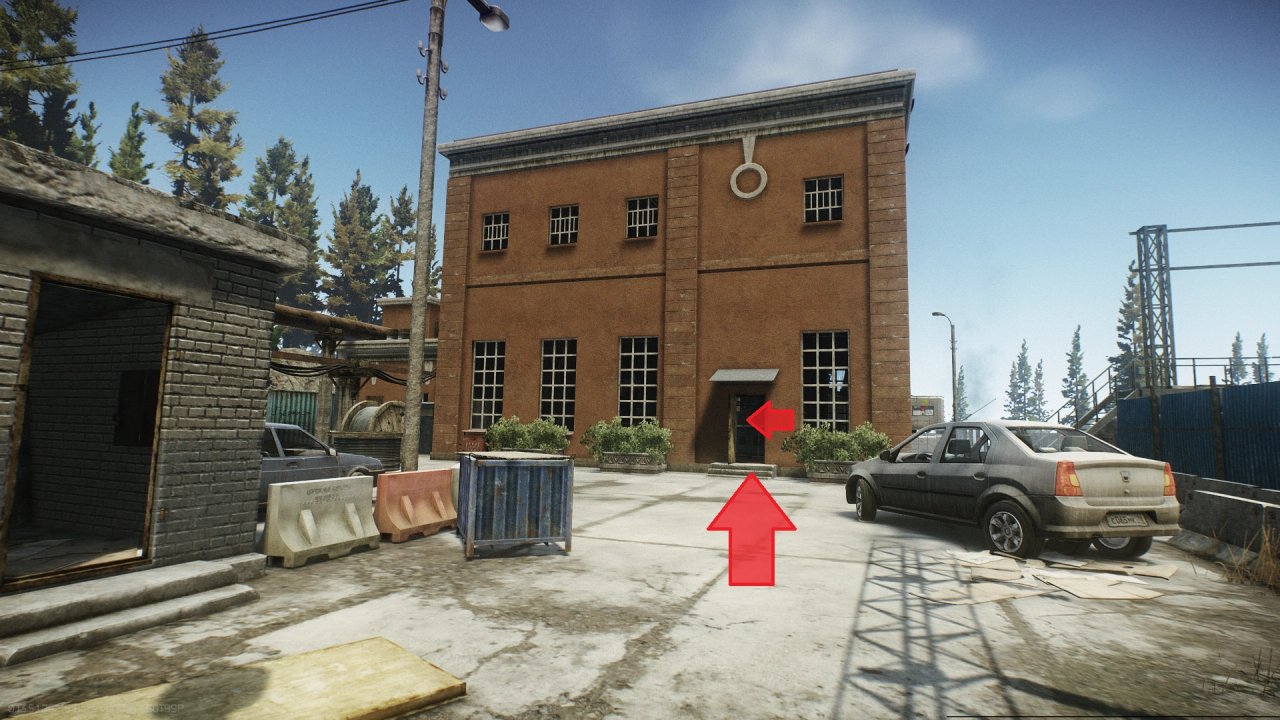
Inside, you can see the stairs, go up either side, both lead to the storage room.
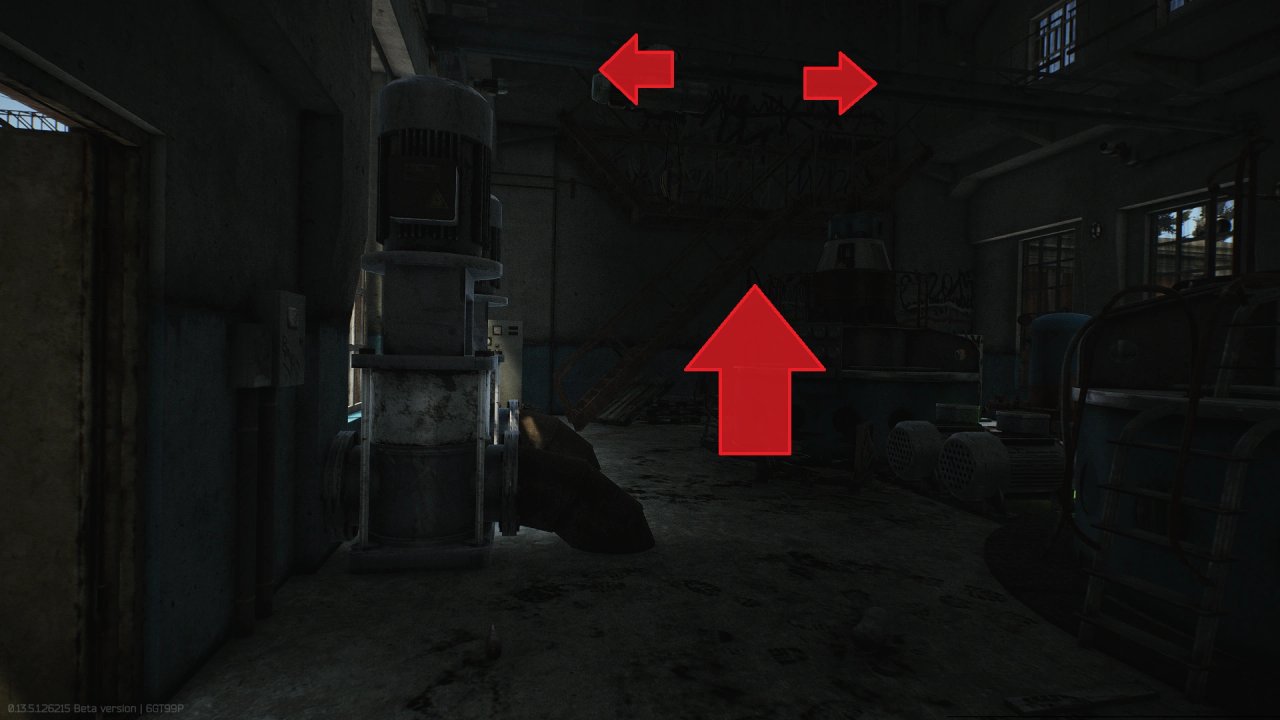
1.Between the metal cabinet and the display.
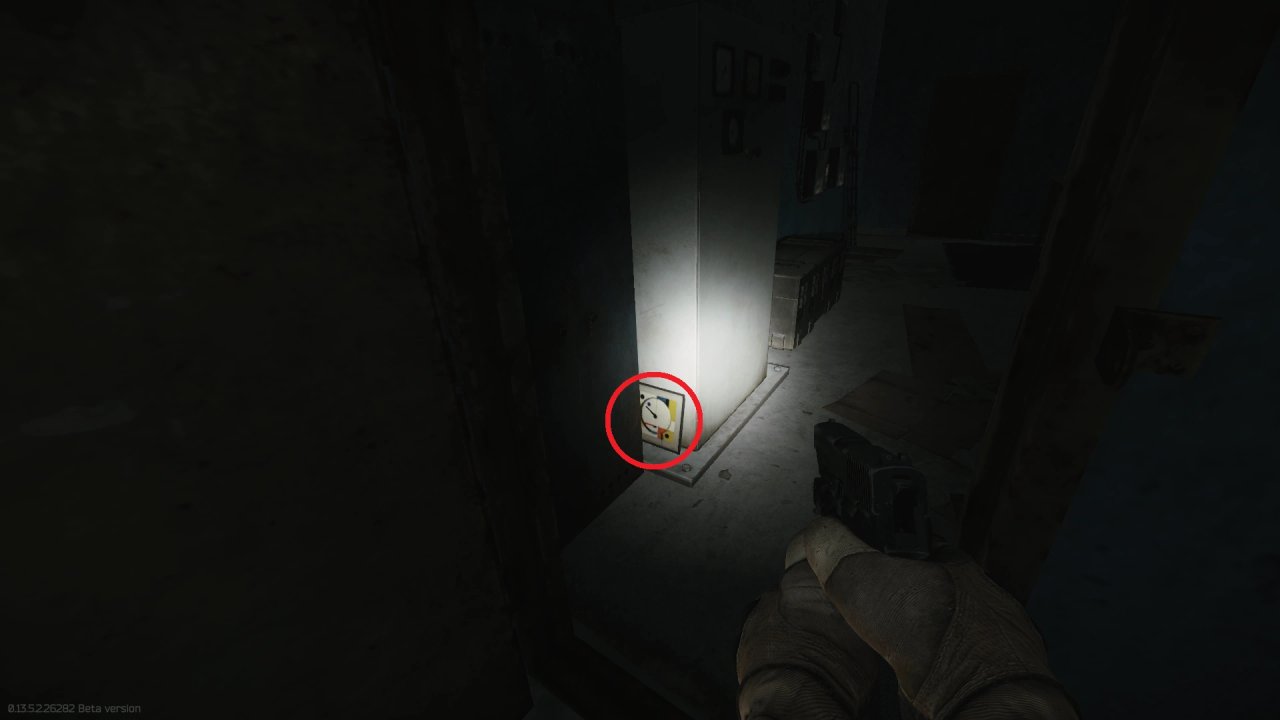
2.On the chair.
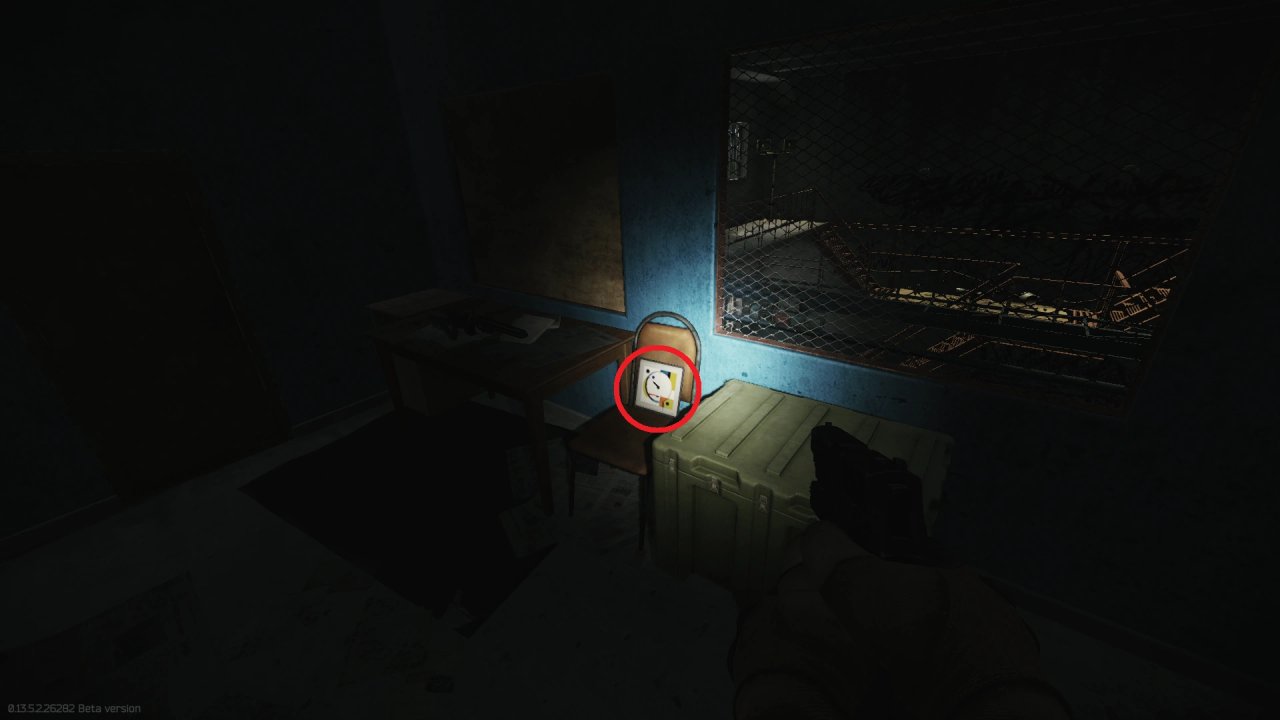
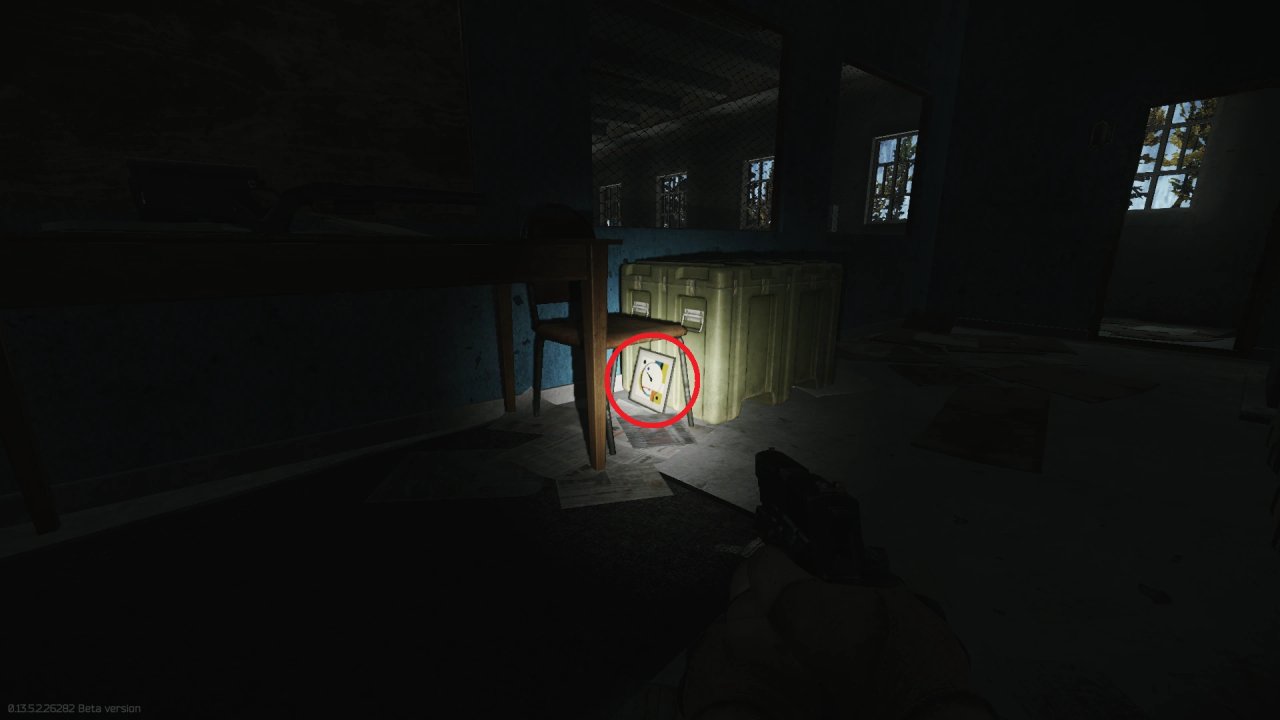
Under the chair next to the weapon box.
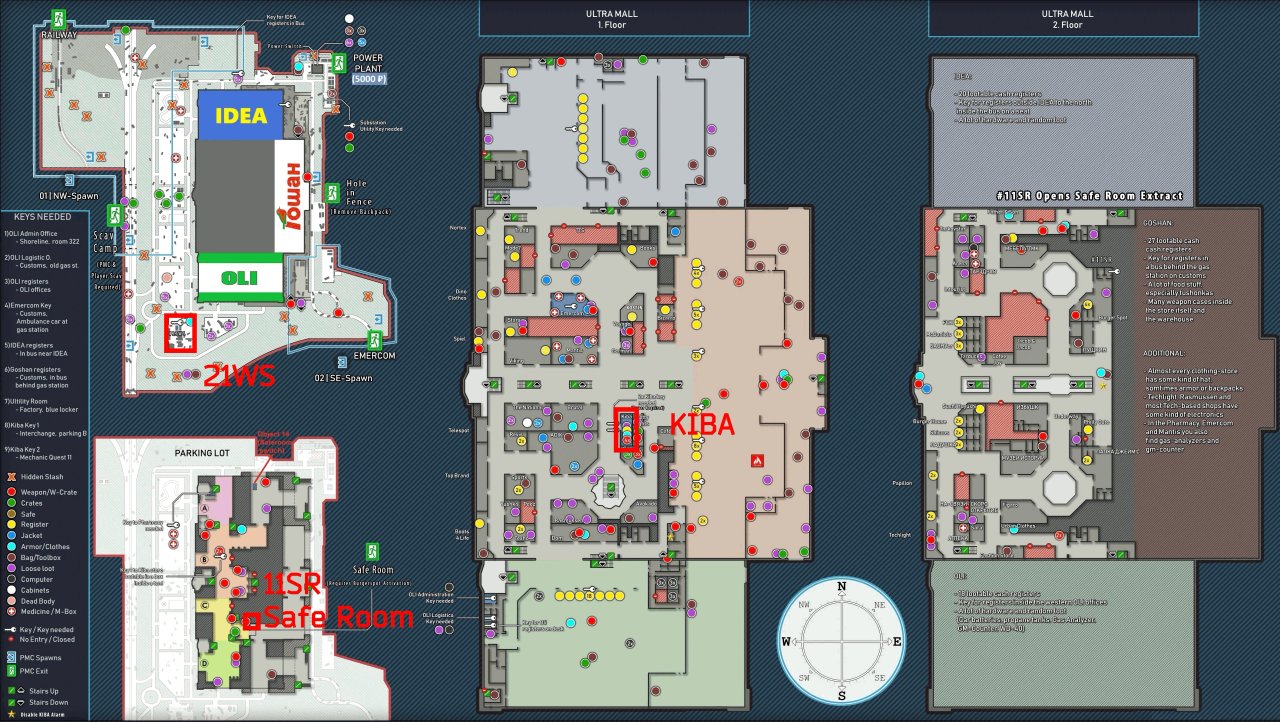
Locations marked on a map.
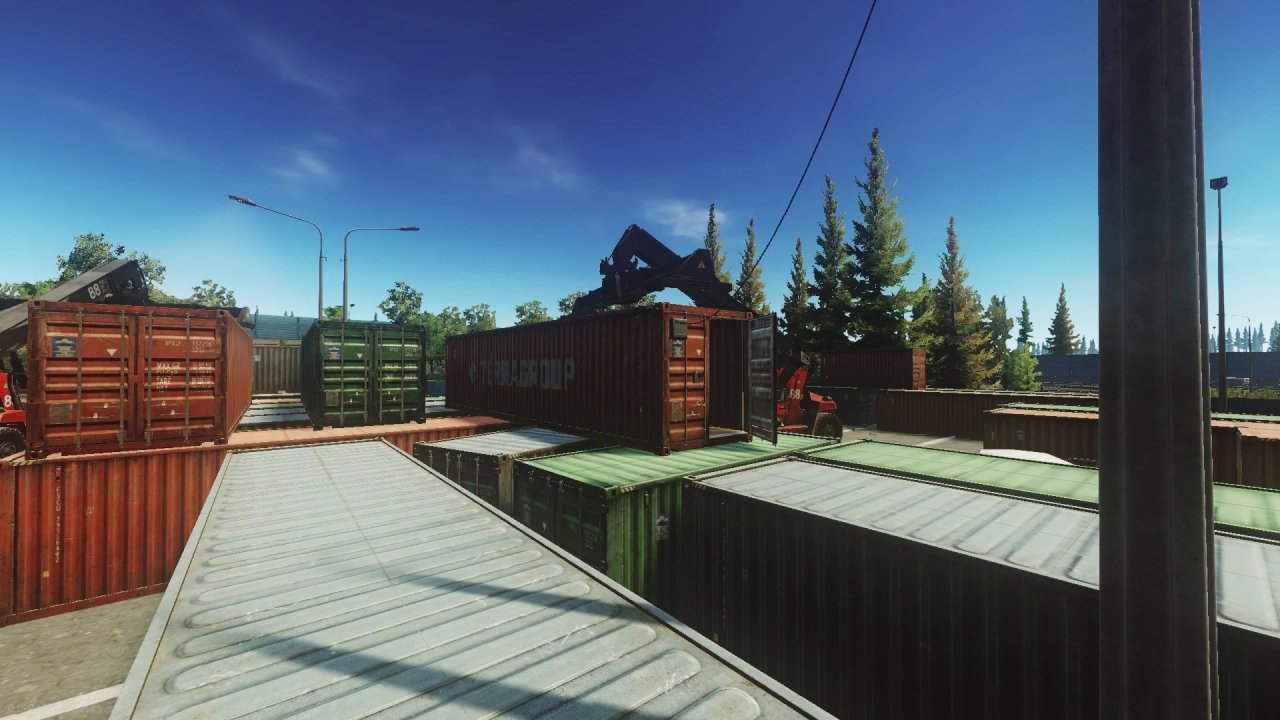
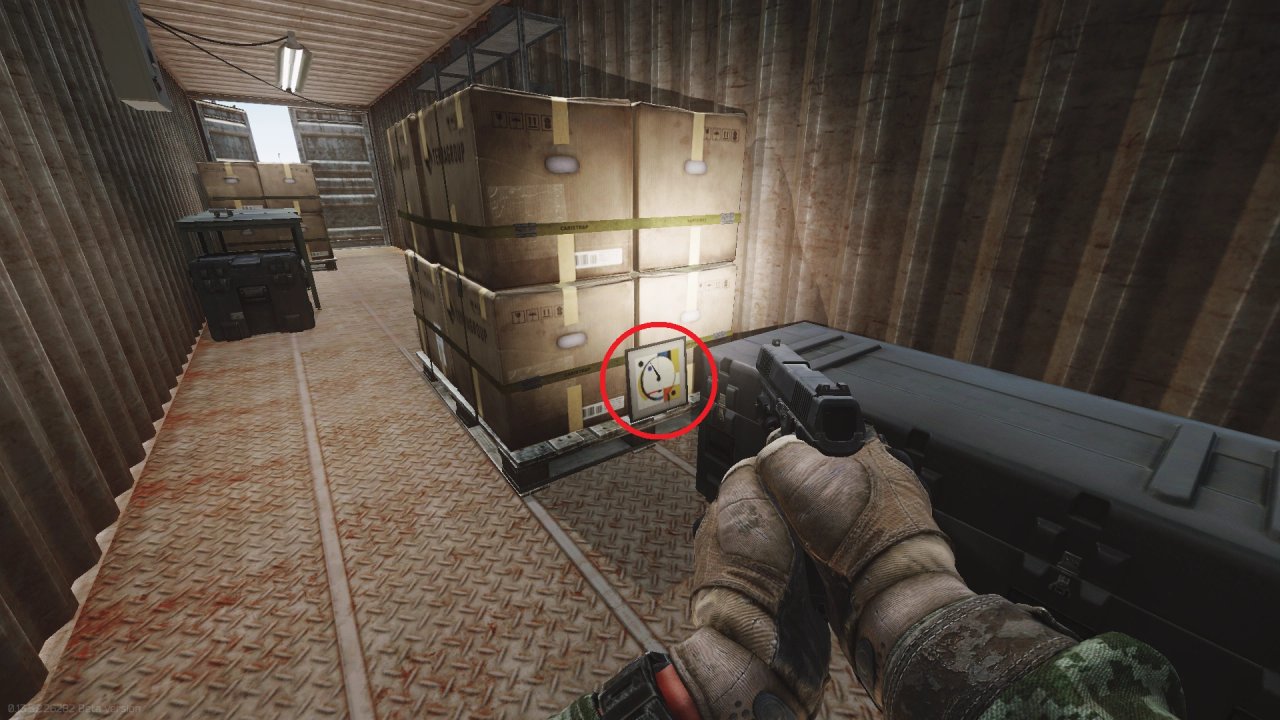
The 21WS container.
1.Hidden behind a pallet of cardboard boxes in the back of the container.
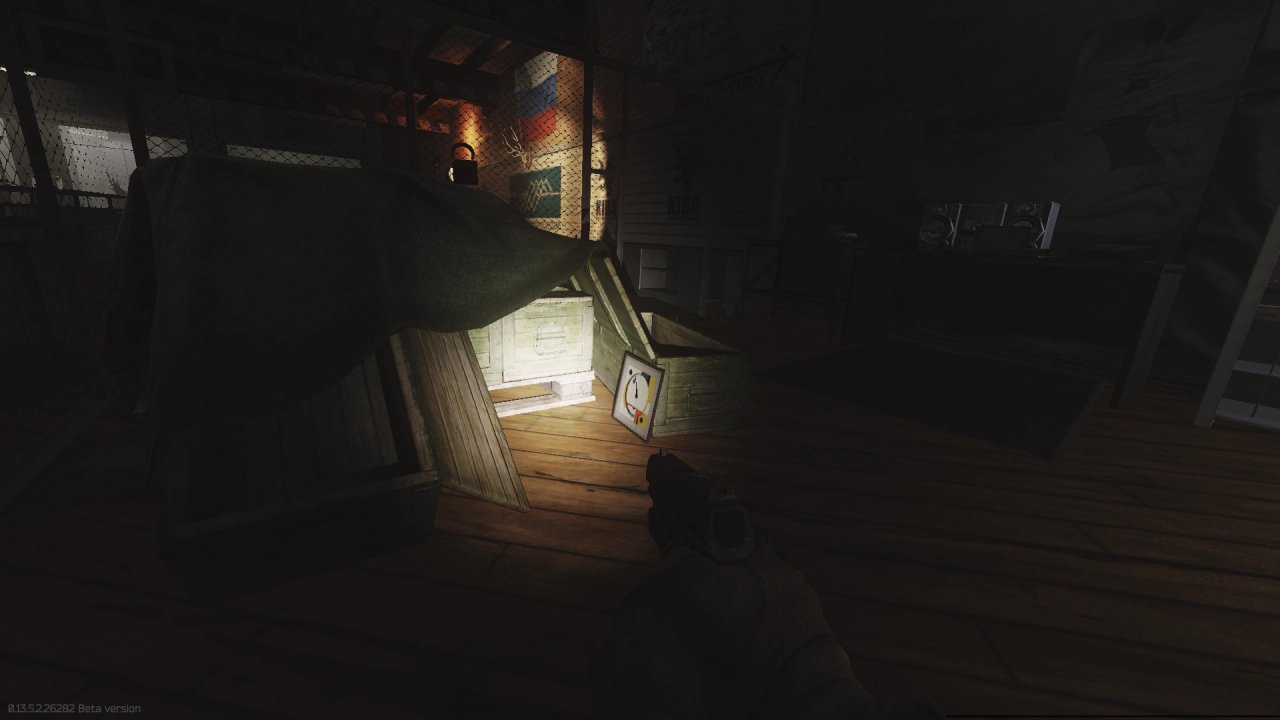
2.Next to the wooden crates in the fenced off area inside the Kiba Arms store.
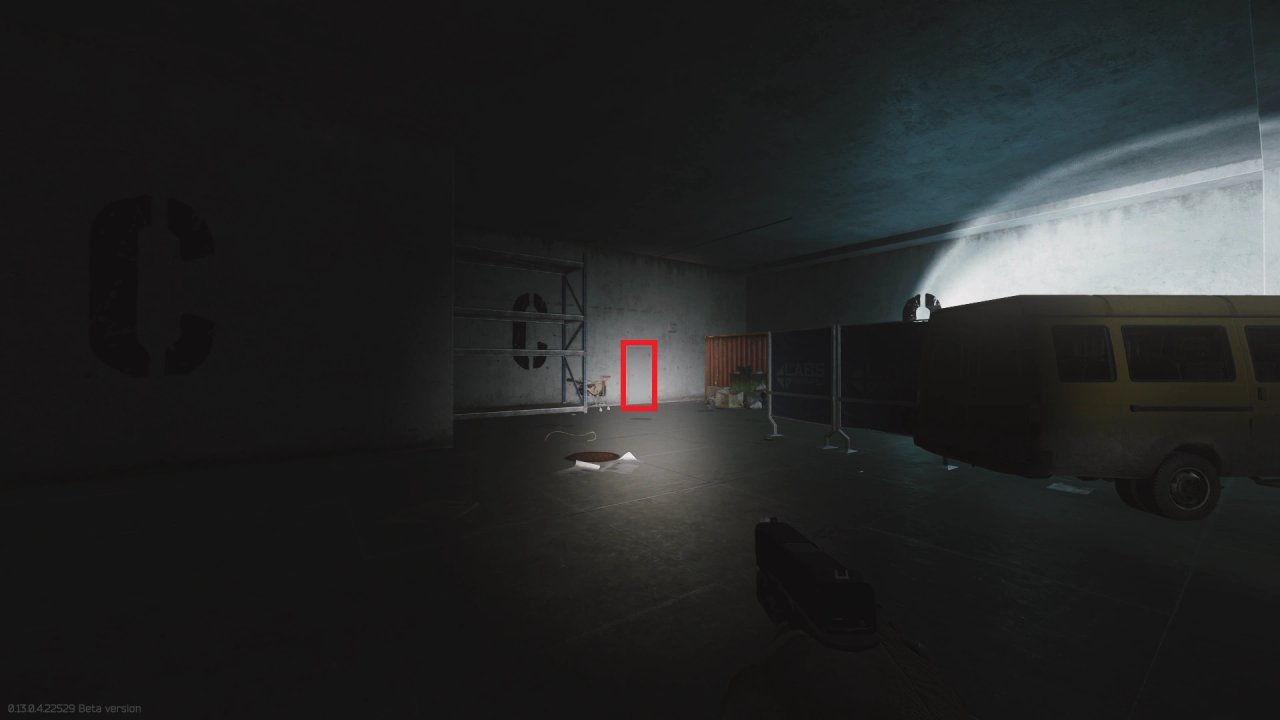
The "Saferoom Exfil" extraction.
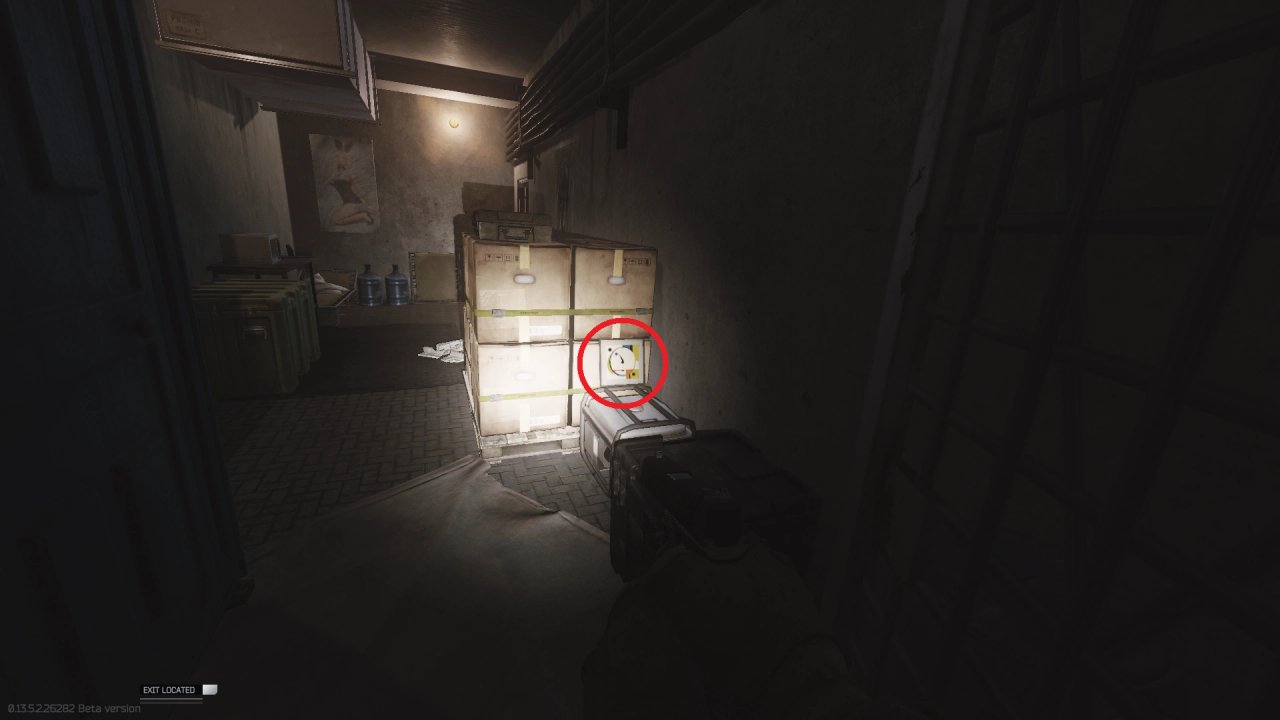
3.On the generator behind the pallet of cardboard boxes.
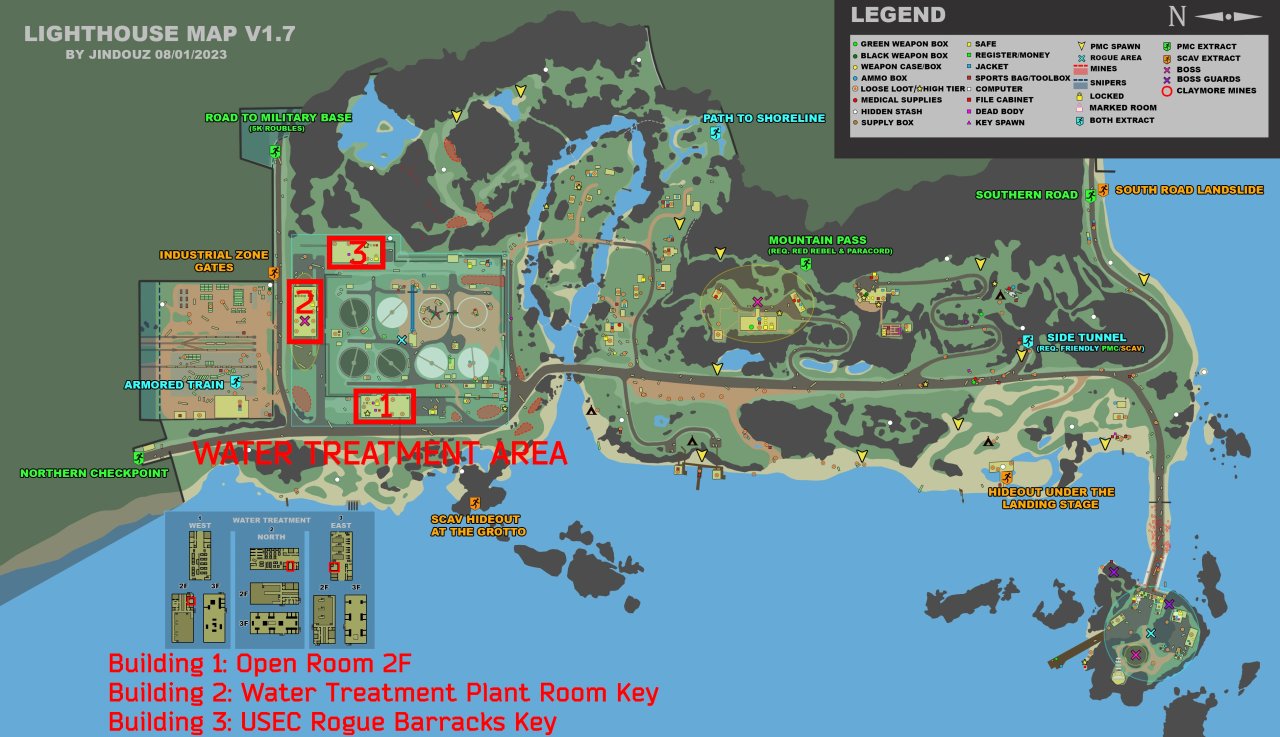
The Water treatment buildings marked on a map.
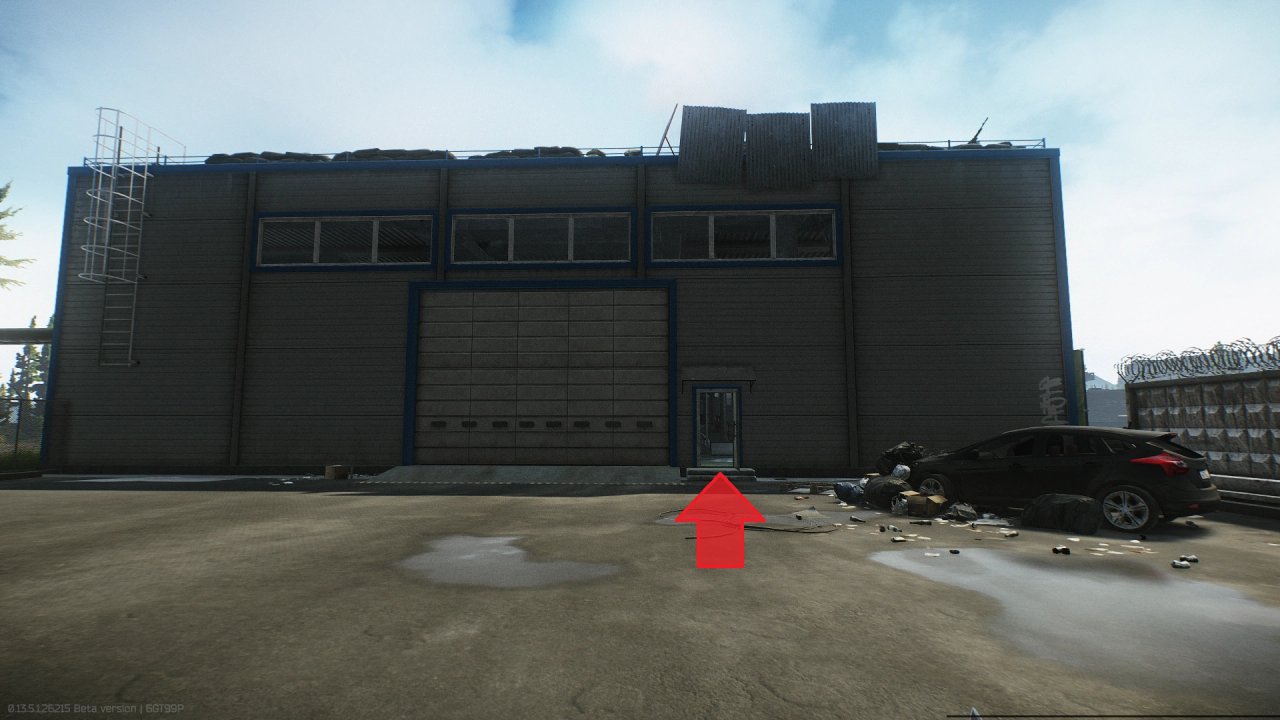
The building. Enter the door and go straight.
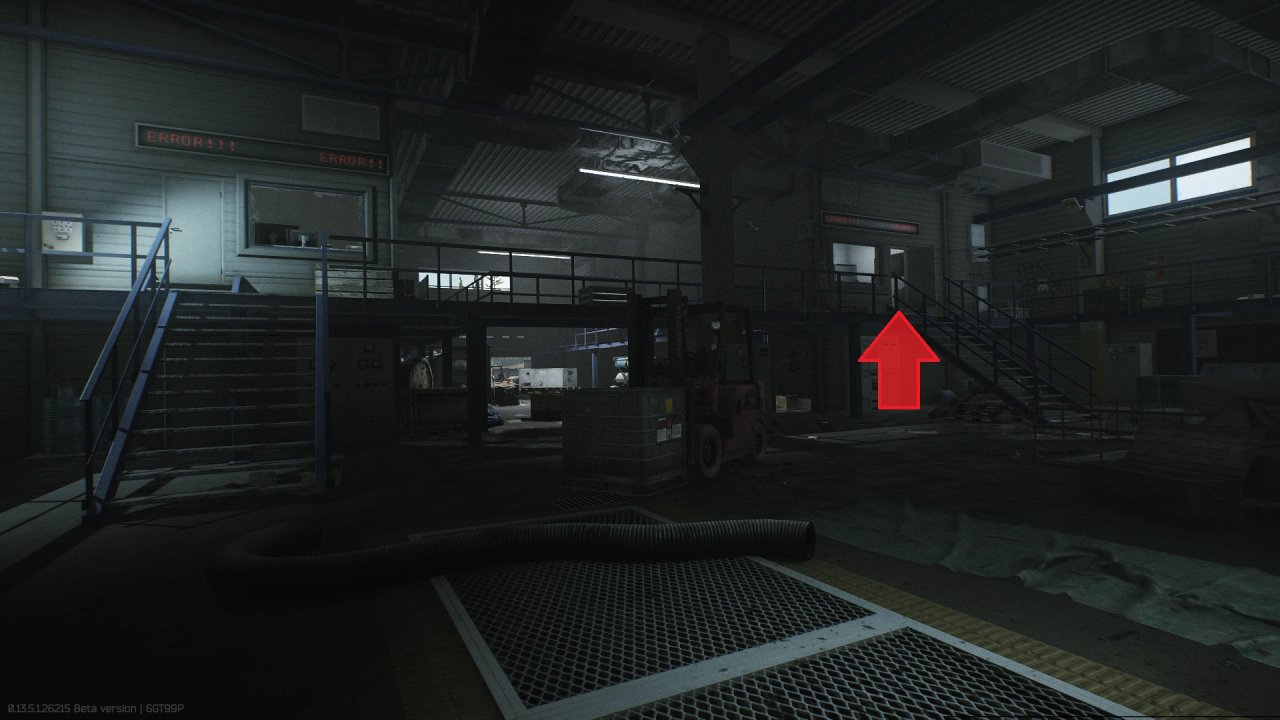
Go up the stairs.
Go into the office on the right and into the hallway behind it.
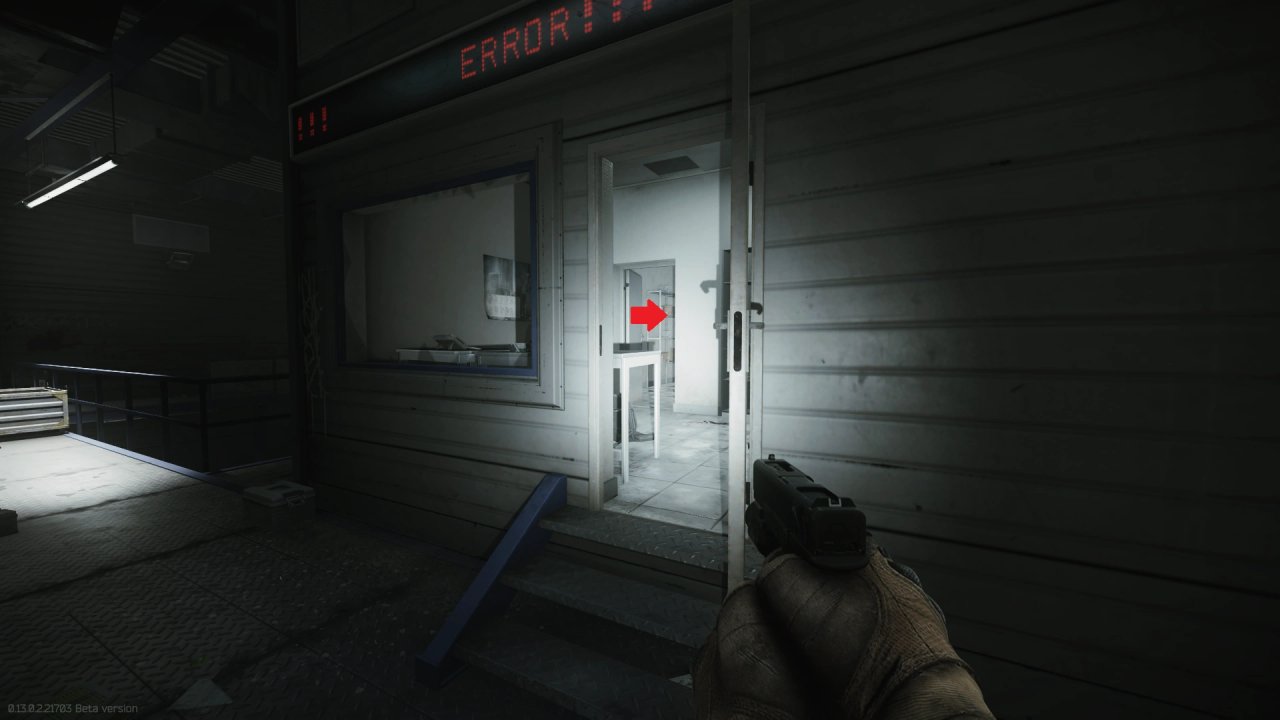
Move into the second door on the right.
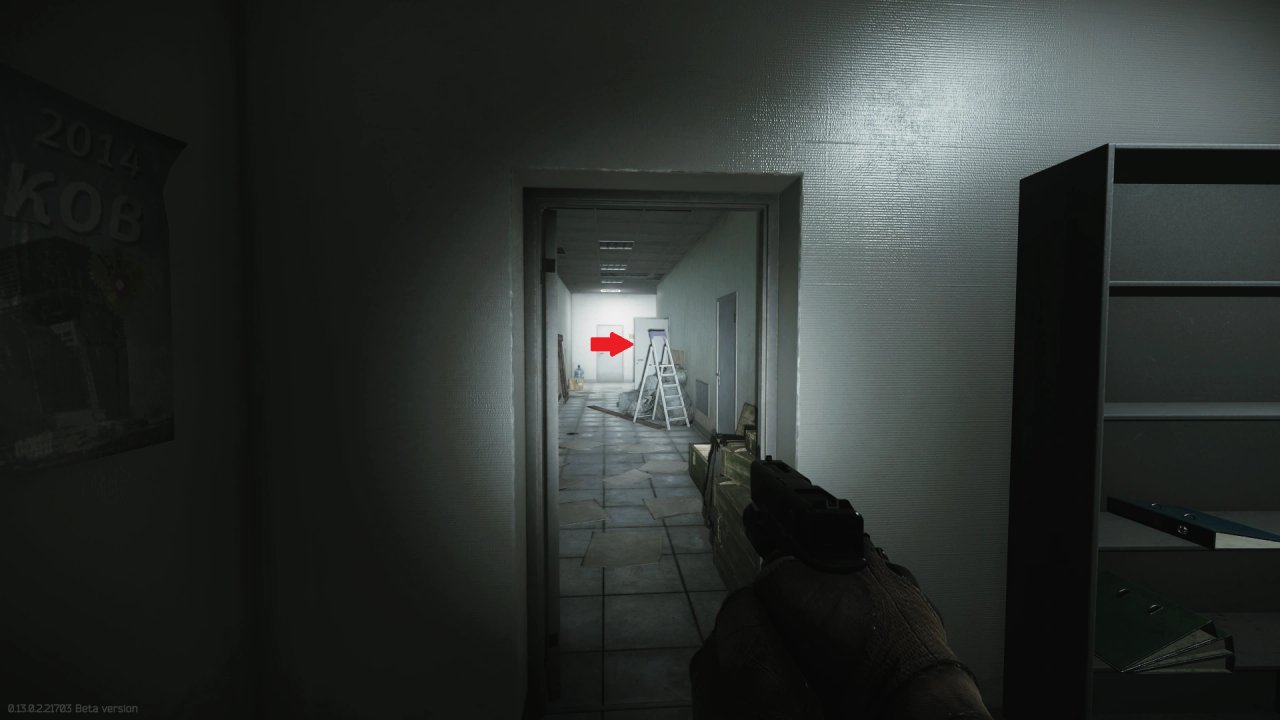
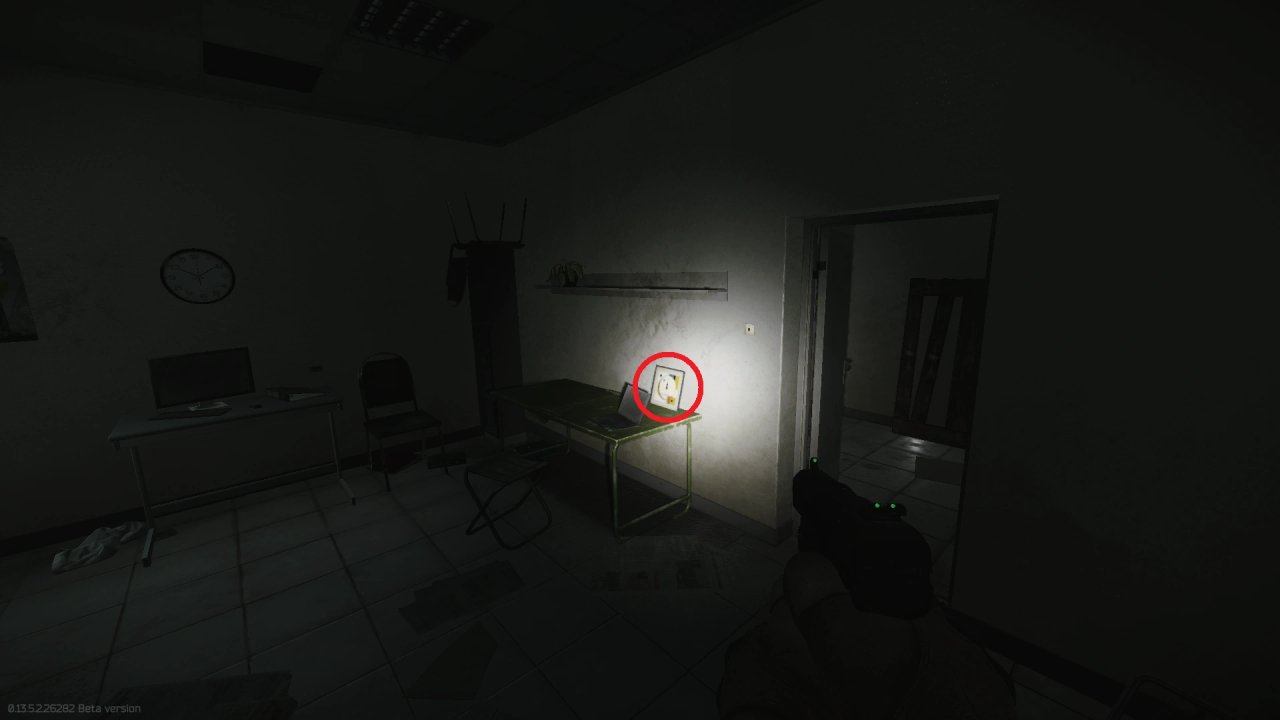
The painting is on the desk directly right after entering.
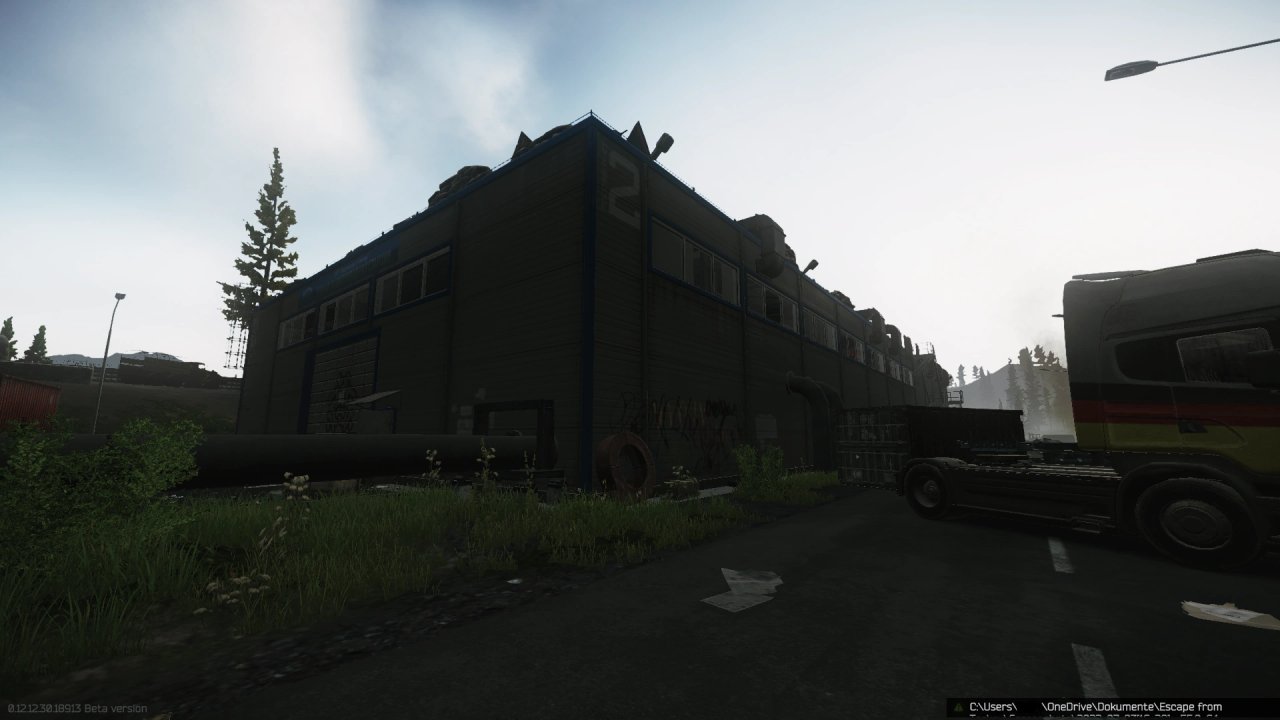
The building.
The room is in the southeast corner.
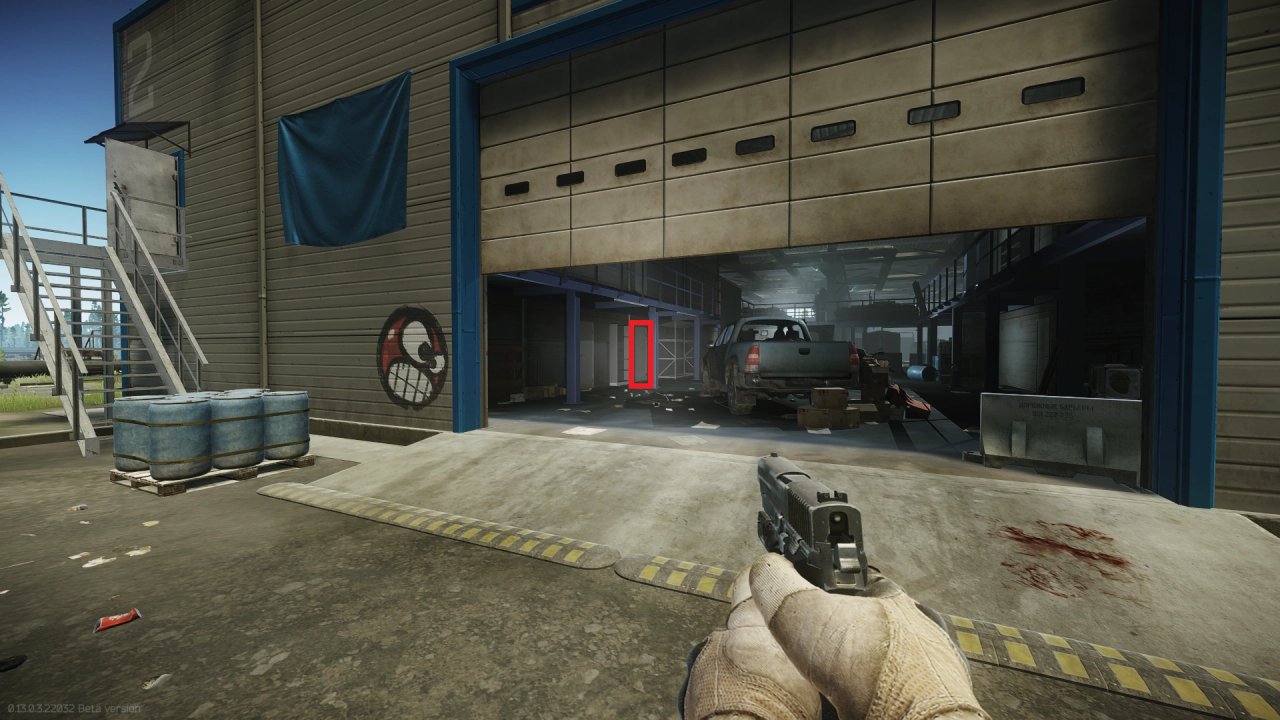
Door to the room.
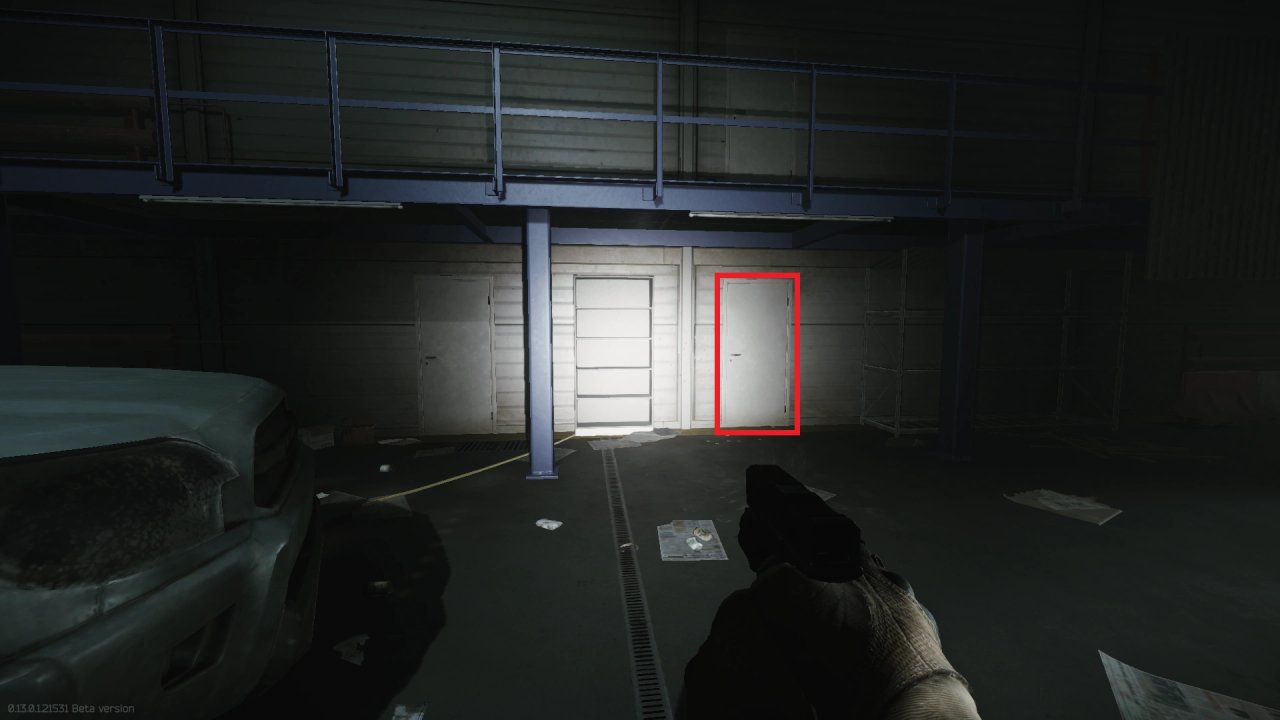
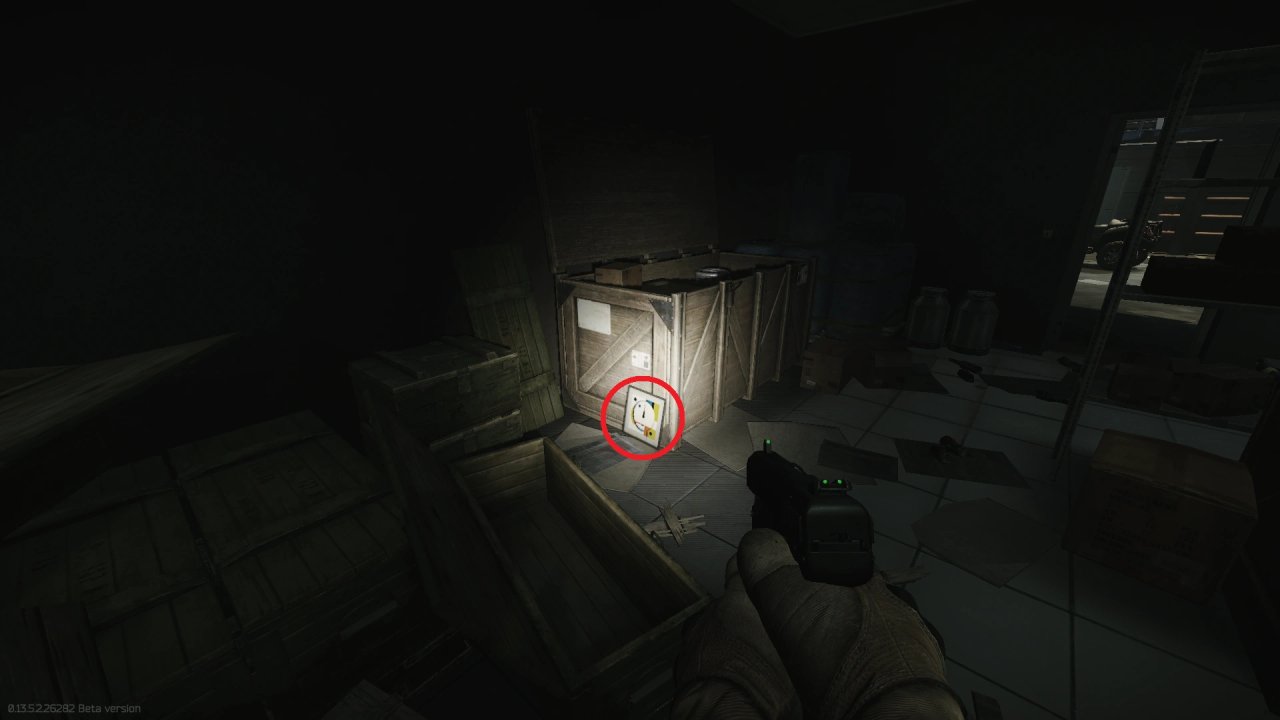
The painting is hidden behind a wooden crate.
The building.
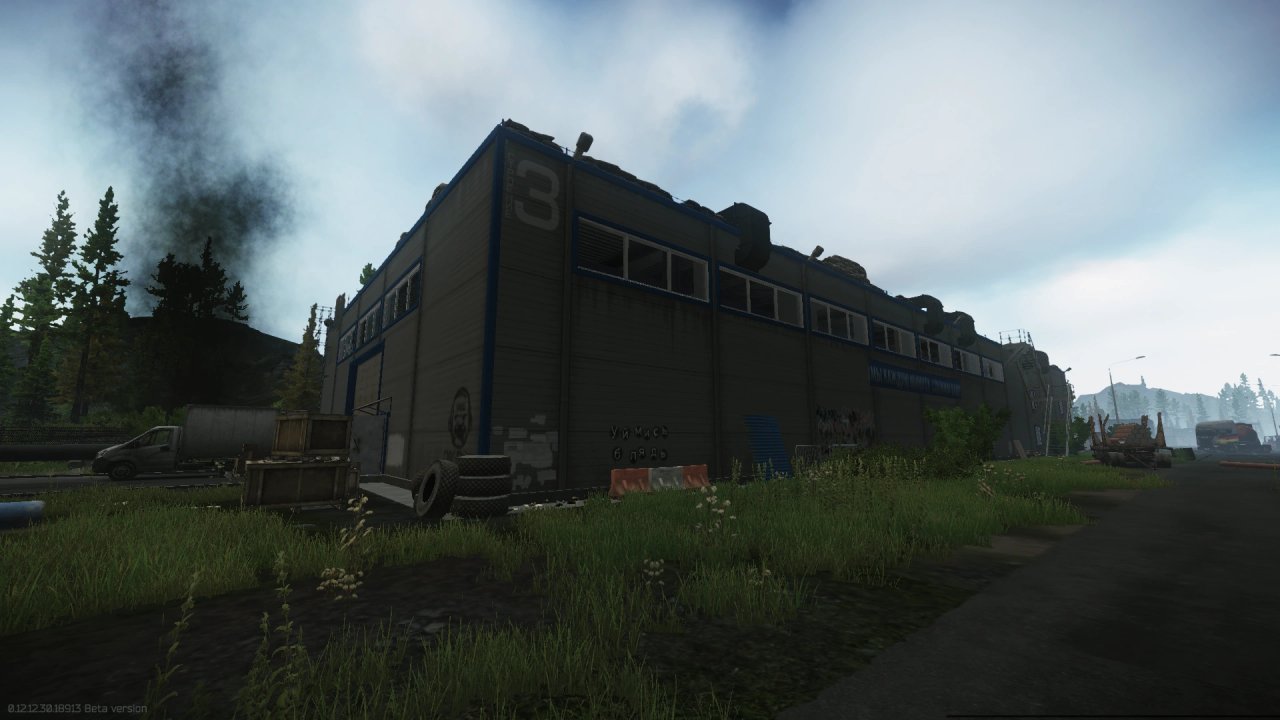
The room is in the southwest corner.
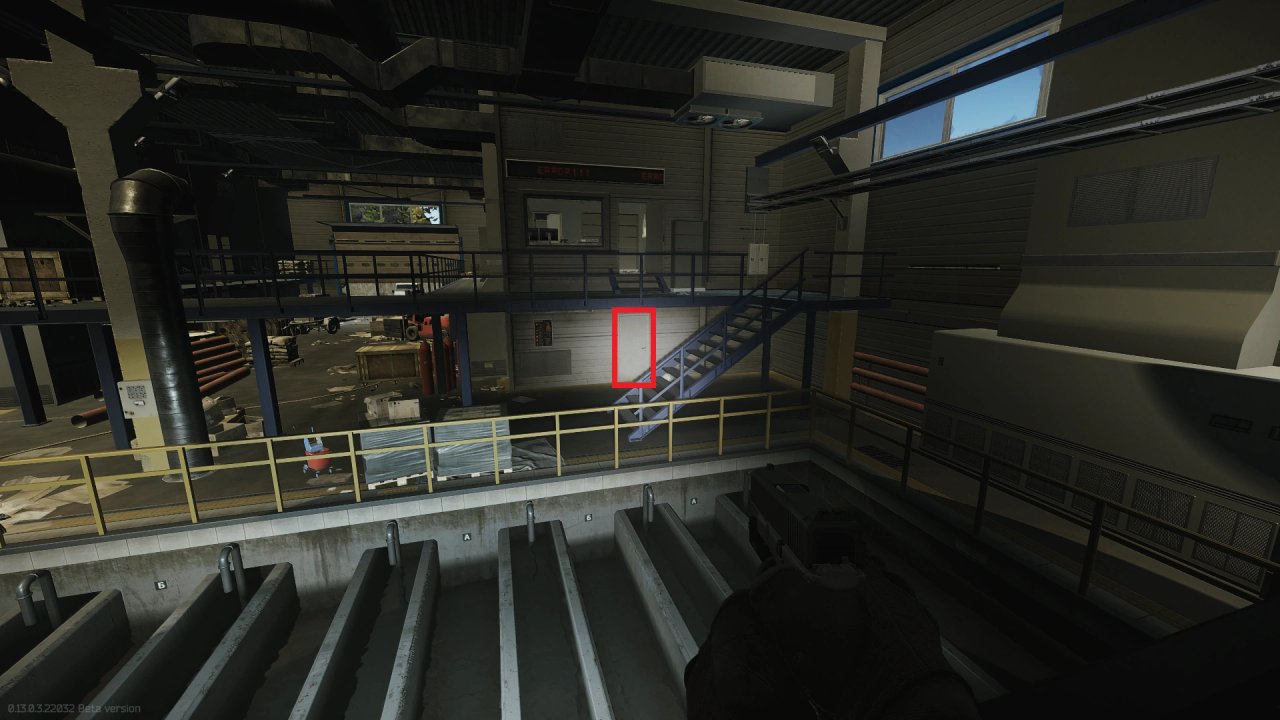
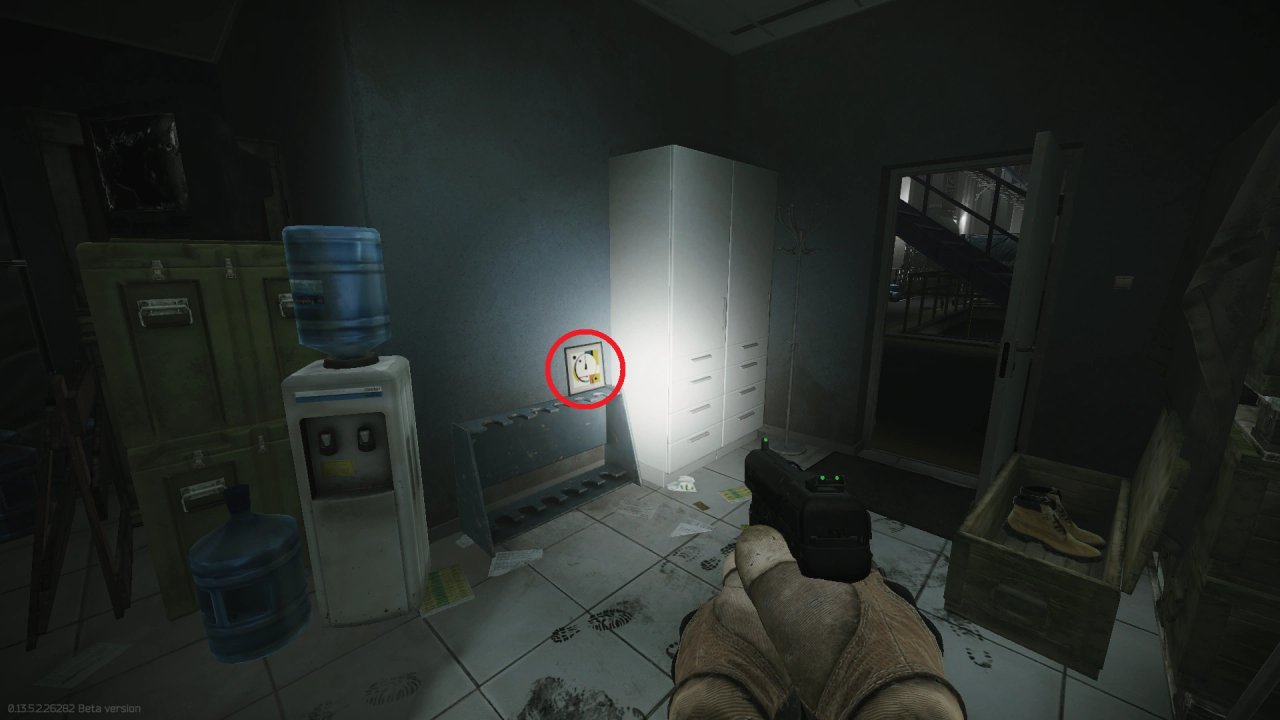
Door to the room.
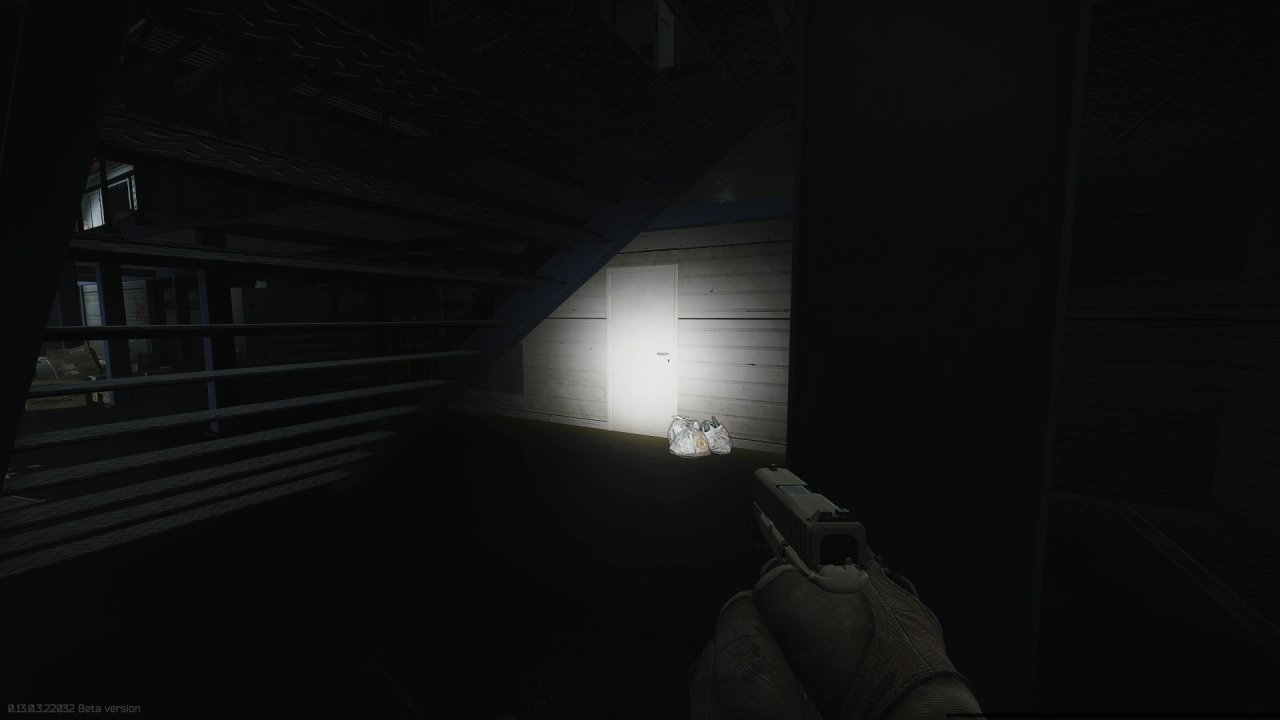
The painting is on top of the weapon rack.
おすすめ関連記事

【タルコフ】デスク環境改善アイテム4選|モニターアーム・デスクマットで快適に
デバイス本体を揃えたら、次はデスク環境の最適化です。モニターの高さ・マウスの可動域・手首の角度が整うと、エイムの再現性と疲労感が目に見えて変わります。
5. 注意点・よくあるミス
- 脱出の徹底: ひとつでも見落としがあると、次の脱出までそのアイテムを失うことになります。特に複数のマップを回るため、各マップで確実に獲得したか確認しましょう。
- キーの有無: 特定のキーを持っていないからといって、アイテムが手に入らないわけではありません。しかし、キーを確保しておくことで、より確実に特定の部屋へ侵入できるようになります。
- Quest Itemの仕様: 拾った瞬間にクエスト専用の枠に移動するため、通常のインベントリで確認しようとすると見つからないことがあります。
6. クリアできない時の確認リスト
- 全12枚の絵をすべて入手したか?(特に、複数の出現場所があるため、どれか一つを見落としていないか確認)
- 12枚すべてをRagmanに渡したか?
- 脱出に失敗して、特定の絵を失っていないか?
- 別のタスクのアイテムと取り違えていないか?
7. 関連タスク
(なし)
攻略ガイド
| 関連クエストアイテム | |||||
|---|---|---|---|---|---|
| アイコン | アイテム名 | 数量 | 要件 | FIR(レイド中入手) | 備考 |
 |
Car dealership closed section key | 1 | 必須 | N/A | Streets of TarkovにあるLexOsカーディーラーのディレクター室への道を開放し、そこにあるclock dial painting #3へアクセスできるようになります。 |
 |
Car dealership director’s office room key | 1 | 必須 | N/A | Streets of Tarkovにある、clock dial painting #3が置かれているLexOsのcar dealership director’s officeを開放します。 |
 |
Concordia apartment 34 room key | 1 | Required* | N/A | Streets of TarkovのConcordia apartment 34内にある、clock dial painting #4が配置されている寝室を解放します。 |
 |
TerraGroup Labs manager’s office room key | 1 | 必須 | N/A | The Lab内にあるTerraGroup Labsのマネージャーのオフィスを解放し、そこに配置されているclock dial painting #8へアクセスできるようになります。 |
 |
HEP station storage room key | 1 | 必須 | N/A | Shorelineにある、時計の文字盤の絵#10が置かれたHEP station(水力発電所)の倉庫を開錠する。 |
 |
Object 21WS keycard | 1 | Required* | N/A | Interchangeにある、clock dial painting #11が見つかる21WS containerを解放します。 |
 |
Object 11SR keycard | 1 | Required* | N/A | clock dial painting #11が見つかるInterchangeのSaferoom Exfil脱出を解放します。 |
 |
Kiba Arms outer door key | 1 | Required* | N/A | Interchangeにある、clock dial painting #11が見つかるKiba Armsのショップを開放する。 |
 |
Kiba Arms inner grate door key | 1 | Required* | N/A | |
 |
Rogue USEC barrack key | 1 | Required* | N/A | Lighthouseにある、時計の文字盤の絵#12がある可能性のあるRogue USECの兵舎を開錠する。 |
 |
Water treatment plant storage room key | 1 | Required* | N/A | Lighthouseにある、時計の文字盤の絵#12がある可能性のある浄水場の倉庫を開錠する。 |
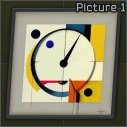 |
Picture 1 | 1 | 納品アイテム | Yes | このクエストアイテムは、クエストが有効な間のみ入手できます。拾うとクエストアイテム用インベントリに移り、そのアイテムを持ったままレイドから脱出できないと失われます。 |
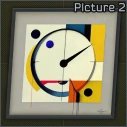 |
Picture 2 | 1 | 納品アイテム | Yes | |
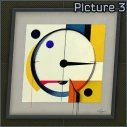 |
Picture 3 | 1 | 納品アイテム | Yes | |
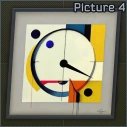 |
Picture 4 | 1 | 納品アイテム | Yes | |
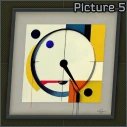 |
Picture 5 | 1 | 納品アイテム | Yes | |
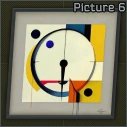 |
Picture 6 | 1 | 納品アイテム | Yes | |
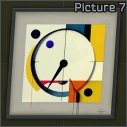 |
Picture 7 | 1 | 納品アイテム | Yes | |
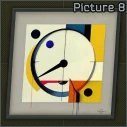 |
Picture 8 | 1 | 納品アイテム | Yes | |
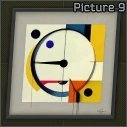 |
Picture 9 | 1 | 納品アイテム | Yes | |
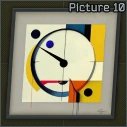 |
Picture 10 | 1 | 納品アイテム | Yes | |
 |
Picture 11 | 1 | 納品アイテム | Yes | |
 |
Picture 12 | 1 | 納品アイテム | Yes | |
クエストアイテムのすべての出現場所でこのキーが必要なわけではありません。クエストを完了するために、必ずしも必要ではありません。
このクエストでは、Streets of Tarkov, Customs, The Lab, Reserve, Shoreline, Interchange, Lighthouseの各マップで12枚のclock dial paintingsを見つける必要があります。各paintingには3つのspawn locationsがあります。
Painting 1
Streets of TarkovのLERM expo hall内。
マップ上にマークされたLERM expo hall
LERMのexpo hall
1.動かせる壁の間
3.縛られた死体の隣の段ボール箱に立てかけられている。
Painting 2
Streets of TarkovのCardinal apartment complex北東の建物3階にある部屋。
1.入ってすぐの左側の壁。
bedroomの床、開いたsuitcaseの隣。
Painting 3
Streets of TarkovのLexOs car dealership director’s office。Car dealership closed section keyとCar dealership director’s office room keyが必要。
地図上にLexOsのcar dealershipをマーク。

2階の閉鎖エリアへのドア。
1. 入ってすぐ左側にある、積み上げられたwooden cratesの上。
3.mobile pedestalとcabinetの間。
Painting 4
Streets of TarkovのConcordiaビル3階、Apartment 34。寝室にある2か所のスポーンへ入るにはConcordia apartment 34 room keyが必要。
地図上のApartment 34の場所。
Concordiaビル
kitchen area内のwater dispenserの隣の床。
2. 入ってすぐの床にある段ボール箱の中。
Painting 5
Streets of Tarkovのschool no. 30の2階にある隠し部屋。
マップ上のSchool。
1.入ってすぐ左側にあるsuitcaseの隣の床。
3.右奥の棚の隣の壁にもたれかかっている。
Painting 6
Streets of Tarkovの「Camelot」という娼婦屋。
1. 1階のchaiseloungeに寄りかかっている。
2.1階のカウンターの裏、safeの隣に隠されています。
2階の廊下。3つ目のspawn roomがマークされています。
デスクの上のモニターの後ろ。
Painting 7
Customsの、多数の固定武器があるScav base (ZB-013 extraction)建物の2階。
マップ上にマークされたScav base
表示されている入り口から入り、右へ曲がります。
右側の開口部へ進み、階段を上りなさい。
全地点へのルートは、表示されている階段から設定されています。
First spawn
階段の最上部、正面右手前にあるMedical supply crateへ移動してください。
絵はMedical supply crateとbuilding materialsの間にあります。
2つ目のスポーン
階段から、右側にあるMedical supply crateの横を通り抜けてください。
crateの横を通り過ぎたすぐ目の前にcable reelとcrateがあり、そこにpaintingがあります。
Third spawn
階段から、前方の左の道を通って建物の反対側へ渡ってください。
もう一方の階段まで進み、左側にあるpipeとRation supply crateを見てください。
paintingはpipeの端に立てかけられています。
Painting 8
The Lab内のTerraGroup Labs manager’s office。入場にはTerraGroup Labs manager’s office room keyが必要です。
マップ上にマークされた Manager’s office。
3.1つのスクリーンがあるデスクに寄りかかっている。
Painting 9
Reserveのblack bishopの建物の1階と2階にある2つの部屋。
1.wardrobeの中に隠されています。
倒れたfiling cabinetの隣。
Painting 10
Shorelineの水力発電所の倉庫内。入室にはHEP station storage room keyが必要。
正面入り口が見えるpowerstation。中に入って左へ。
中に入ると階段が見えます。どちらの側を登ってもstorage roomにつながっています。
1.metal cabinetとdisplayの間。
weapon boxの隣の椅子の下。
Painting 11
21WS shipping container、Kiba Arms store、またはInterchangeの”Saferoom Exfil”脱出地点。
これらの場所へアクセスするには、mallの電源を入れる必要があります。
21WSコンテナ
1.コンテナの奥にある段ボール箱のパレットの裏に隠れている。
Kiba Armsの店内の、フェンスで囲まれたエリアにある木製のクレートの隣。
Painting 12
Lighthouseのwater treatment plant内にある3つのoffice buildingsのいずれか。Water treatment plant storage room keyとRogue USEC barrack keyが必要になる場合があります。
First spawn
Building #1: 北側の2階の部屋。
The building。ドアから入り、真っ直ぐ進め。
階段を上る。
右側のオフィスに入り、その奥の廊下へ進め。
右から2番目のドアに入ってください。
絵は入ってすぐの机の上にあります。
2つ目のスポーン
Building #2: Water treatment plant storage room内の木箱の後ろ。
その部屋は南東の隅にあります。
Third spawn
Building #3: Rogue USEC barrack room内の武器ラック。
その部屋は南西の隅にあります。